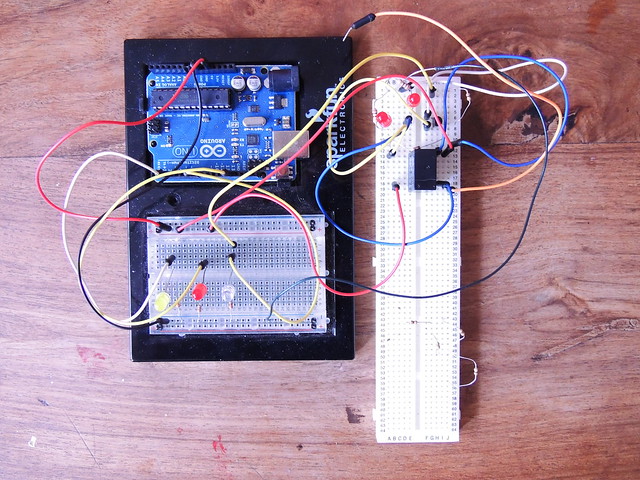
Simplified serial data connection between Processing and Arduino
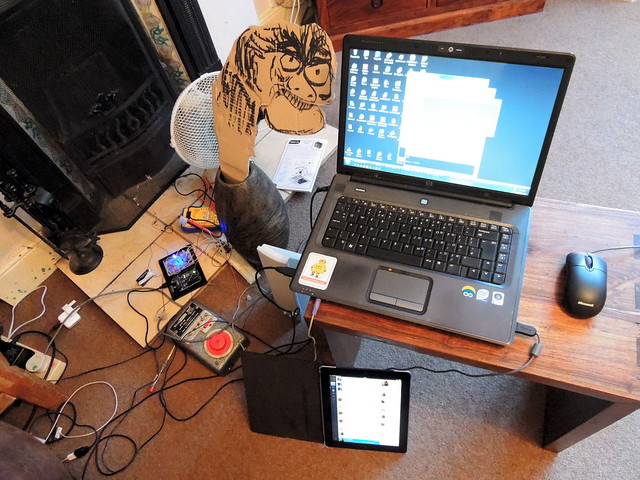
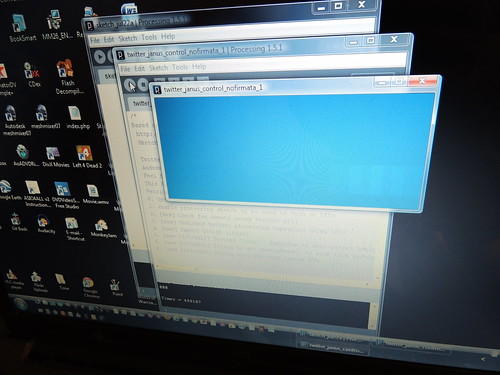
Detail of the Processing sketch, showing sub-clause of tweetCheck () function which is checking incoming tweets from @twitr_janus. When it detects one, it sends a trigger signal to the Arduino to start jaw movement, then immediately initiates text-to-speech on the text. This will make the jaw move as the text speech audio plays.
Download the complete Processing sketch running on the PC detecting tweets
Download the complete Arduino sketch running on the Arduino board
Download the complete Processing sketch running on the PC detecting tweets
Download the complete Arduino sketch running on the Arduino board

Simple example - triggering an Arduino response to a tweet by sending a flag over the serial port.
This clause checks if it is a new tweet:
if (tweetText.equals(tweethCheck) == false)
"tweetText" is the latest value of last tweet from twitr_janus, "tweetCheck" is the last new tweet.
It is doing two things here. Firstly it is sending a message of value NULL to the serial port (called imaginatively "port") which will send it over to the USB connection to the arduino board. This could be done wirelessly in principle.
port.write("NULL")
The NULL character is converted to 0 when it is transmitted as data over the serial connection. The Arduino will start a jaw movement control signal if it detects a signal of value 0. In the code shown, it is simply turning a PIN on and off 8 times, with a 100ms delay before switching between HIGH and LOW, to give a 200ms period..
Adding logic - using tweet length to control the lip-sync signal duration
Using a simple value is fine for an on-off trigger, but the lip-sync should only occur for the duration of the speech generated by the tweet. This will vary depending on the number of characters in the tweet. This can be obtained using the length() method.
By sending the tweet length (number of characters) instead of a simple trigger, lip-sync logic can be created in the Arduino sketch running on the board, that will cause the lip sync duration to match the speech audio duration.
The Arduino function is called jawChomper ().
"incomingByte" is the tweet length in number of characters
"chompFactor" is a scaling factor that reduces the character length into jaw movement number. This is because when you speak your jaw does not move for every character. It moves based on words, which are groups of characters.
"chompDelay" is the standard duration in milliseconds, of the alternate HIGH and LOW values of the control signal.
"chompRand" is a controlled randomisation factor. This is added, to cause each HIGH or LOW to vary in duration. This is because the code cannot determine word length, so the jaw cannot be synced to the words. Just turning the signal on and off is not good enough. The brain can easily detect a rigidly uniform rhythm and it will jar. Varying the duration of up and down motion is a simple way to trick the brain into thinking the jaw is in sync with the speech, when it is actually just stopping and start in an asymmetrical rhythm.
void jawChomper ()
{
// this function sets jaw bighting rate for
// read the incoming byte:
digitalWrite(13, HIGH);
for (int i = 0; i < (incomingByte/chompFactor); i++) {
// turn the pin on:
digitalWrite(peakPin, HIGH);
delay(chompDelay+random(chompRand));
// turn the pin off:
digitalWrite(peakPin, LOW);
delay(chompDelay+random(chompRand));
}
digitalWrite(13, LOW);
// say what you got:
Serial.print("I received: ");
Serial.print(incomingByte);
Serial.print(incomingByte, DEC);
}
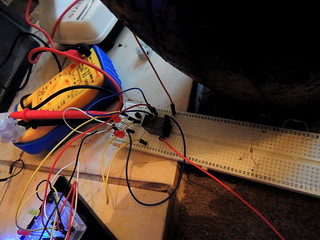
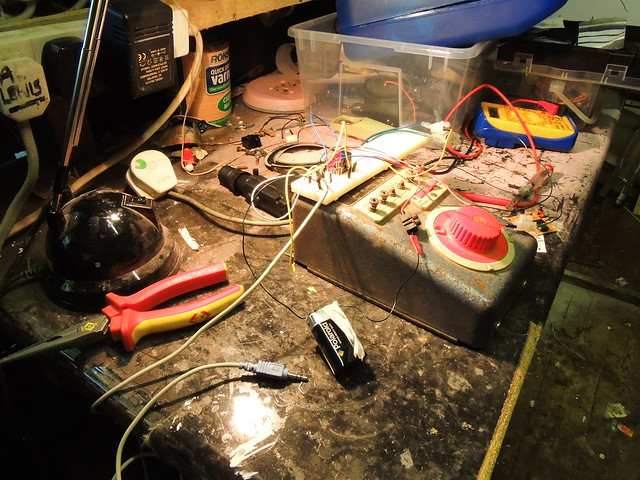
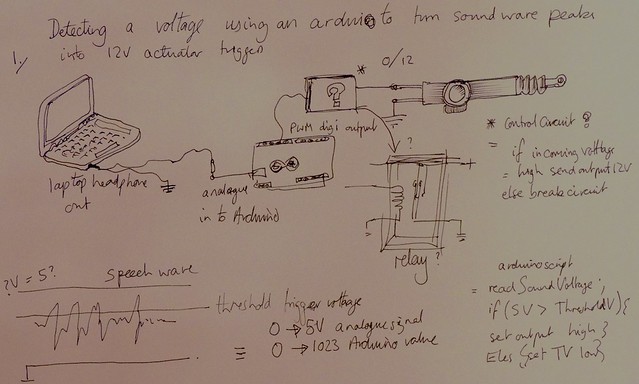
The voltage signal sent from the Arduino (signal pin here is peakPin - pin 6 as it happens) is connected to the base of a transistor with a resistor to supply a signal current. When the pin is HIGH, the transistor will amplify it to a current high enough to trigger the relay and turn on the power to the motor (not shown here).
When the signal goes LOW, the transistor current will stop and turn of the relay.
 Link to this on Maplins