Showing posts with label eyeball. Show all posts

Tuesday, 2 October 2012

Hacking a Microsoft LifeCam to make a video eyeball

Warning this post contains scenes of open-webcam surgery and the hacking of roll-on deodorant bottles...

To interact with people via the Internet, Twitr_janus needs to be able to see.
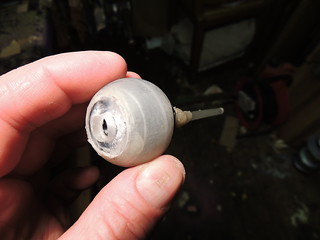
Here is a webcam-enabled eyeball, made from a Microsoft LifeCam, a deodorant ball and a pen refill...
@Twitr_janus' eyeball


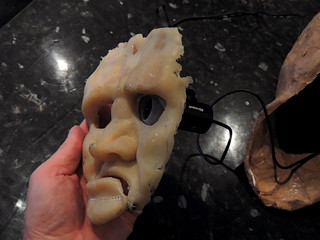
Twitr_janus needs one eye to be able to see who is looking at it. The eye was made from a Microsoft LifeCam.


This can be driven by Skype. Skype allows you to start a video call with a remote computer, which means the eyeball can be turned on at will from anywhere (and using Skype apps on phones etc.!). And so...

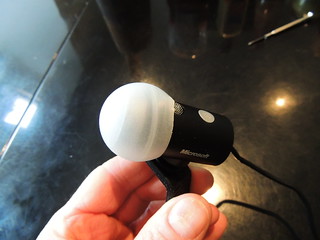
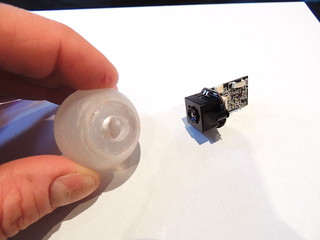
The LifeCam is a reasonably good webcam. The camera is housed in a convenient cylinder that readily fits a sawn off deodorant ball!


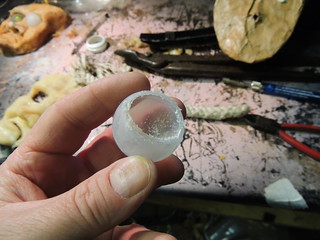
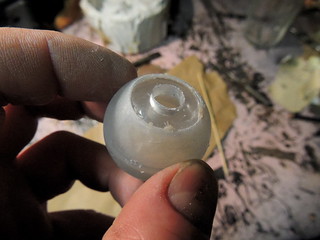
The ball was hacked from a standard roll-on deodorant ball
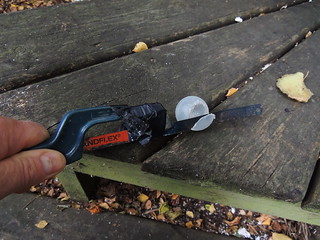
DSCN1810 Making Twitr_janus eyeball and video camera
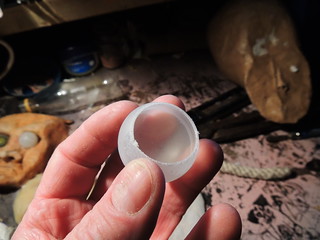
The hole can be made even and the edges smoothed off by rubbing on sandpaper on a flat surface. Making Twitr_janus eyeball and video camera Making Twitr_janus eyeball and video camera
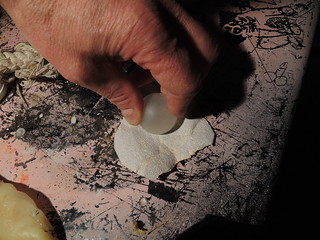
Making Twitr_janus eyeball and video camera Making Twitr_janus eyeball and video camera
Having tested the camera eyeball in situ for physical movement, it was clear that the camera housing was far too bulky and the cam needed removing from its casing. Amazingly a quick trawl of the web found a very detailed step by step description of how to do this.

Respect to Gary Honis, whose Astrophotography and Digital Imaging website had a whole article detailing all the tricky screws things needed to get the camera and drive board out of the shell
http://ghonis2.ho8.com/lifecam/lifecam1.html

This started simple, but ended up like the jumble on the right after about half an hour
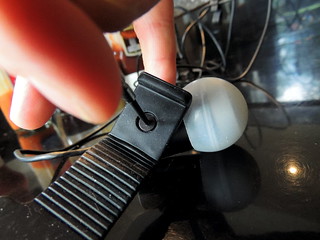
DSCN1818 Making Twitr_janus eyeball and video camera
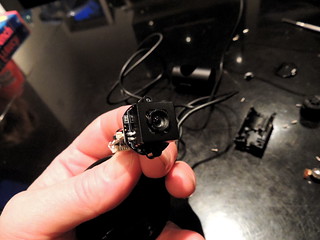
Eventually the camera was extracted from the case and looked like this
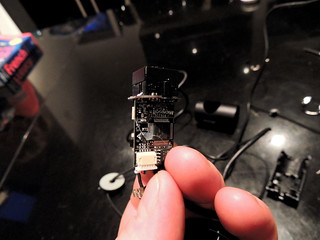
Making Twitr_janus eyeball and video camera Making Twitr_janus eyeball and video camera

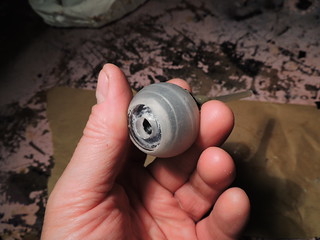
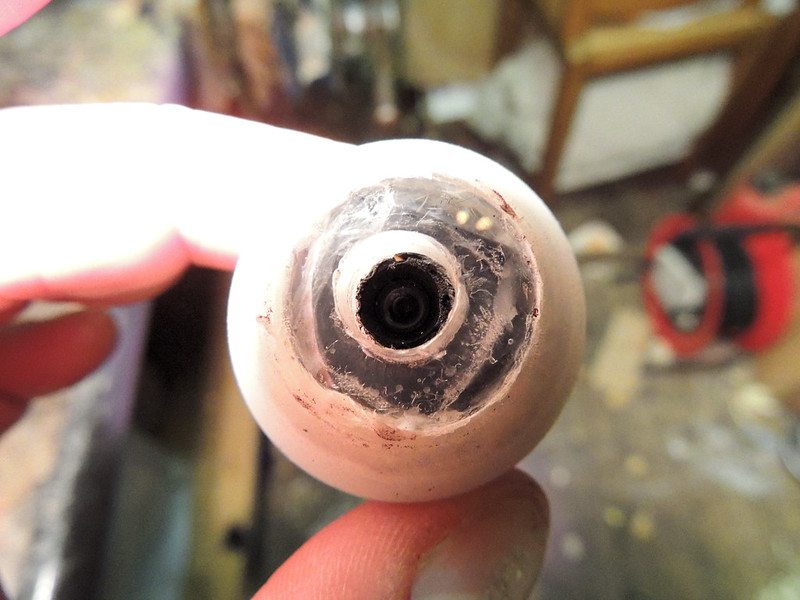
The eyeball was given a cornea, made from an old torch lens, trimmed to size with a file and glued in...
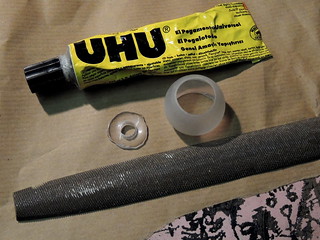
@Twitr_janus' eyeball @Twitr_janus' eyeball

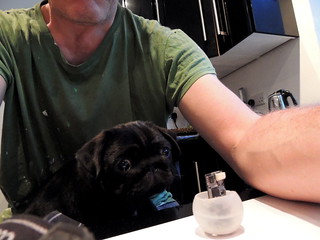
Here is the camera in the ball. This is fascinating to pugs...
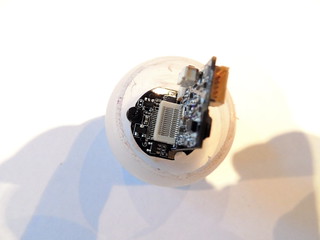
@Twitr_janus' eyeball @Twitr_janus' eyeball
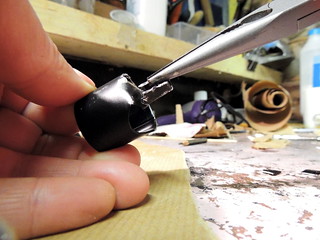
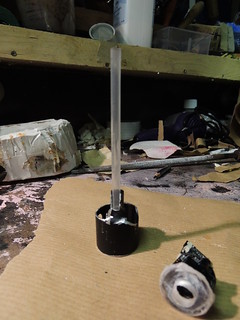
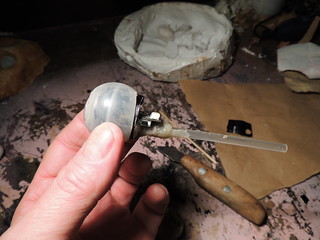
The last remaining thing was to add a means by which the eyeball could be moved. To do this a rod needed to be added.
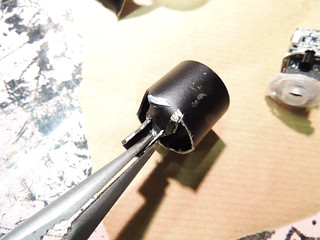
The casing of the camera was operated on and with a bit of simple metalworking
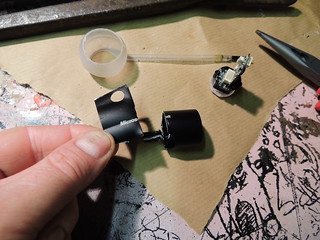
@Twitr_janus' eyeball @Twitr_janus' eyeball
@Twitr_janus' eyeball@Twitr_janus' eyeball

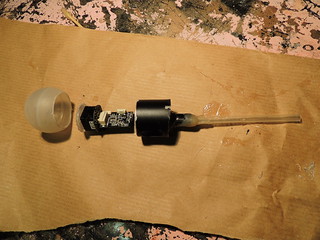
@Twitr_janus' eyeball @Twitr_janus' eyeball @Twitr_janus' eyeball @Twitr_janus' eyeball>
Until a beautiful eye was made, thus!
@Twitr_janus' eyeball

Friday, 7 September 2012

MakeyMakey eyeball interface controlled by cardboard and a coin

Well, I have to say that the MakeyMakey is pretty f. awesome and the whole idea of crowdsourcing a product via Kickstarter is really quite superb.
And so, let's build something...

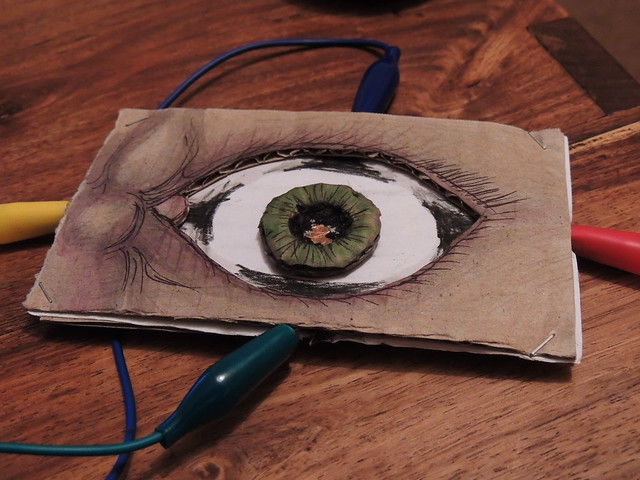
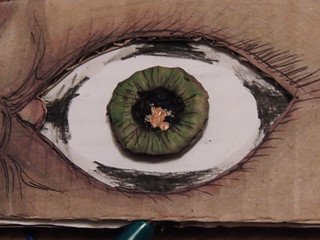
Here is a nice physical cardboard eyeball (about 8cm x 3cm)
MakeyMakey DIY eyeball UI
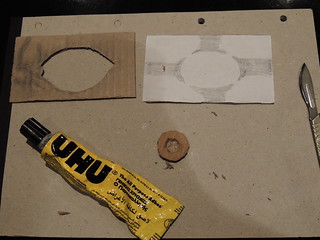
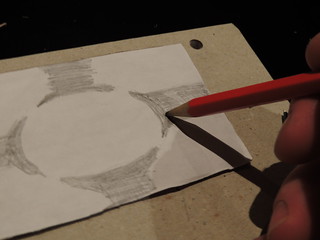
The eye was knocked up in about 40 minutes from card, paper, pencil, Promarker felt tip pens, glue and a two pence coin...
MakeyMakey DIY eyeball UI MakeyMakey DIY eyeball UI


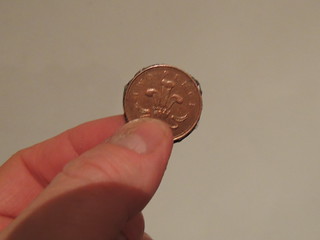
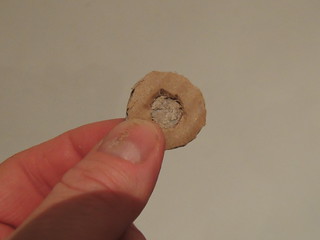
Here is that very coin - glued aback a cardboard ring, which is the iris.
MakeyMakey DIY eyeball UI MakeyMakey DIY eyeball UI


On the left is the completed layered eyeball. At the bottom, you can see a crocodile clip...
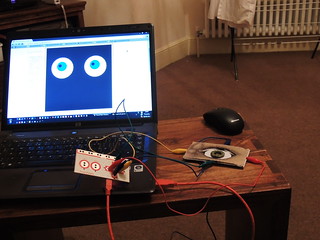
On the right is the cardboard eyeball, connected to the MakeyMakey, connected to the PC which is running the virtual Twitr_janus_eyeballs Processing sketch running on openprocessing.org
MakeyMakey DIY eyeball UI MakeyMakey DIY eyeball UI


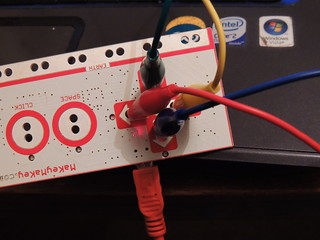
Below on the left is the easy-peasy MakeyMakey crocodile clip connectors (I love crocodile clips)
Right - twitr_janus eyeballs
MakeyMakey DIY eyeball UI MakeyMakey DIY eyeball UI


Or you can just watch a fairly short demo video...
This took about 90 minutes to set up from nothing to working. SWEET!!

Wednesday, 15 August 2012

Remote-control eyeballs: Using remote data from a published Google spreadsheet to position eyes with Processing

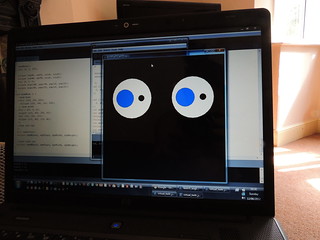
Twitr_janus virtual eyes

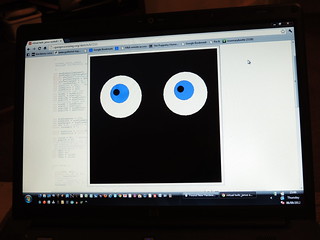
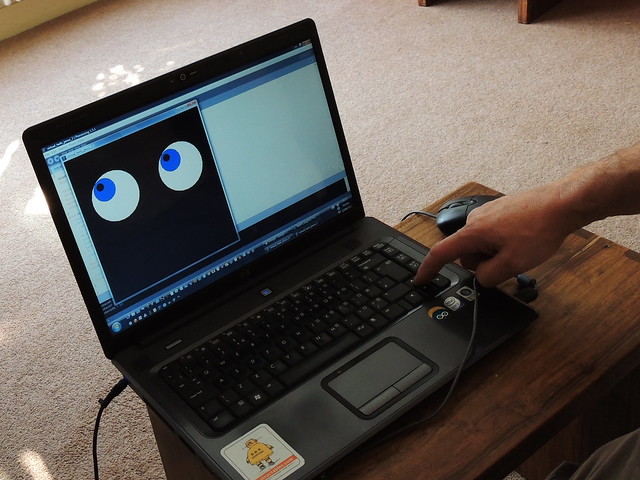
Above is shown a simple keyboard controlled Processing sketch in action. The arrow keys are used to position the way the eyes look. Each arrow key increases the value of a position variable for the irises and separately for the pupils of the eyes.

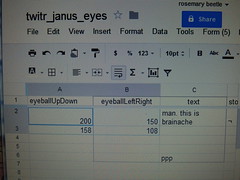
To remote control Twitr_janus' eyeballs, this was extended to send position data in 2 directions based on the values in a published google spreadsheet. The RSS feed is read and parsed by Processing to extract the data, which is used to compare the current horizontal and vertical positions with the target positions received. Processing runs a detection function that detects any difference, and reduces the difference by incrementally adjusting the current position and redrawing the eyes, until it can't detect a difference. A classic cybernetic negative feedback system!
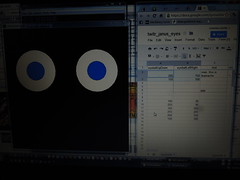
Twitr_janus eyes controlled by Google spreadsheet data Twitr_janus eyes controlled by Google spreadsheet data


Left published Google spreadsheet. Right, same with eyes.


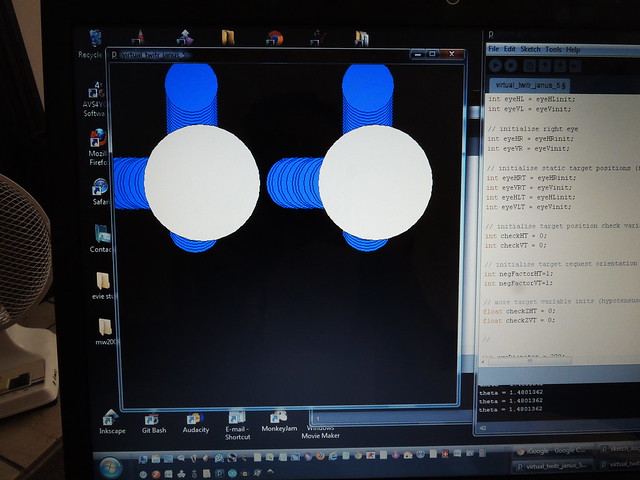
Twitr_janus virtual eyes Twitr_janus virtual eyes


Initially, so attempts at this went a bit haywire, due to over thinking the script to work out boundaries to stop the irises  and pupils doing strange things (left) or leaving the edge of the eyes (right).

This java applet demonstrates the direct keyboard sketch in action. This is freely available to download and copy at http://openprocessing.org/sketch/67233

It requires Java, so won't work on some devices, but if you have a Java plug-in, you can make the eyeballs move with the keyboard arrow keys...

Sunday, 22 July 2012

Twitr_janus talks through temporary animatronic jaw

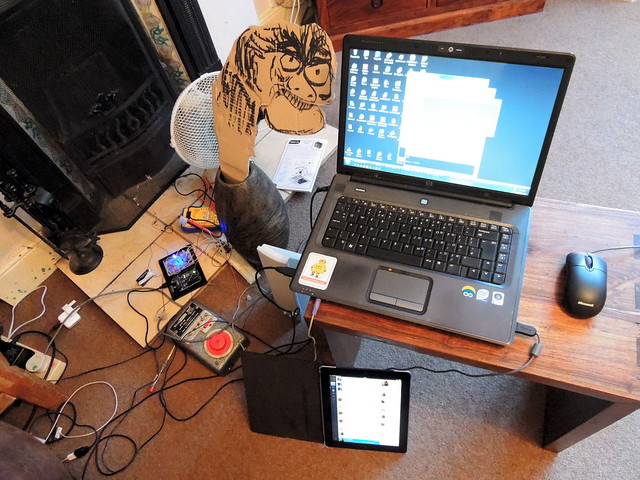
Twitr_janus speaks and moves Finally, I have got the full loop through from sending a tweet to automatically make. Remote puppet talk and move its mouth in time as it speaks.

Twitter to speech converter kit list

  • Twitter app (here on iPad) to Internet
  • Internet to PC running Processing sketch periodically scans for twets and strips message
  • Processing converts to spoken output using tts.h text-to-speech library
  • Speech played through audio amplifier
  • Amplifier secondary speaker output connected to Arduino analog input
  • Voltage detection in Arduino triggers output pulses on peaks
  • Peaks switch power on and off, from model railway transformer connected to car door actuator motor
  • Actuator moves jaw in time to speech peaks


Twitr_janus audio out Twitr_janus amplifier audio connections
Twitr_janus model railway power unit and Arduino Twitr_janus relay circuit Twitr_janus Processing sketch Car door lock actuator driving cardboard mouth


Watch the complete loop from tweet to talking cardboard...

Sunday, 3 June 2012

Making an animated GIF from a pen and ink drawing

Cell-animated eye
A single cell grows into an eye.In the blink of itself, it’s extinct. See below for how this was made.
This was hand drawn using pen and ink.
Here is the original concept sketch. Pretty simple. Because this was for an animated GIF, it wanted to have a looping repeat feel to it, and have a beginning and end that worked together

I did not want to actually hand-animate this - far too long-winded. Instead the basic units of the drawing that would need to be animated separately were considered, and these were drawn more carefully using pen and ink.
 
These were then photographed with a digital camera and imported in Flash to manipulate them. Within Flash teh "Trace bitmap" function is used to create vectors from the imported image. The white areas are deleted, leaving just the ink lines, which can then be treated as any other shape in Flash. E.g. the blue iris colouring was added in Flash using a gradient fill.
It gets quite complex in Flash, but essentially each "thing" needs it's own layer, so it can be animated separately from other parts. This screenshot is a bit rubbish! 
Once I was happy I had recreated the design into a moving animation, it was exported using "Export Movie > animated GIF"

Animated GIF, made to upload to a public submissions space on the website for The Photographer's Gallery's Born in 1987: The Animated GIF exhibition.
http://joyofgif.tumblr.com/