Sunday 15 December 2013

Carving a bedbug from alabaster

This is a talisman for someone who has recently endured a nasty bedbug infestation. Their solution to move house was probably more effective than any warding off of evil with talismans or other such mumbo-jumbo, but it was obviously a good excuse to get carving and I struggled to find a bedbug talisman in the Christmas shops...

I toyed with using the dremel on this, but way too much dust, so did it by hand with a saw, chisel, rasps, a knife a few micro-files.  Took about an hour and half...

Carving a bedbug

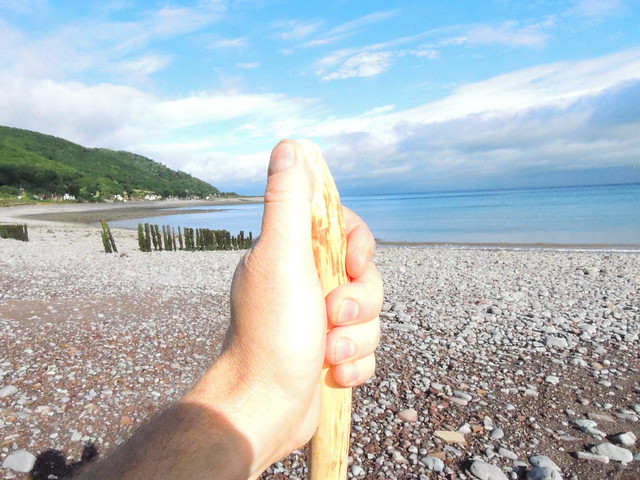
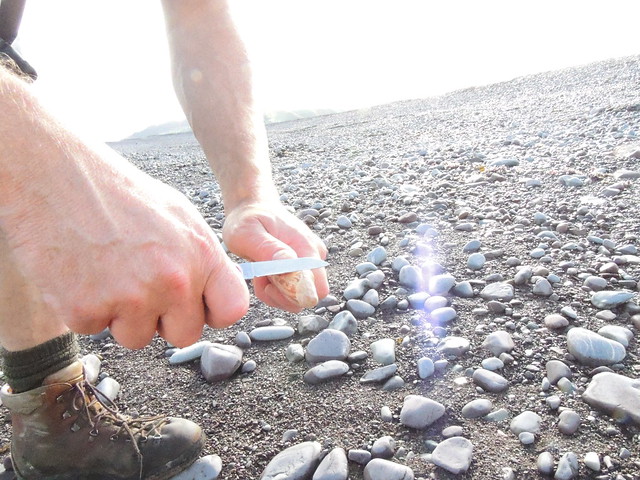
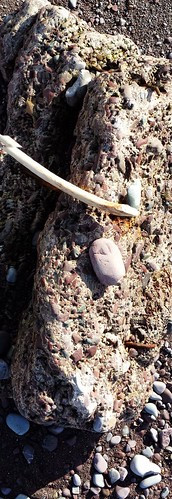
It starts with a lump of rock, very soft rock - alabaster - foraged off a beach at Blue Anchor in Somerset a few years ago.
Carving a bedbug

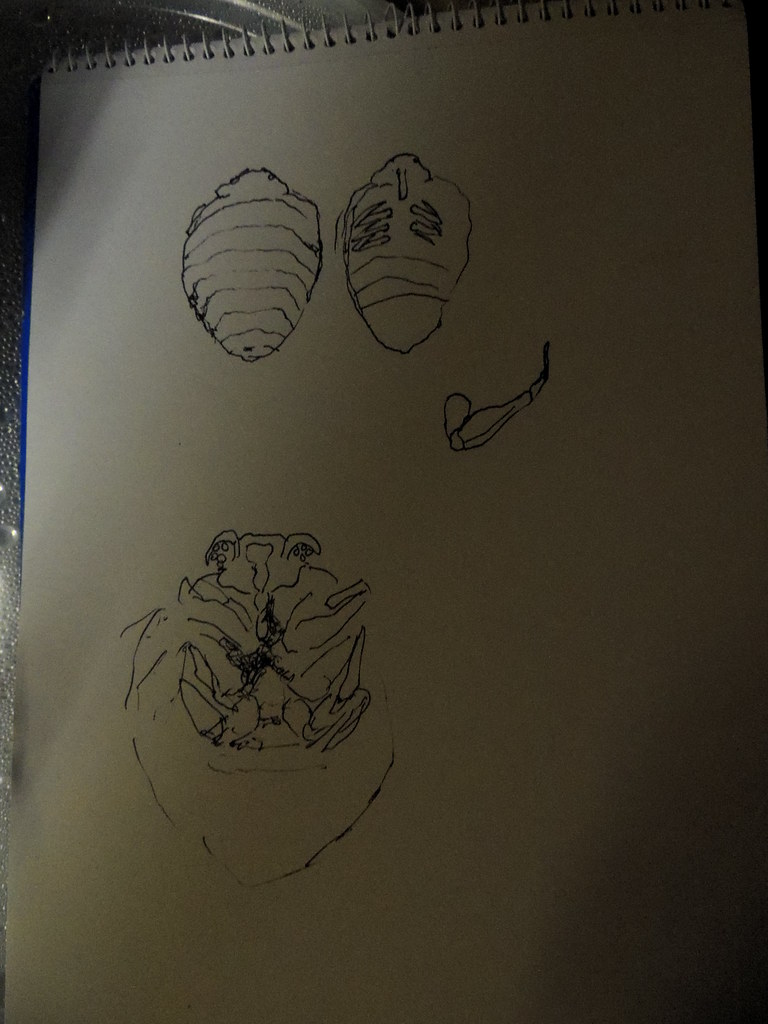
I had a look at some frankly disturbing pictures found using a google images search for "bedbug scanning electron"

bedbug from NHM

I always need to do a few drawings to fix the shapes in the mind. (They don't need to be good ones, as you can tell)
Carving a bedbug

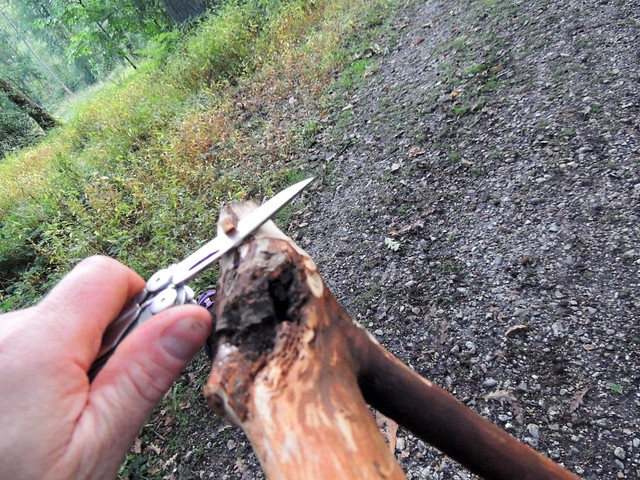
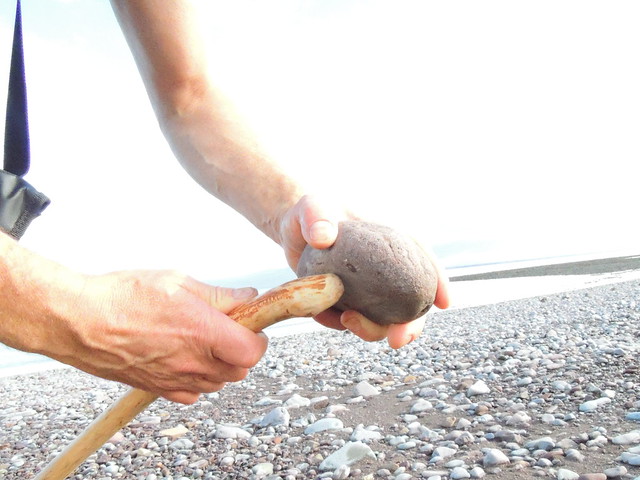
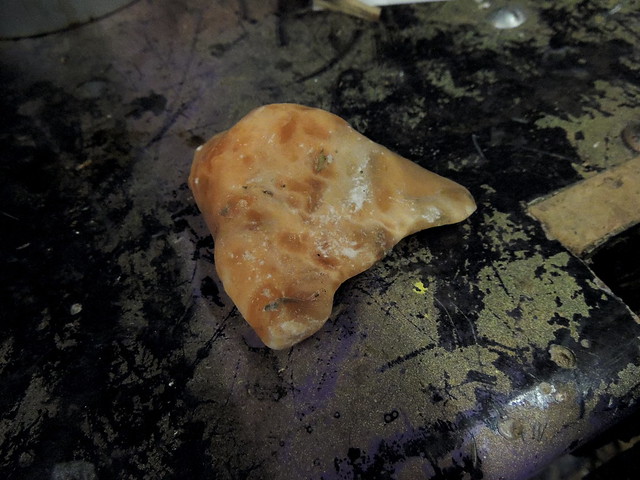
Then used a hacksaw to cut off larger protuberances to start to get the outline shape in 3 dimensions..
Carving a bedbug

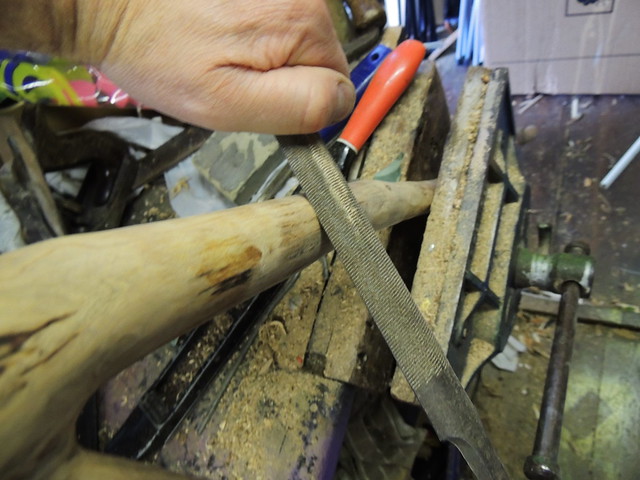
Then grate it down roughly to size with a monstrous rasp my father gave me (it's about18" long)
Carving a bedbug

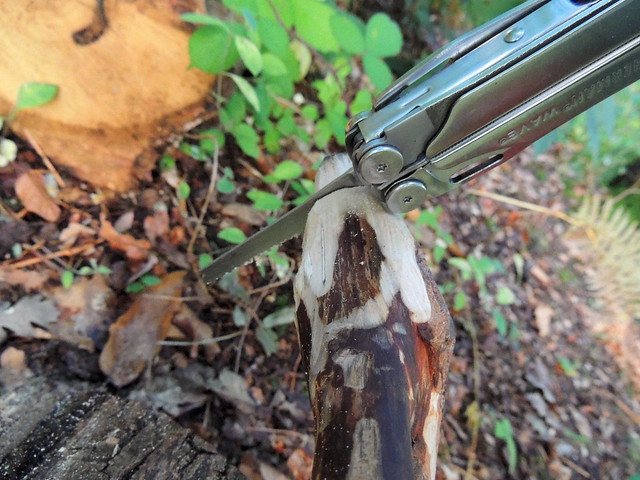
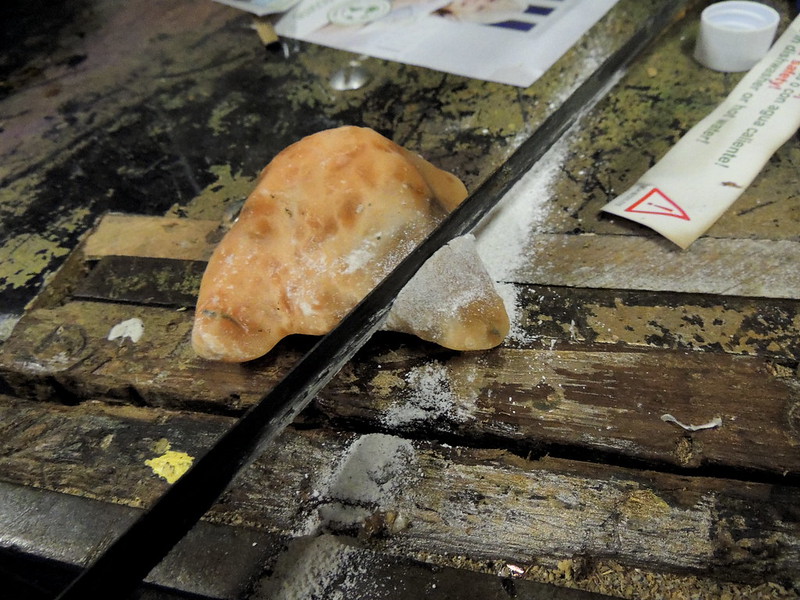
With the rasp I formed a carving blank, that was roughly the intended outline of a bedbug...
Carving a bedbug

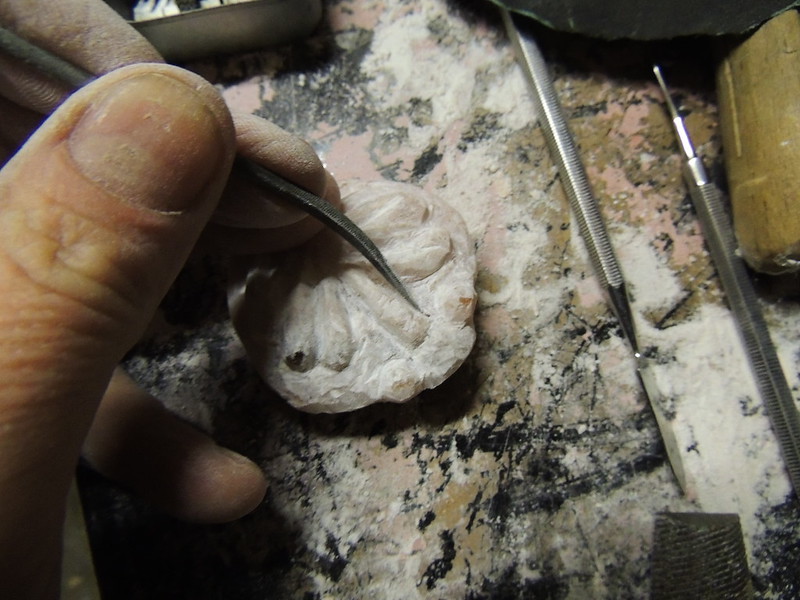
I drew out the details of the legs, then carved these with an old woodcarving chisl. Don't use a working chisel for this unless you like sharpening chisels a lot...
Carving a bedbug

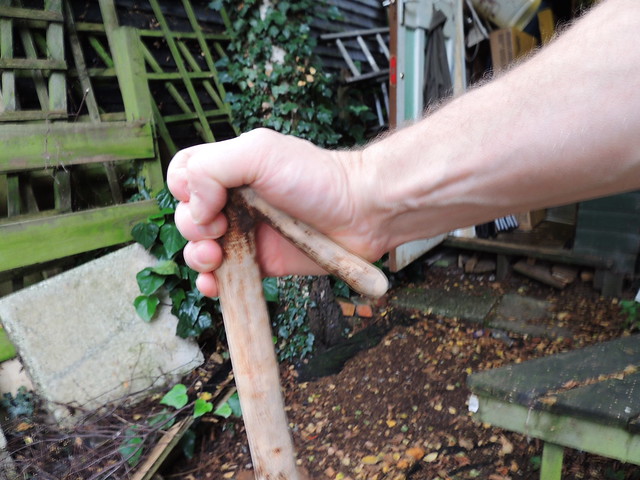
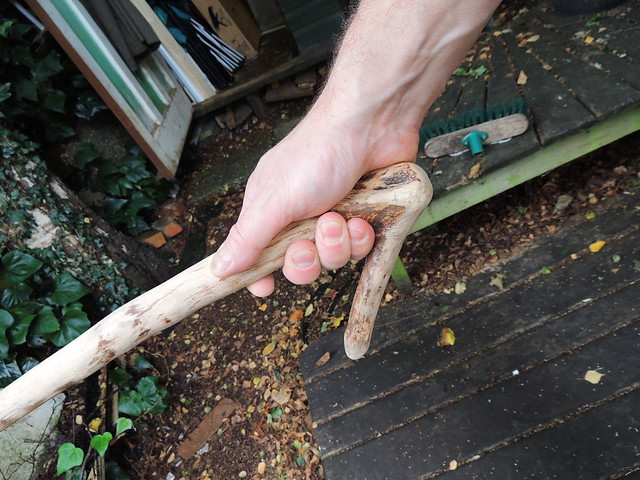
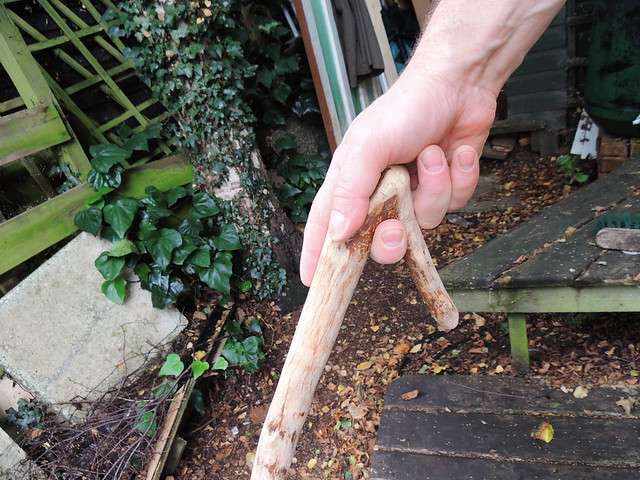
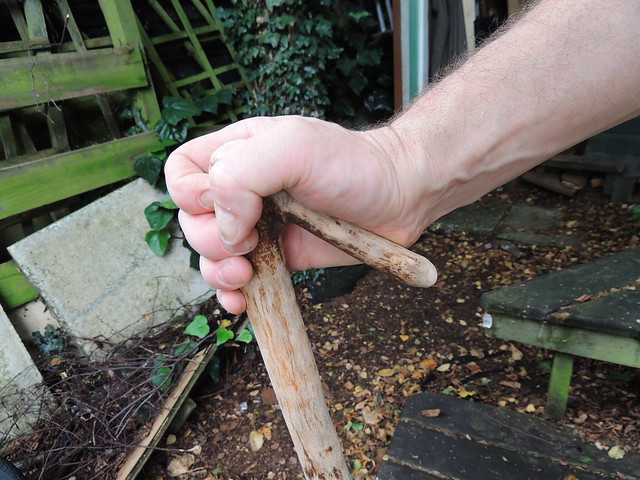
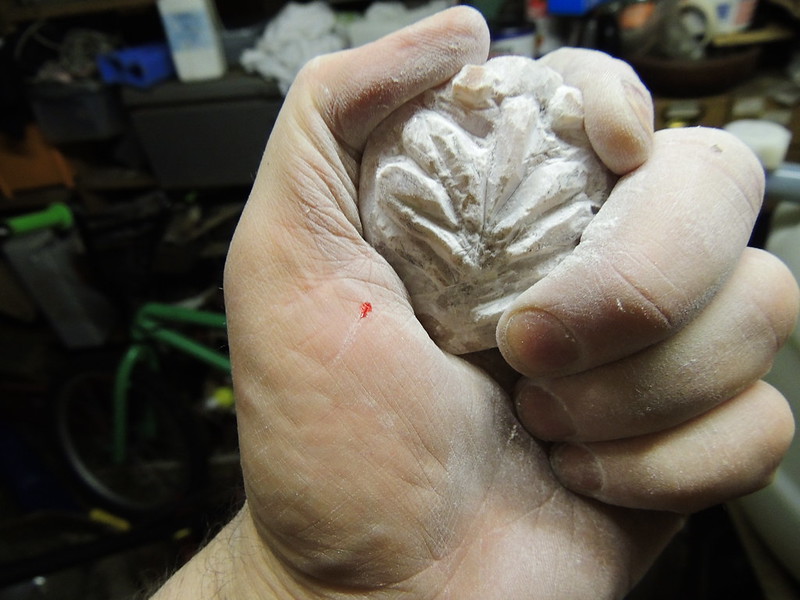
Obviously, oy can't use a vice as the rock would crack, so I held it in my hand. Also obvious was a chisel puncture wound. It's not real carving if you don't draw blood. At least it wasn't the rasp...
Carving a bedbug

Some fine files (in hand) and steel clay modelling tools (on right) are very handy to scratch out the patterm of legs and biting mouthparts
Carving a bedbug

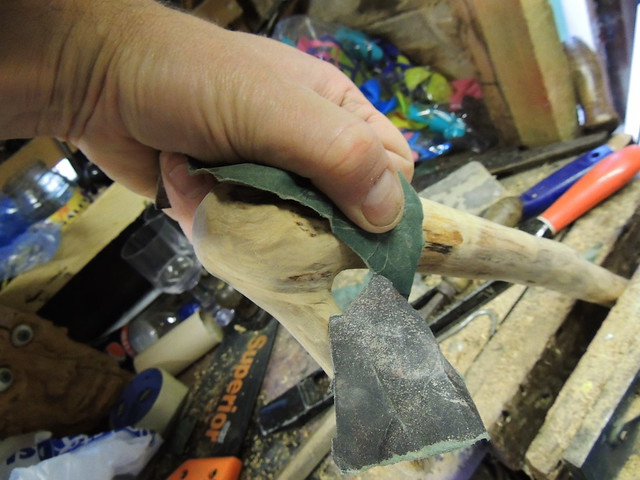
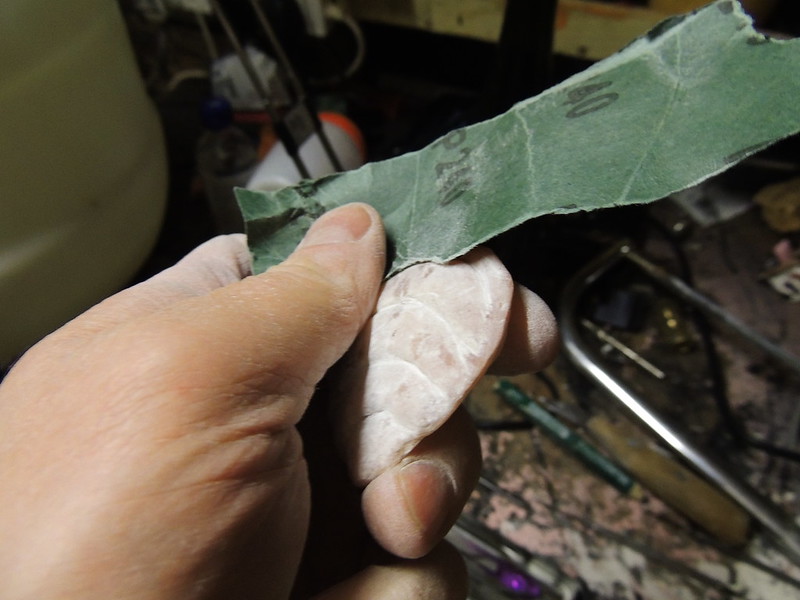
Loads of fiddling later, I used fine grit carborundum paper (240 grit wet and dry paper basically) to smooth and polish. If have lots of time, you can progressively use finer grades, or emery paste to get a super fine finish. You can even use bathroom scouring cream cleaner. Quite good for fine polishing
Carving a bedbug

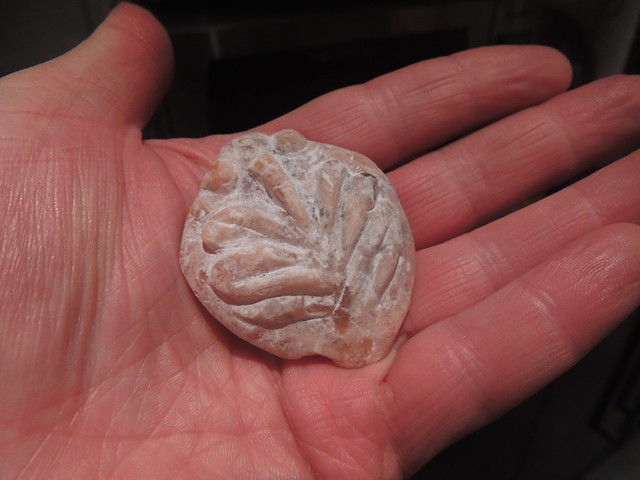
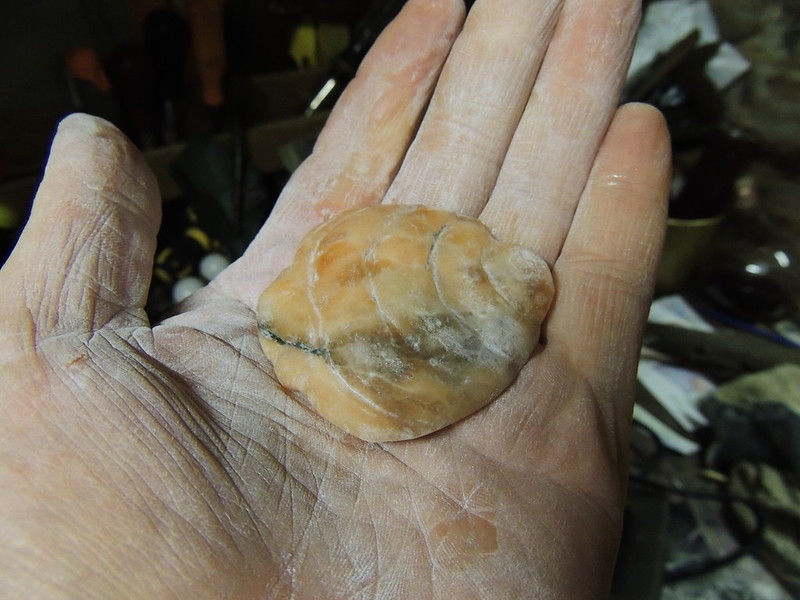
Here's the dorsal surface (ie. the bedbug carapace)
Carving a bedbug

And wet it to see the detail. To get  this effect, you can use spray lacquer. And that's it...
Carving a bedbug

Monday 2 December 2013

Making chilli Scotch Eggs

Scotch eggs - they're awesome, aren't they? Especially with chipotle chilli and chorizo in the mix - yum!
Finished, cooked Scotch eggs

Here's the kit.

  • Decent quality sausages (80%+ meat or grind your own pork shoulder or belly pork)
  • Celery seeds, rock salt, black pepper
  • Eggs
  • Chorizo and chipotle
Scotch egg ingredients

Boil up some eggs, but not too hard. 5 minutes is plenty. They cook more later, so the aim is the softest set egg you can get out of a shell unruptured - much less than 4 minutes and it is liable to break on shelling!
Boiled egg

Squeeze the meat from the sausage skins...
Scotch eggs - squeezing out sausage meat

Mashed finely chopped chorizo in with the sausage meat and wrap round the eggs
Shaping Scotch eggs

Roll into a ball...
Shaping Scotch eggs

Coat in beaten egg...
Scotch eggs - applying egg wash for breadrumbs

Roll in fresh bread crumbs (that is, fresh bread in a blender, not old manky dry crumbs)
Scotch eggs - applying breadrumbs

Keep rolling...

Scotch eggs - applying breadrumbs

Until nicely coated...
Scotch eggs - applying breadrumbs

Put on an oven tray...
Raw Scotch eggs coated not seasoned

Season with salt, pepper, chipotle and ground celery seed
Raw Scotch eggs coated and seasoned


and BAKE!

needs about 30 minutes, turning as required to cook evenly


Sunday 22 September 2013

Making a hook-handled walking stick

Here is a very useful and easy on the hand walking stick. Made from a birch cutting found in a forest plantation.
It's smooth and remarkably rigid. DSCN5268

This is how it was found...
Walking stick

Close up (with pug paw)...
Walking stick

The branch was cut short for a handle...
Walking stick

Then some penknife whittling...
Walking stick

Walking stick

Walking stick

Later, back at the shed - some planing and filing
DSCN5261

DSCN5260


Until a well-smooth handle energed...
Walking stick handle

Walking stick handle

DSCN5267

DSCN5266

DSCN5265

DSCN5262


Monday 16 September 2013

Making a universal camera mount from a set of locking grips

Mole Grips are pretty awesome. They will attach to almost anything, have simple adjustment and quick-release via a simple lever. If you add a camera clip, then you have an adjustable universal camera mount - sweet!

Go Pro go anywhere mount
Here they're clamped onto bike handlebars - handy.

To attach the clip, a hole was drilled into a pair of cheap grips.
Go Pro go anywhere mount
A corresponding hole was also drilled in a Go Pro mounting bracket and a self-tapping screw threaded through into a section of nylon cylinder, acting as a locking nut (below)

Go Pro go anywhere mount

Crude, but effective. This mount allows you to clamp onto almost anything.
Go Pro go anywhere mount

Monday 5 August 2013

Carving a thumbstick on the beach using ad-hoc tools

Porlock
PorlockWhilst enjoying a recent scrabble across the beach in Somerset, I made this walking stick to help me traverse a clay-infested stone-riddled stream in a marshland/beach periphery.

It was carved from a dead shrub stump cast up as driftwood on the beach. The head of it is the knot-end where a branch met the base of the stump.

The stick was cut off using the trusty swiss army knife, then a smoothed-off head carved so that one side was rounded to fit comfortably in the palm, and with a thumb rest on the opposing side.

Excuse the picture, the ambient light confused my panorama view. Also it really doesn't look that phallic in real life!

Here, the stump-end is being carved to shape. To some extent the natural curves of the knot were followed.
Porlock

The shaft was stripped of bark and smoothed with the knife blade, but there's only so much you can do with a blade. Eventually you need to smooth the blade cuts and odd grain lumps down. Happily, this was easy as the whole beach was covered in rough stones of several grades of roughness and all sorts of shapes to fit the concave thumbrest face.

This stone was used as a "workbench to rest the stick on, and give stability while applying pressure... Porlock

Here's a stone being used by hand.

Porlock

And here, you can see the rock workbench

Porlock