Wednesday 26 December 2012

Making a giant puppet / costume for a pantomime giant

Here's a giant costume made for a panto.
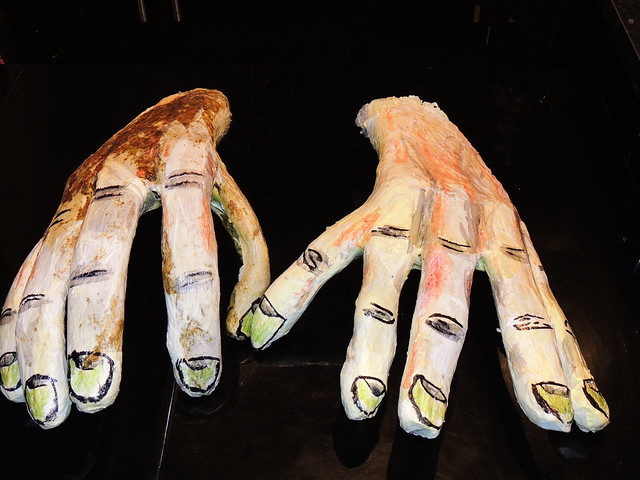
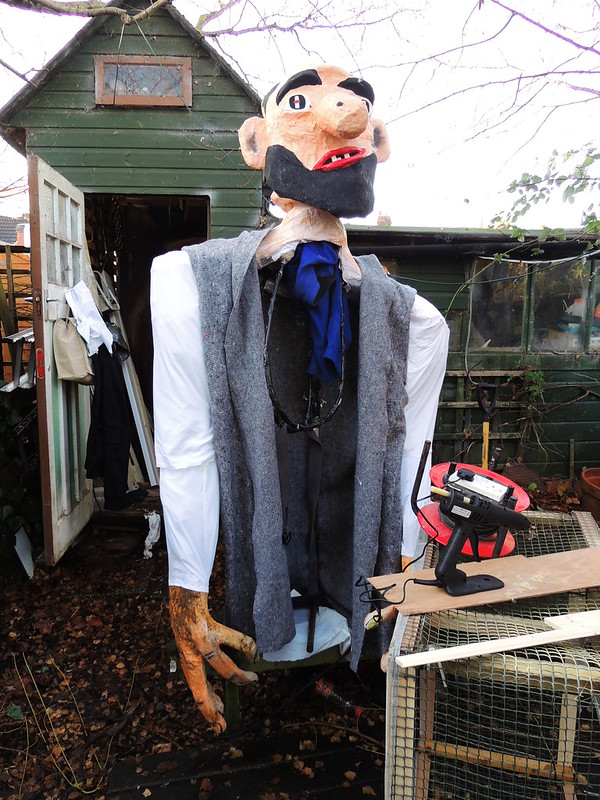
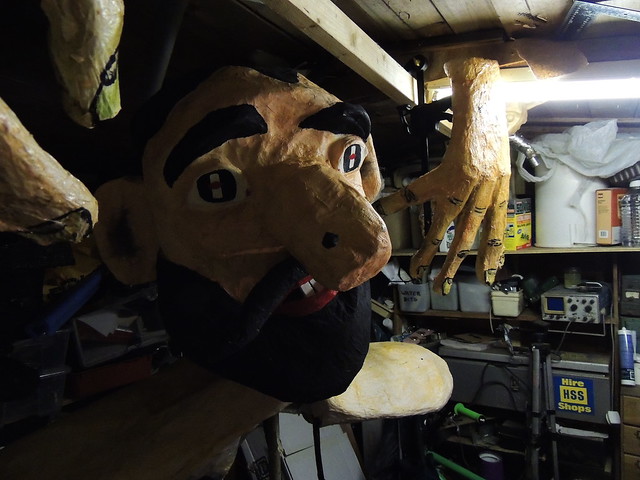
It was built by adapting an existing papier mache scarecrow head, adding a lightweight support-brace to mount the head onto an actor's head and upper body. With 18" hands added, it gives a fairly big physical presence despite weighing very little.

When worn, the giant stands about 7' 6". The height is dependent on the height of the wearer. The costume adds about 20" (50cm) to the height of the operator and about 24" (60 cm) to the length of the arms, and this was a 5' 10" actor.

Making a pantomime Giant

Inside the costume is a head mount and shoulder braces (thin black loops)

Making a pantomime Giant

Looking up into the costume. The head sits on a skull cap, with front and back bracing to take the weight off the actor's neck.

Making a pantomime Giant

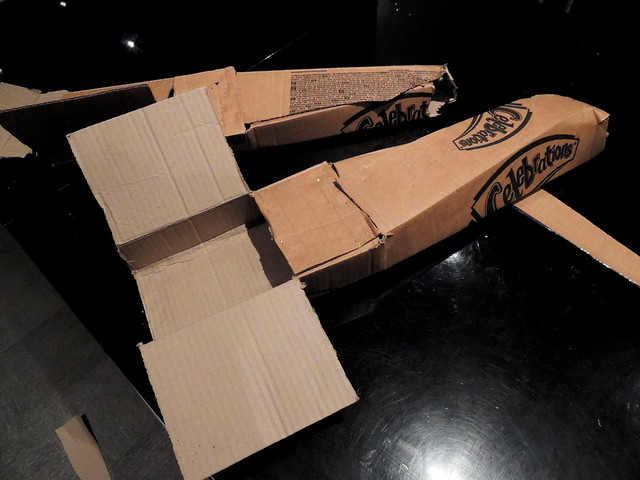
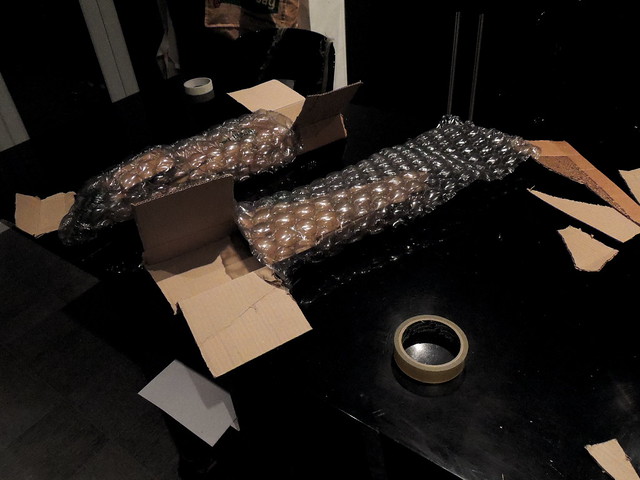
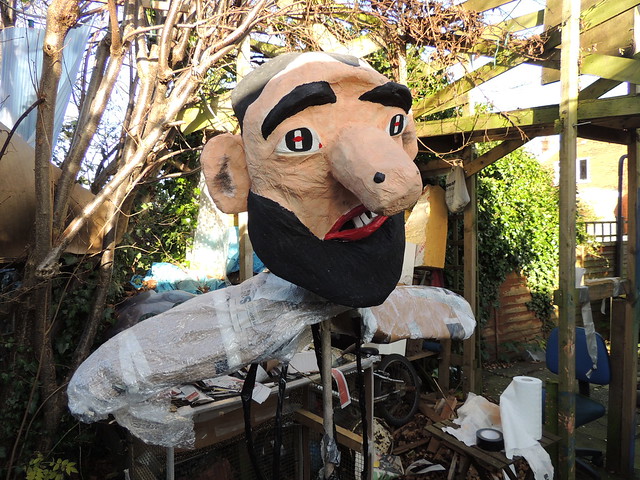
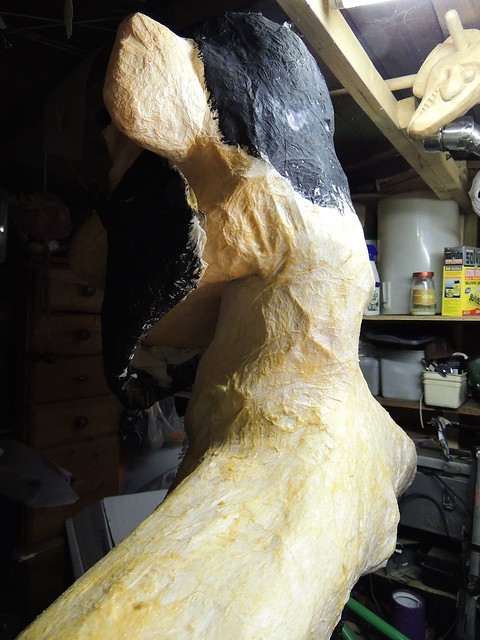
The head itself was made previously by someone else. To make it wearable a mount was added, then a lightweight set of shoulders built up (mainly thin card over a willow stick frame with bubble wrap skinning.

Making Panto Giant costume

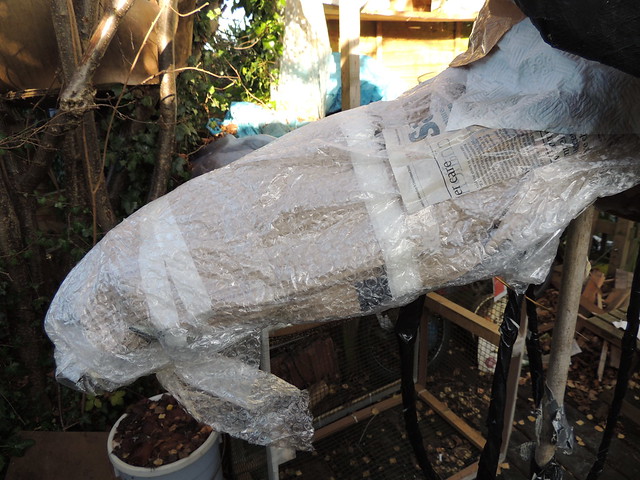
A close-up of the shoulder base.

Making Panto Giant costume

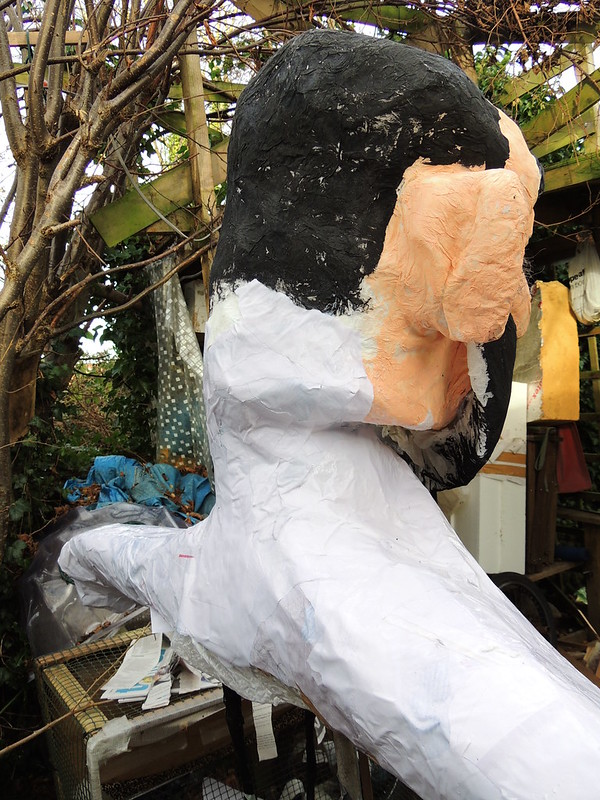
The shoulders were covered in papier mache, which was blended into the exisitng head to form on solid head and shoulder unit.
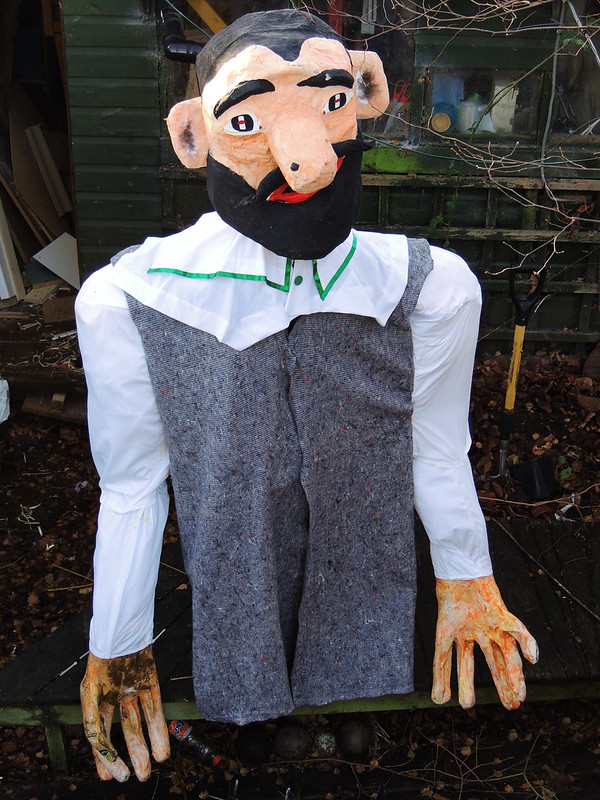
Making Panto Giant costume

From the front...

Making Panto Giant costume

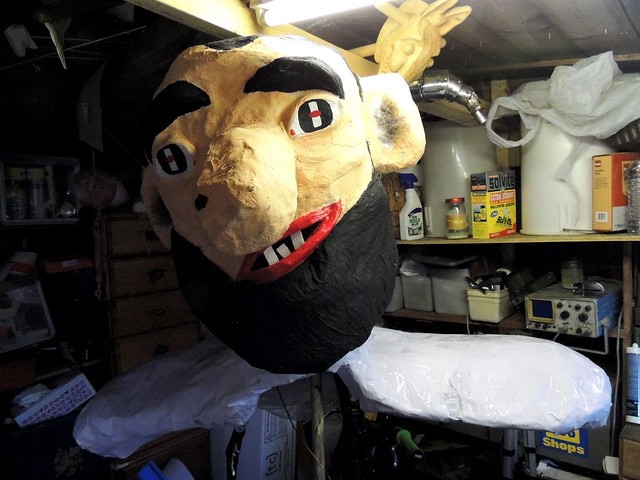
Neck/head joint shown here after final tinted latex coat has been added for durability.

Making hands for a pantomime giant

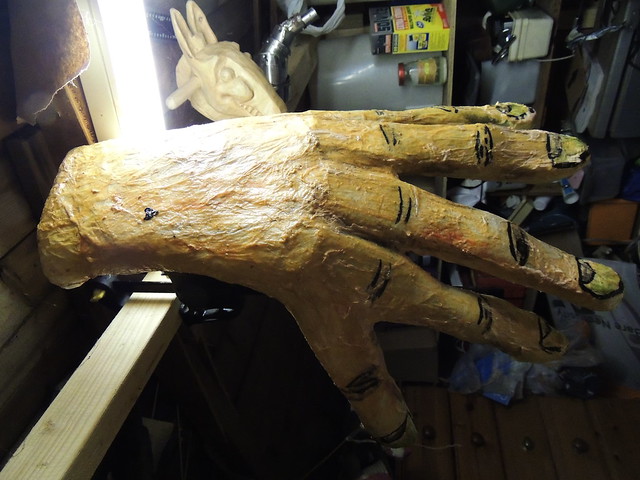
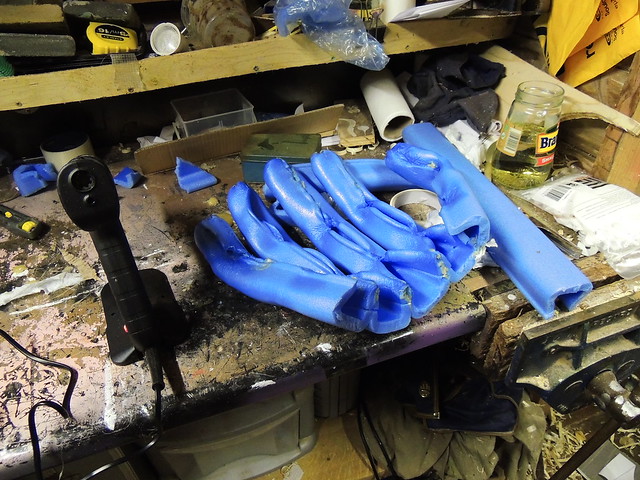
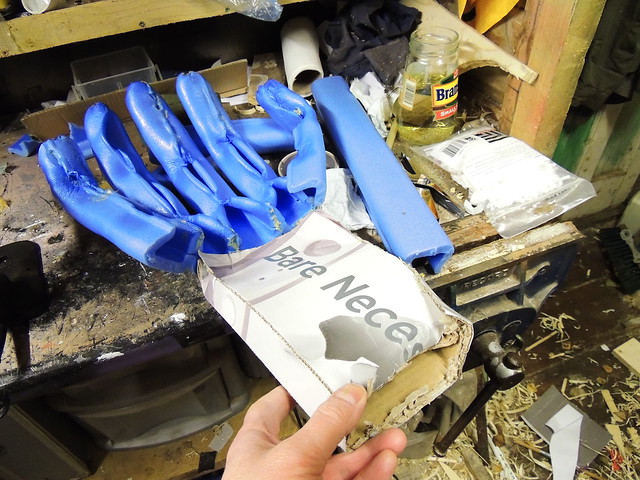
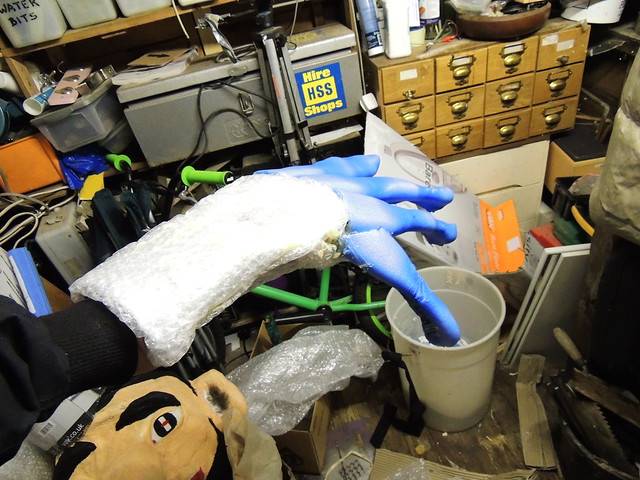
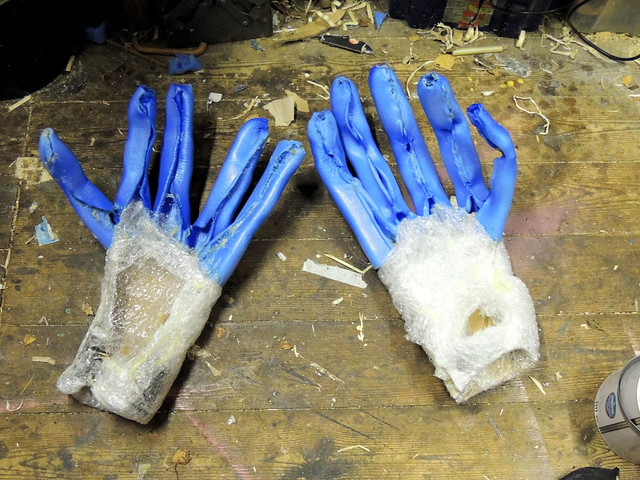
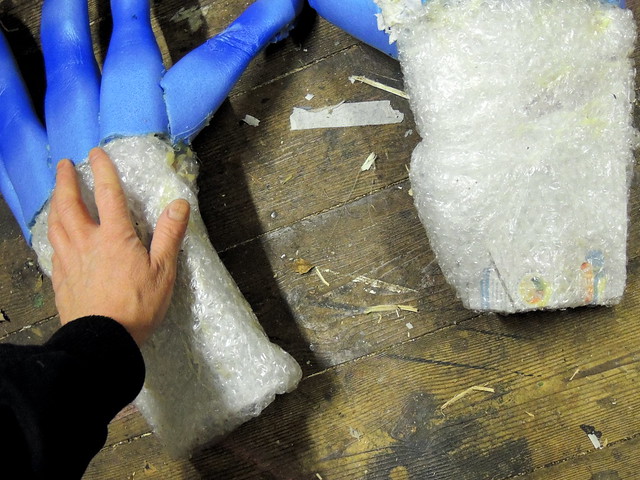
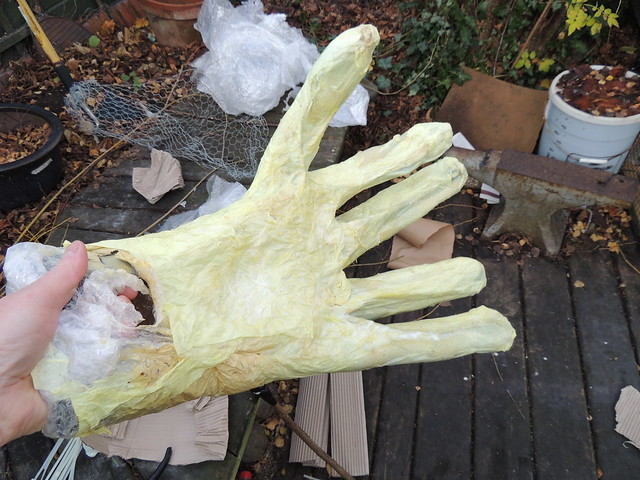
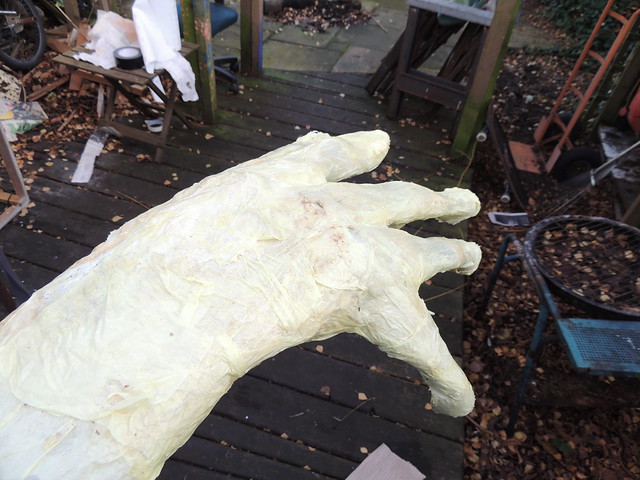
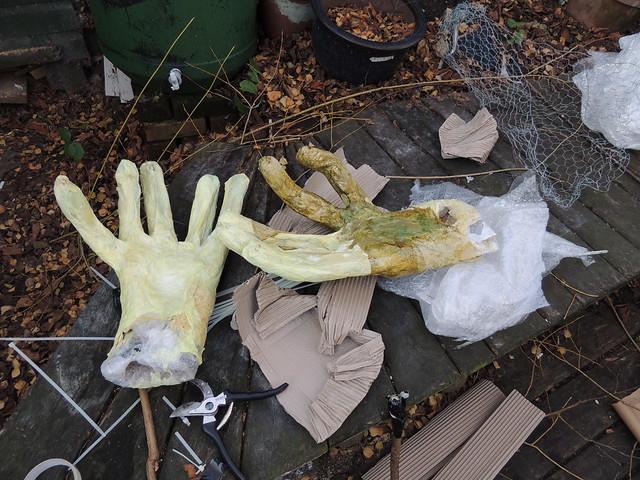
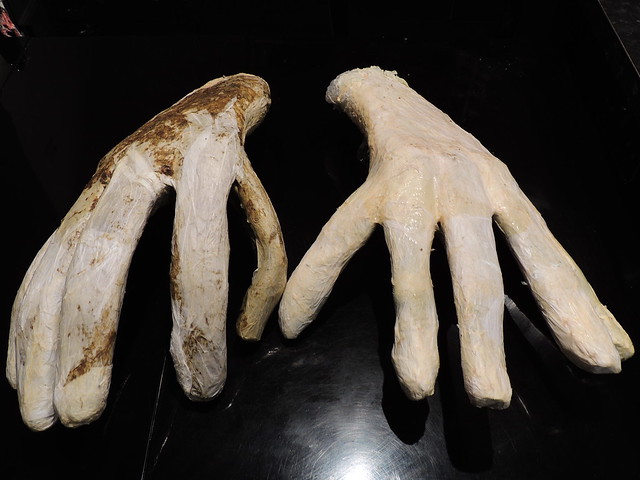
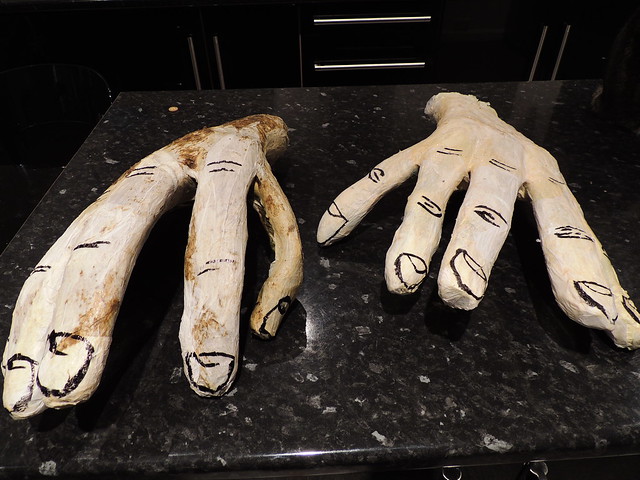
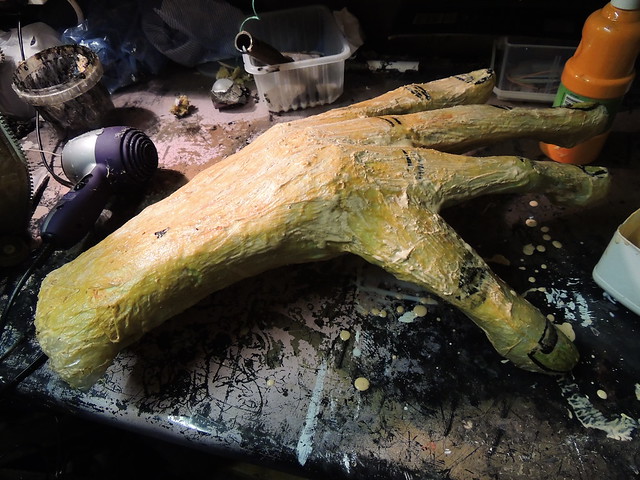
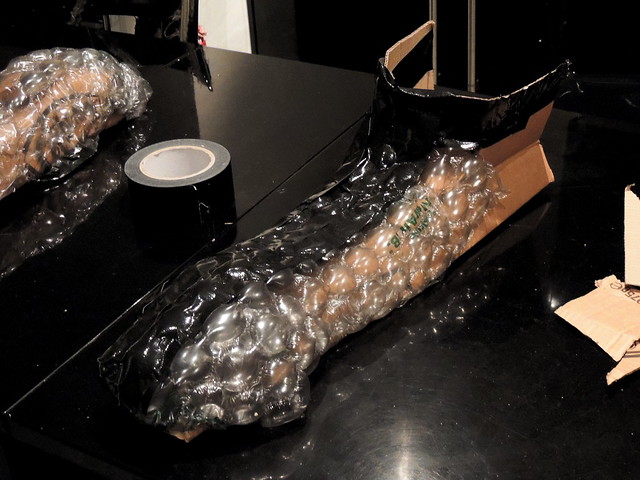
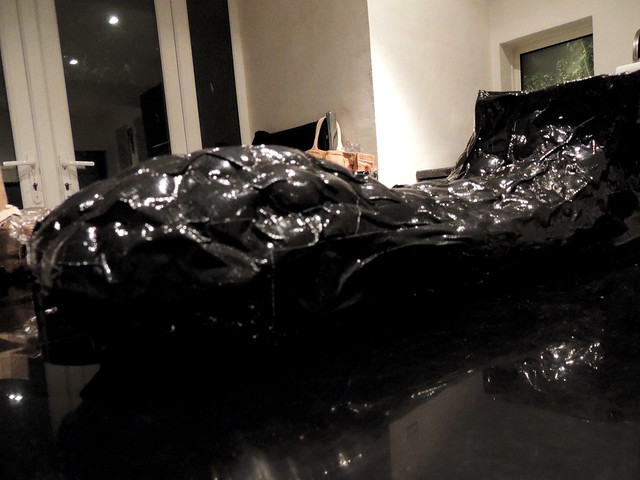
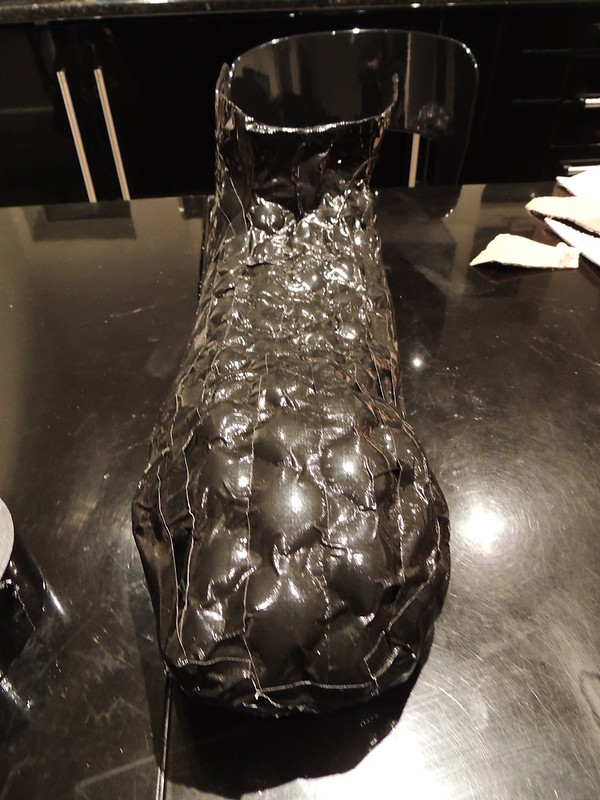
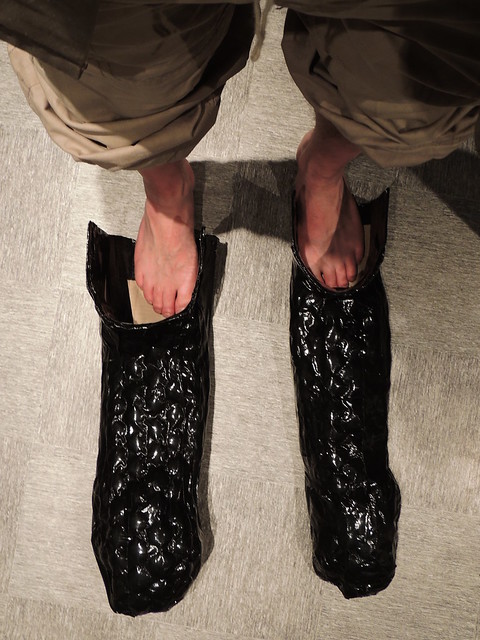
Next some hands were needed...
Note there is a whole post about how these were made:
http://makingweirdstuff.blogspot.co.uk/2012/12/making-lightweight-hands-for-giant.html

Making a pantomime Giant

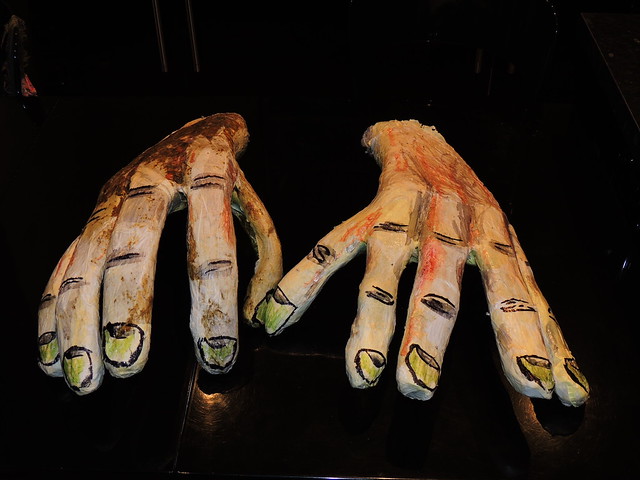
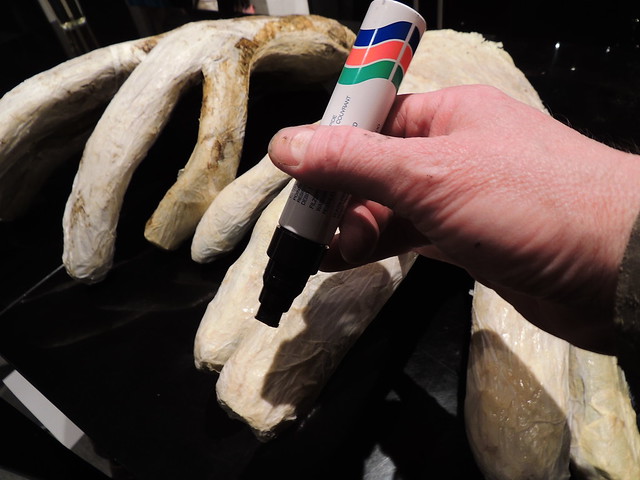
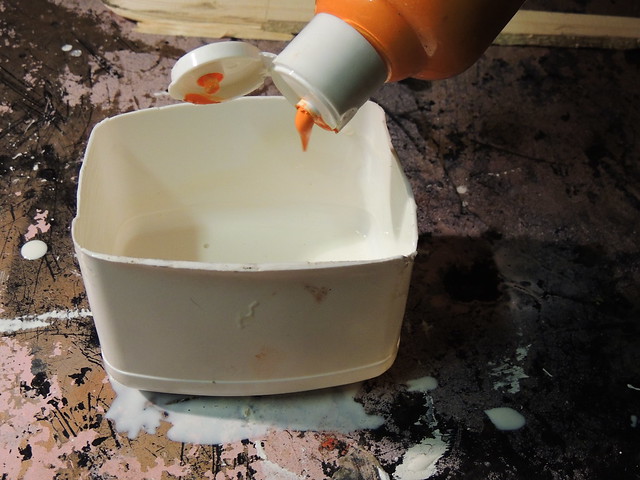
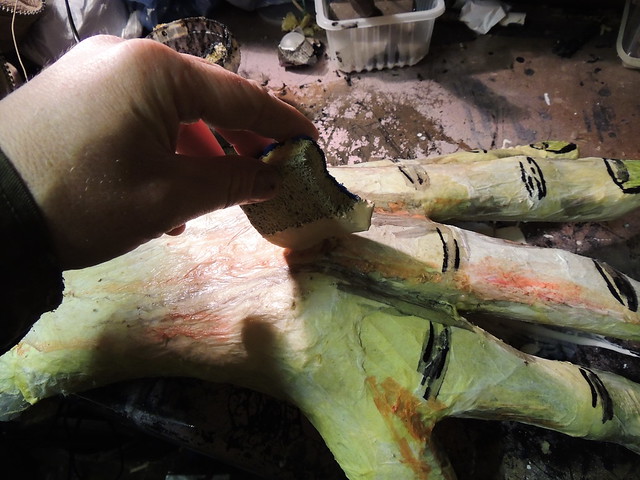
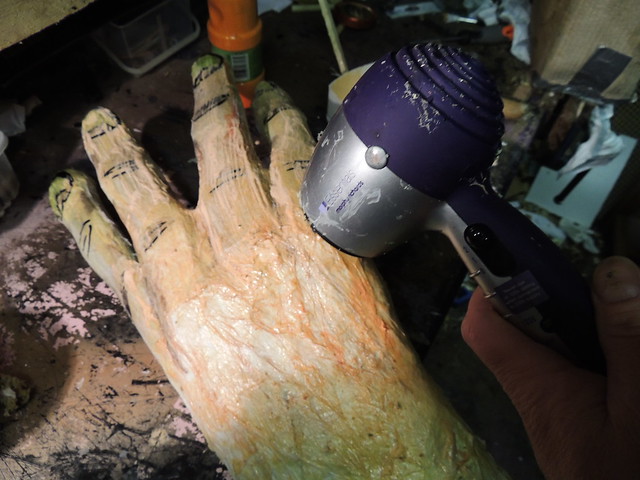
The head and hands had a final coat of coloured latex, to keep the skin colours consistent

Making hands for a pantomime giant

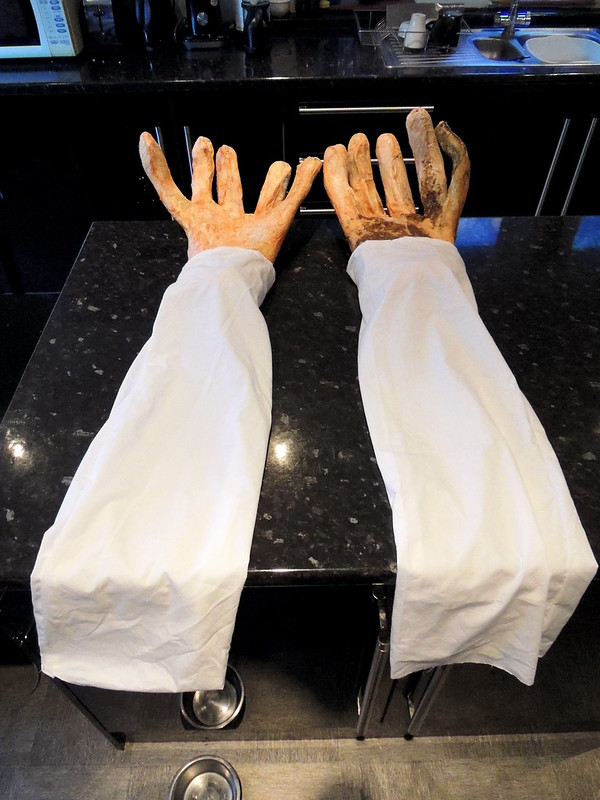
The hands were given sleeve-arms, made from white sheets...

Making a pantomime Giant

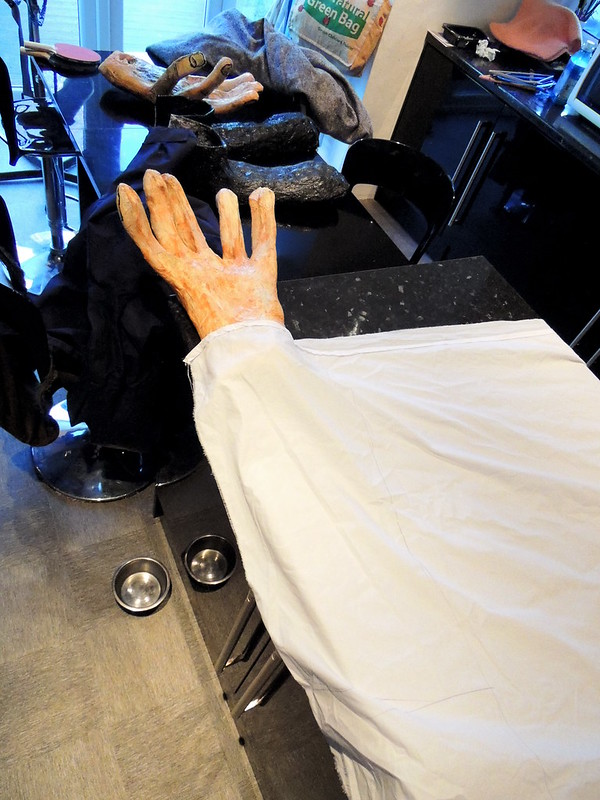
There is bubble wrap inside the sleeves to keep them from collapsing and to make sure they still look bulky like arms...

Making a pantomime Giant

The sleeves were attached to the shoulders...

Making a pantomime Giant

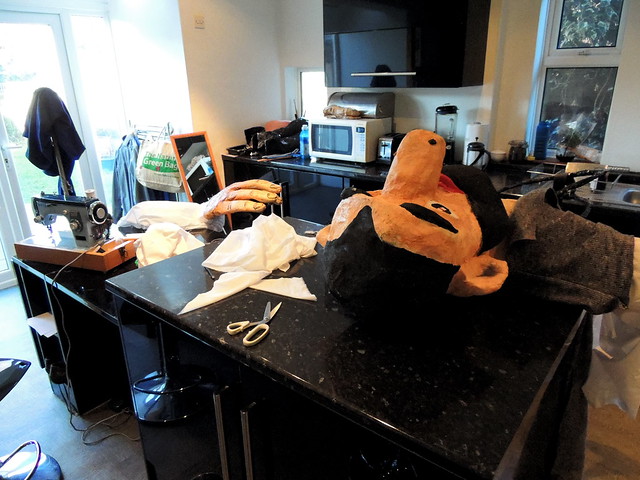
And a tunic was fitted over the top...
You can't see them here, but each hand has a 3' pole attached for the actor to operate the puppety arms. The arm span is quite substantial.

Making a pantomime Giant

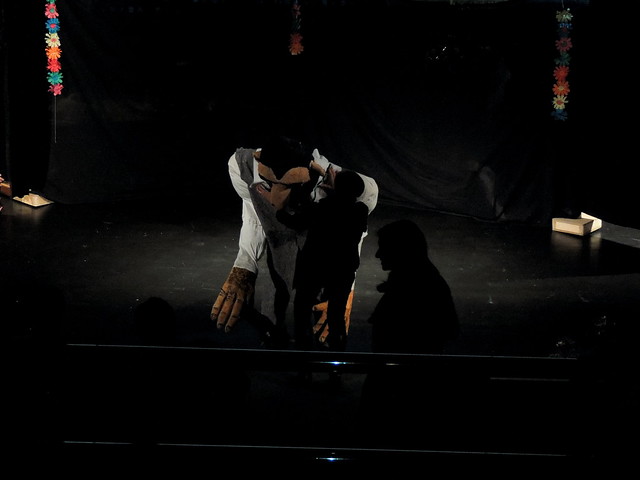
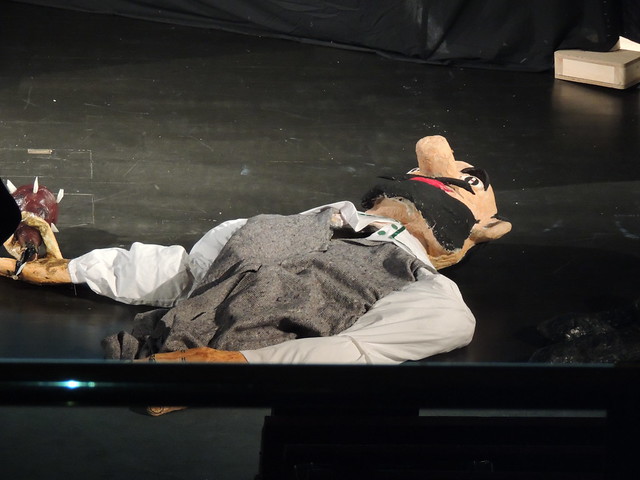
Here it is on stage, prior to action...

V&A charity panto 2012

And with the actor in costume. They are stooping here to allow a dresser adjust the collar, but you can get a sense of the relative size of the giant compared to the other actors.

V&A charity panto 2012

Tuesday 25 December 2012

Making lightweight hands for a giant puppet

Some simple, but rather amusing 18 inch long hands!

Making hands for a pantomime giant

They started as packaging foam, glued together with hot glue...

Giant hand for Panto Giant

Add to this was some cardboard to form a palm...

Giant hand for Panto Giant

To which cling film was added for lightweight padding...

Giant hand for Panto Giant

Seen palm up...

Giant hand for Panto Giant

Here's a standard size hand for comparison...

Giant hand for Panto Giant

An outer skin is added with papier mache. This is tissue (wet strength) with latex as glue

Giant hand for Panto Giant

From the top...

Giant hand for Panto Giant

One hand was made manky, using coloured paper in the mache layering...

Giant hands for Panto Giant

Eventually looking like this...

Making hands for a pantomime giant costume

Some knuckle joint detail was drawn on using marker pen...

Making hands for a pantomime giant costume

and finger nails etc...

Making hands for a pantomime giant costume

To give basic details...

Making hands for a pantomime giant costume

Finally a top coat of coloured latex was applied. This is simply natural latex with craft paint mixed in...

Making hands for a pantomime giant

yum...

Making hands for a pantomime giant

Sponged on with a washing up sponge...

Making hands for a pantomime giant

Drying is sigificantly accelerated with heat from a hairdryer...

Making hands for a pantomime giant

The latex is opaque before it cures...

Making hands for a pantomime giant

As it dries, it starts to become transparent...

Making hands for a pantomime giant

The finished hands.

Making hands for a pantomime giant costume


Friday 21 December 2012

Making pantomime shoes

Here's a quick and dirty way to knock out a pair of comedy shoes. In this case for a pantomime giant.  This is part of a performance puppet/costume. More on that in a later post...

The shoe fits over existing shoes, and can be secured if required with black tape.

Making a pantomime Giant

The basic structure is based on a corrugated cardboard base-board that is folded at the shoe end to make a strong structure. This is fairly roughly stapled. Strength is added later with gaffer tape.

Making a pantomime Giant

To make the shape more rounded, bubble wrap is added. The bigger the bubble size, the lighter the structure, but the more noticeably bumby the texture.

Making a pantomime Giant

The outside later is black gaffer (duct) tape. This is strong and bonds it all together as well as providing a smooth coloured skin.

Making a pantomime Giant

The combination of internal stiffness from the card and outer toughness from the tape gives toughness and durability needed for a costume prop, which will take a hammering.

Making a pantomime Giant

And here you have it... Took about 30 minutes to knock these out.

Making a pantomime Giant

Feet go in here...

Making a pantomime Giant

like this...

Making a pantomime Giant

Not shown here, but added durability and protection was added later using dyed latex. This is standard natural latext which is dyed with craft paint (PVA based), but any water-based paint or ink will do it.
Shown here is a household sponge, used to apply the latex. It needs at least two coats. It can be strengthened by adding other materials. For example, if you have access to fibres from woodworking machines this makes latex extremely strong once set..

Stained latex

Thursday 8 November 2012

3D workshop at Metrix Create:Space, MCN Seattle

Some shots from a great 3D printing workshop at Museums Computer Network 2012 in Seattle, in the really awesome Metrix Create:Space. Missing some names, so if you were there, please comment them :)

Don Undeen showcases Autodesk 123d.

Here's what I have managed to knock out with this:
.

3D workshop at Metrix makerspace Seattle

3D workshop at Metrix makerspace Seattle

Looking at Meshmixer to clean up captured 3d models

3D workshop at Metrix makerspace Seattle

The awesome racks of makey hardware in the Metrix Create:Space

3D workshop at Metrix makerspace Seattle

The even more awesome hacking hardware VENDING MACHINE!

3D workshop at Metrix makerspace Seattle

Using Repetier with a Microsoft Kinect to capture a mesh

The object is a person standing on a turntable.
3D workshop at Metrix makerspace Seattle

Looking at a powder printer in the Metrix Create:Space

3D workshop at Metrix makerspace Seattle