Showing posts with label hacking. Show all posts

Saturday, 31 May 2014

Quick hack of phone case to add bigger battery

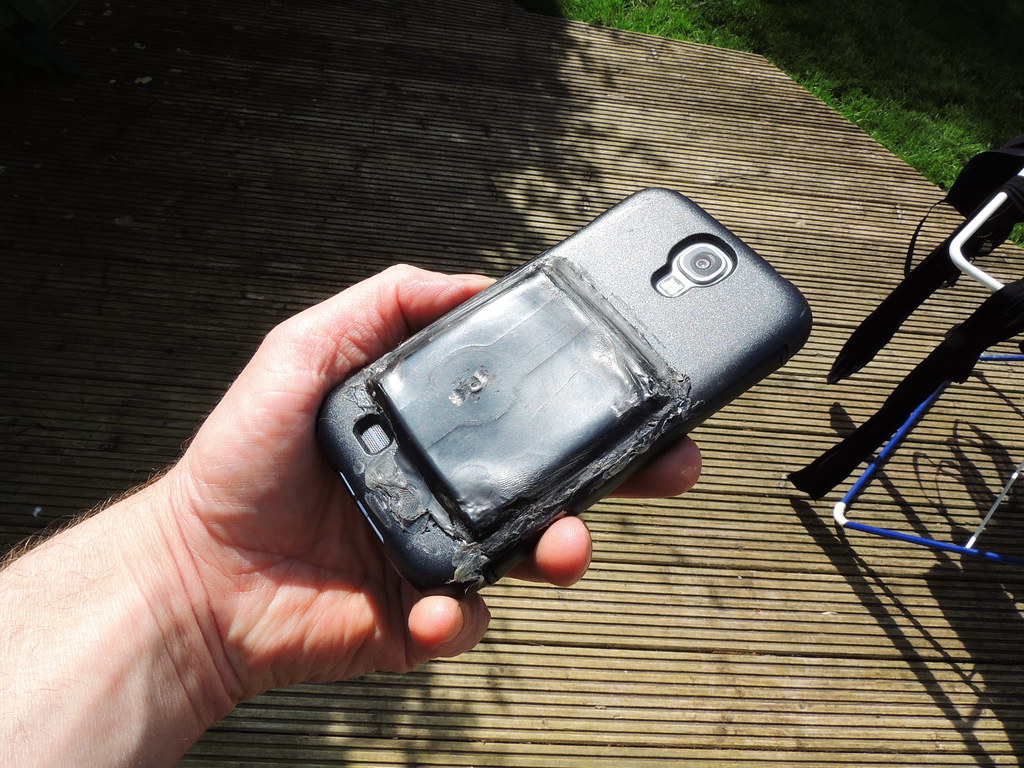
Here's a few pics of an enjoyable hack up of a case for a bigger battery I bought for my phone. This one has twice the capacity of the standard battery, but is thicker. What a great excuse to hack together a case for it.

This beauty is half cheapy bought case and half sliced up old ice-cream container...


Here's the battery getting measured out. This was to get a hole cut to allow the extra thickness to protrude


mmm... diamond encrusted cutting wheels... I love my Dremel.


35,000 rpm - cutting out the panel in the shop bought case
a

Next - cutting out a slightly bigger piece of plastic from a black ice cream container


The edges of this were shaped by gentle heating to soften the plastic then forming over a hard edge held in a vice. To heat, a standard cigarette lighter was used


Once completed, this was glued on with the trusty glue gun...


et voila!


Monday, 8 April 2013

Making a restricted-key data input by physically hacking up a keyboard

Hive-mind Fortune-reader

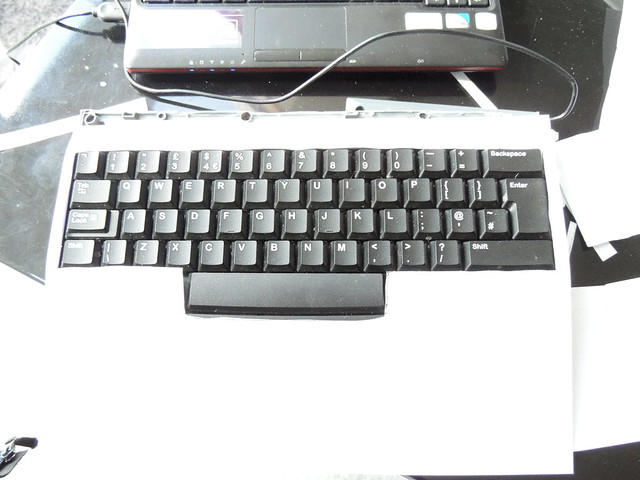
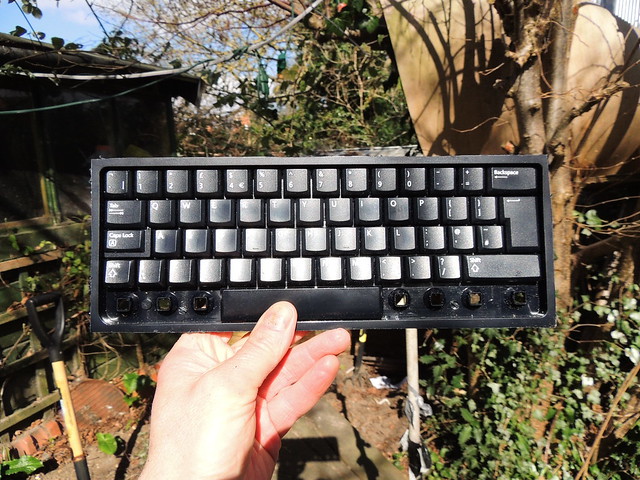
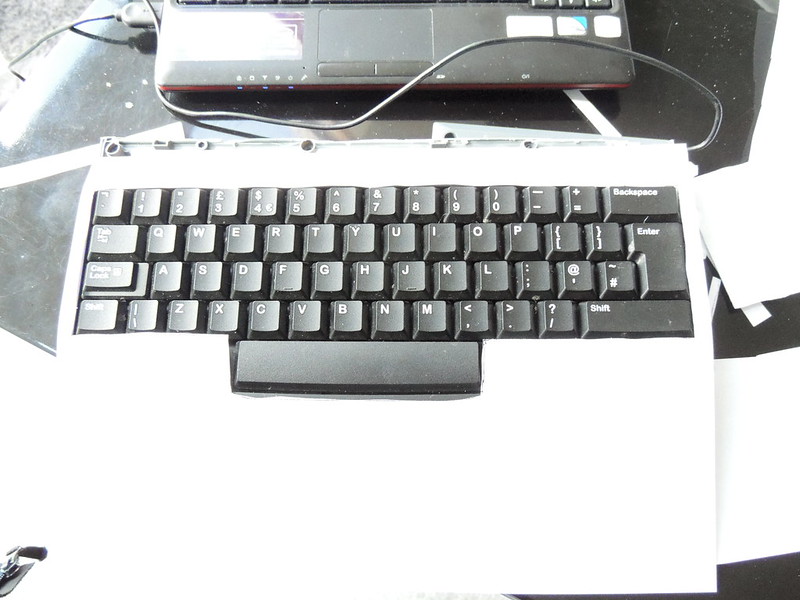
This is roughly what the keyboard will look like on the fortune teller machine. It is needed to allow people to enter their twitter name. It's neat, but not really quite the ideal look. It could quite happily benefit from being steampunked or even just fairground-punked or something. If time allowed, I might have carved wooden keys. Actually maybe, Bakelite..

Hey ho, in the meantime it delivers the necessary, even if a little un-designed.
Hacking a keyboard

On the other hand, the good thing about testing these possibilities is that you get to hack through plastic in a generally therapeutic way...

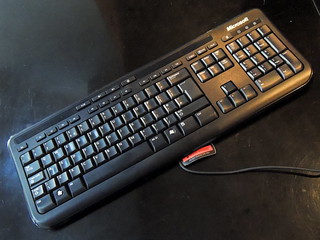
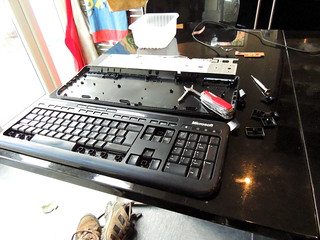
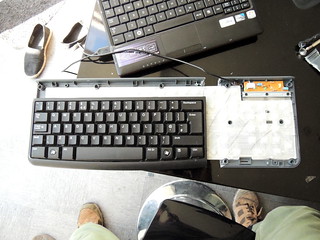
Before and after...
Hacking a keyboardHacking a keyboard


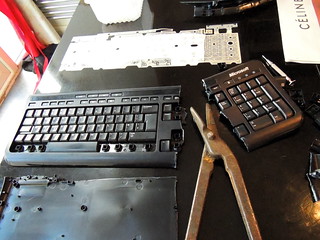
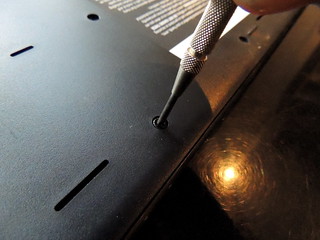
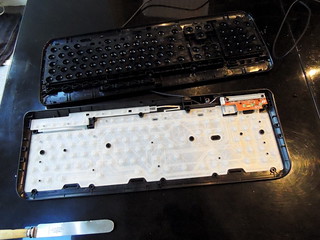
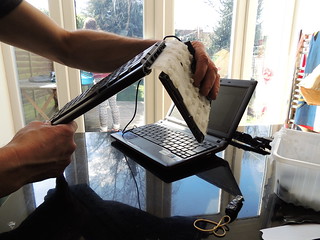
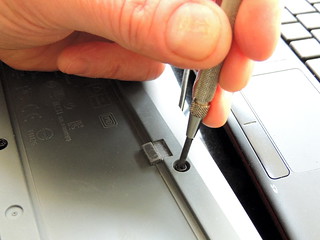
To start with, first unscrew everything, to reveal the innards...
Hacking a keyboard
Hacking a keyboard


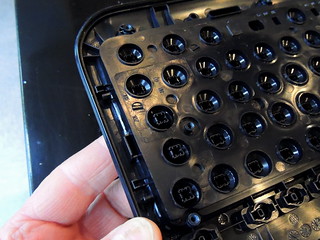
The key mechanism is great...
Hacking a keyboard Hacking a keyboard


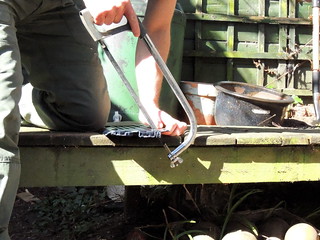
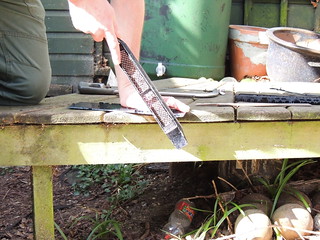
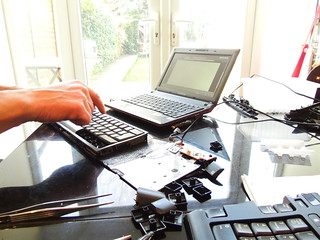
Hacking off the end of the board eighteenth-century-ship style - with a saw, then planimg it down - so enjoyable!
Hacking a keyboard Hacking a keyboard


This looked pretty neat in the spring...
Hacking a keyboard

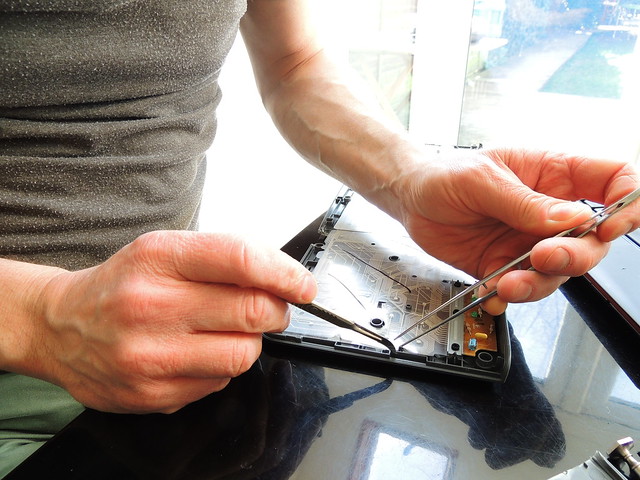
But underneath all that, there's a rather sensitive set of plastic circuit matrices. These capture the physical presses of keys and make the corresponding electronic connections
Hacking a keyboard Hacking a keyboard

Sadly, I managed to kill the first board by some rather unsubtle trimming (subtltey is not really my thing), so take two was rather more careful. Trim the plastic and just fold the silicone and printed acetate key-press sheets...
Hacking a keyboard Hacking a keyboard


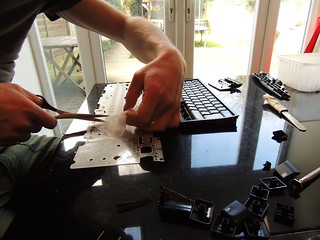
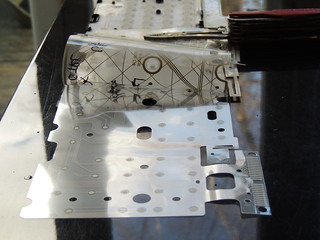
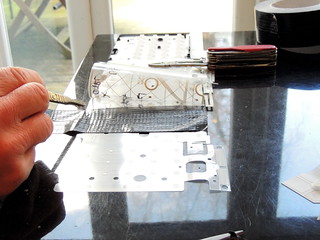
There are two sheets of contacts, separated by a masking sheet. The top sheet has a matrix of electrodes which can connect to corresponding contacts on the bottom sheet. In the middle, the masking sheet has holes that control which contacts can touch. Before folding the sheets, the contacts for any keys that need to be neutralised (like CTRL or WINDOWS or ALT) need to be prevented from touching, and therefore activating anything undesirable!

What you can't really see here is the sellotape used to do this. This was applied accross the sheets to mask the contacts. This needed some filigree-level scalpel work to cut round the screw fittings...

Hacking a keyboard

This is the orignal gaffer tape attempt which was too crude...
Hacking a keyboard Hacking a keyboard


Eventually though, the second attempt worked and the cut down keyboard finally worked..
Hacking a keyboard Hacking a keyboard


This works, but I still want to individually re-create each key...
Hacking a keyboard

Monday, 7 May 2012

Turning a "munny" into a USB cable extension socket - Part 2

Painting the finished model
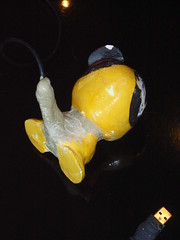
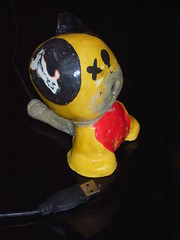
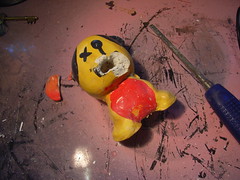
This little beauty is a pimped version of an air-drying clay model munny my daughter made, but discarded.


It has been operated on, to insert a USB extension lead, so that when I get things off a USB memory stick into the computer, I can use this instead of finding the USB port on the PC - Much more enjoyable!
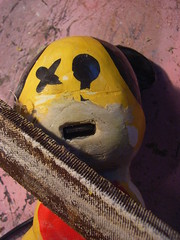



Pimping a ceramic munnyPimping a ceramic munny The USB socket was stuck in the mouth, threaded through a hole throught the body (see previous post).

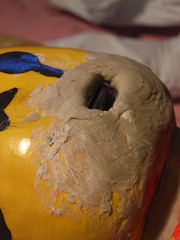
Having been repaired with builder's grab adhesive, the mough was filed and sanded to restore the original shape of the head.


Pimping a ceramic munny Grab adhesive
The original model had slumped during drying, and was not stable.

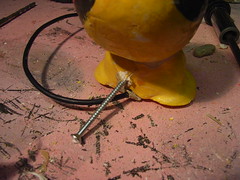
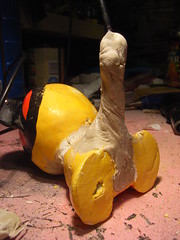
It's centre of gravity was too far back, making it fall over backwards easily. To make it stable, a tail was built. A splint was added by screwing a galvanised wood screw into the model
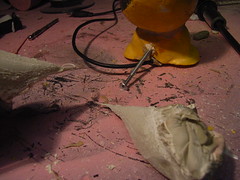


Pimping a ceramic munny
More grab adhesive was packed round the screw and a tail modelled up around it
Pimping a ceramic munny


Pimping a ceramic munny

This was left to dry hard. This took about a week. The surface dries in a day, and although it can then be painted, the underlying adhesive is still plastic. This means it can easily be distorted during handling.

Once dry, it was filed and sanded as the mouth had been above.

Note, the model's right ear (on the left looking at it) had been damaged beyond repair and was deliberately left as a scar.
Painting the finished model

Painting the finished model
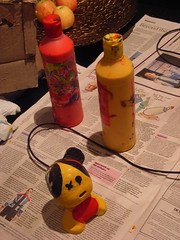
Once sanded, it was then wiped down to remove filing dust, then repainted back to its original scheme.  (left)

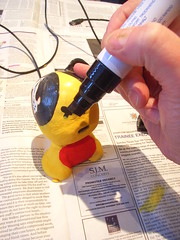
The black details were then reapplied using permanent marker pen (right)


Tuesday, 1 May 2012

Turning a "munny" into a USB cable extension socket

Hacking model into USB extension socketGrab adhesiveThis is a hack job on one of my daughter's models. She has rejected it, but it's too lovely to discard, so here it is half way through being turned into a USB extension lead socket - an unnecessarily OTT socket maybe, but certainly more fun than a dull black plastic housing...

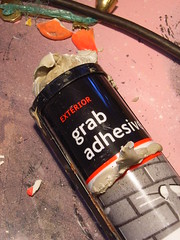
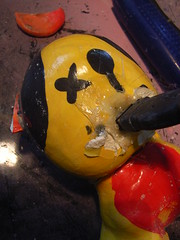
The mouth has been built up using grab adhesive, widely used in building to attach cladding, etc.. This is a surprisingly good modelling material: workable, but fast drying and hard when set

Hacking model into USB extension socket

Working backwards here, before the final mouth remodelling above, the USB socket had to be fitted to the existing model.


This is a normal extension lead, placed into a cavity hacked out of the mouth, then glued in place with hot glue


Hacking model into USB extension socket


The hack job to put the hole in the face is on the left.

the feed hole to get the cable in from below is on the right


here's the cable and original model before surgery!!
Hacking model into USB extension socket