
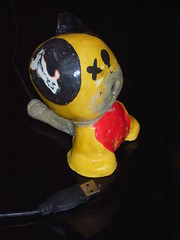
This little beauty is a pimped version of an air-drying clay model munny my daughter made, but discarded.
It has been operated on, to insert a USB extension lead, so that when I get things off a USB memory stick into the computer, I can use this instead of finding the USB port on the PC - Much more enjoyable!
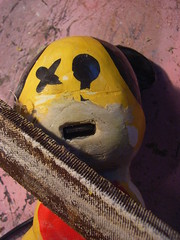
 The USB socket was stuck in the mouth, threaded through a hole throught the body (see previous post).
Having been repaired with builder's grab adhesive, the mough was filed and sanded to restore the original shape of the head.

The original model had slumped during drying, and was not stable.
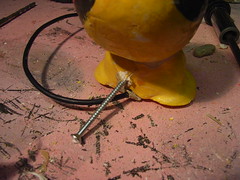
It's centre of gravity was too far back, making it fall over backwards easily. To make it stable, a tail was built. A splint was added by screwing a galvanised wood screw into the model

More grab adhesive was packed round the screw and a tail modelled up around it
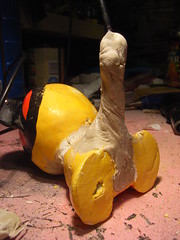
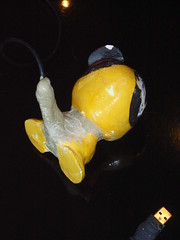
This was left to dry hard. This took about a week. The surface dries in a day, and although it can then be painted, the underlying adhesive is still plastic. This means it can easily be distorted during handling.
Once dry, it was filed and sanded as the mouth had been above.
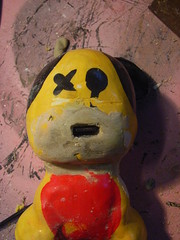
Note, the model's right ear (on the left looking at it) had been damaged beyond repair and was deliberately left as a scar.
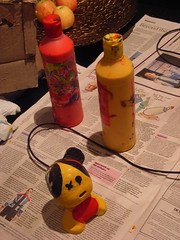
Once sanded, it was then wiped down to remove filing dust, then repainted back to its original scheme. (left)
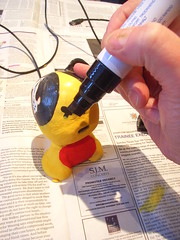
The black details were then reapplied using permanent marker pen (right)
No comments:
Post a Comment