Monday, 22 December 2014

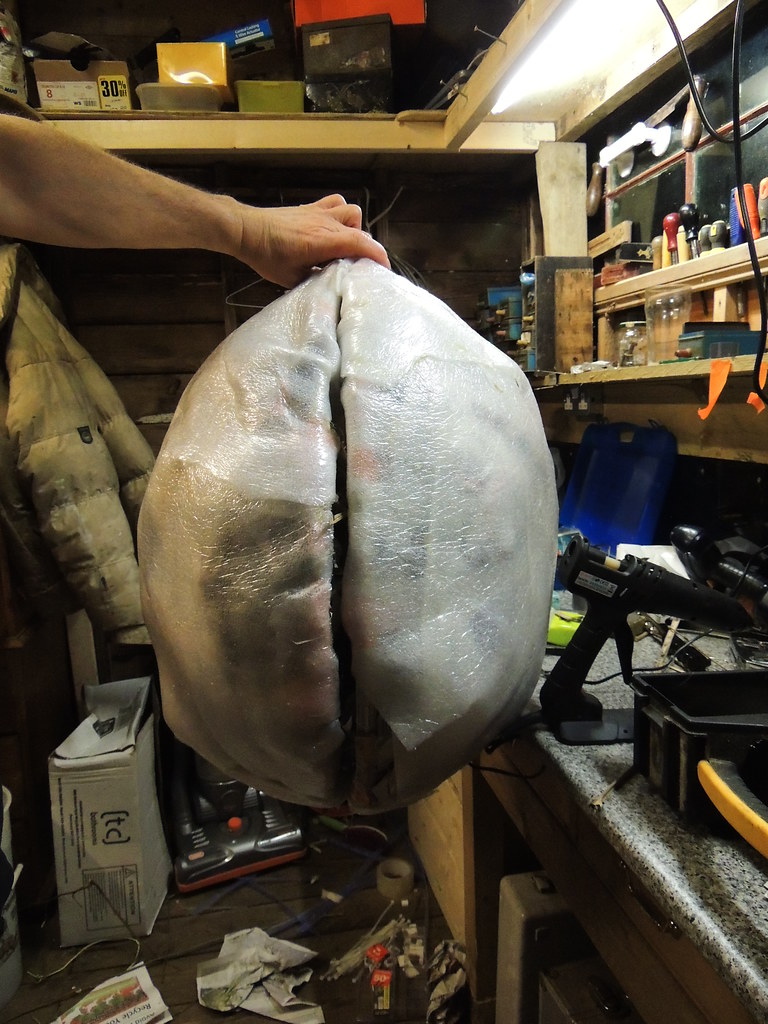
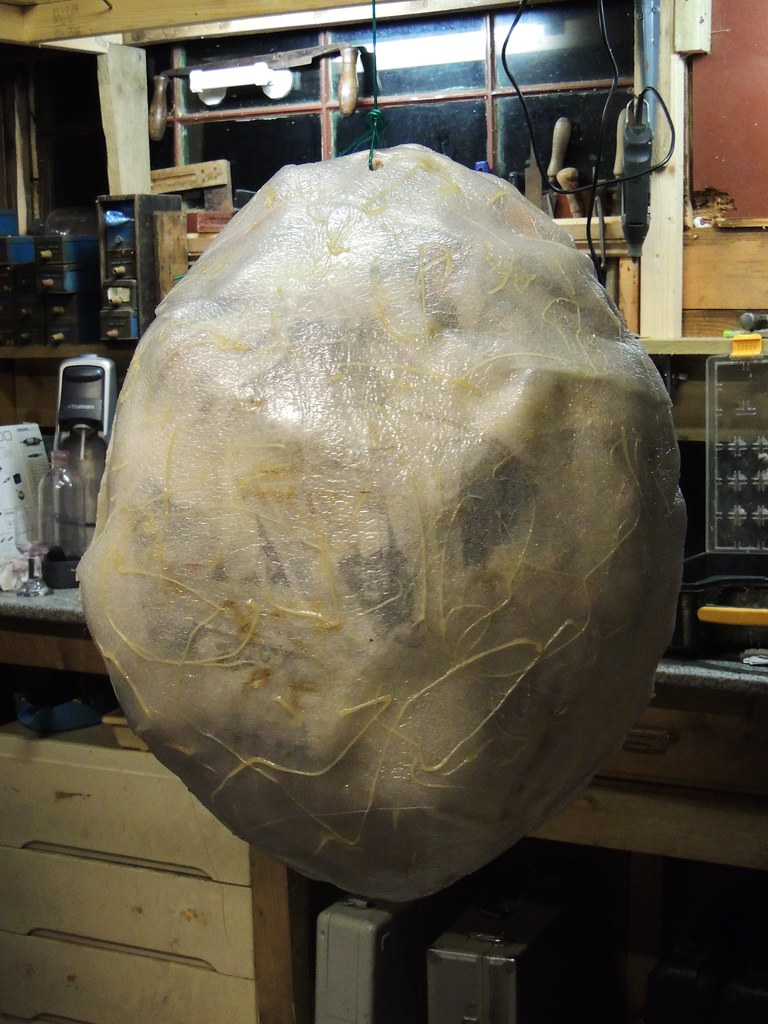
A great big pantomime egg

Technically this is the egg of the Roc from Sinbad, the 34th annual staff V&A panto (really!)
I went for a Gigeresque/Invasion of the Body Snatchers alien vibe.


It is hinged and open's up like a pod...


I was quite pleased with this as I only left myself one day (like, the day before the performance!) to work out how to make this from stuff in the shed and garden.

Here's how it came about...

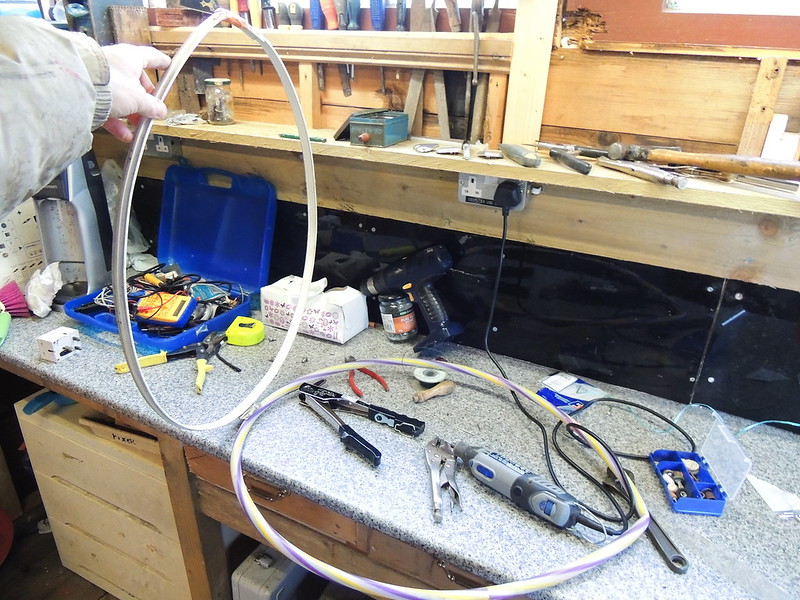
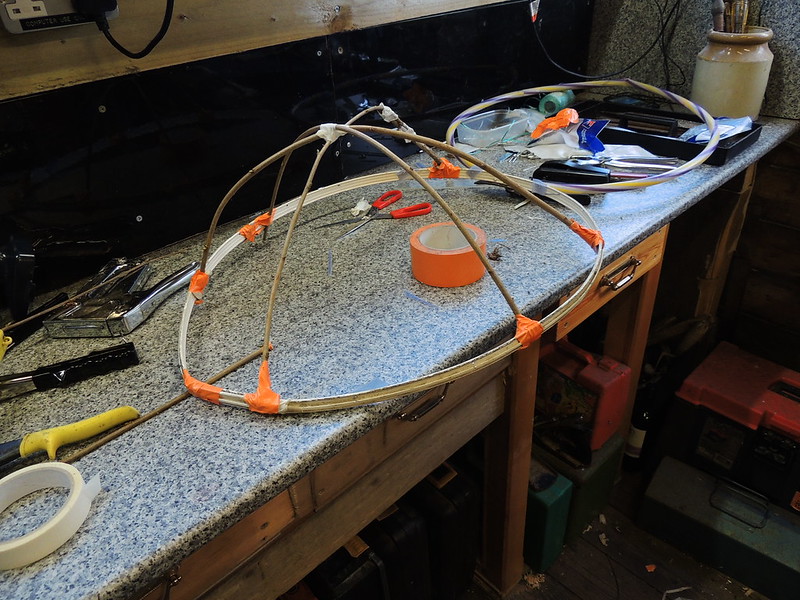
Step 1 - make two matching hoops

Matching in size at least. One is an old bendable curtain rail I've had in the shed for more than 13 years, the other is a hula hoop, found languishing in the garden.


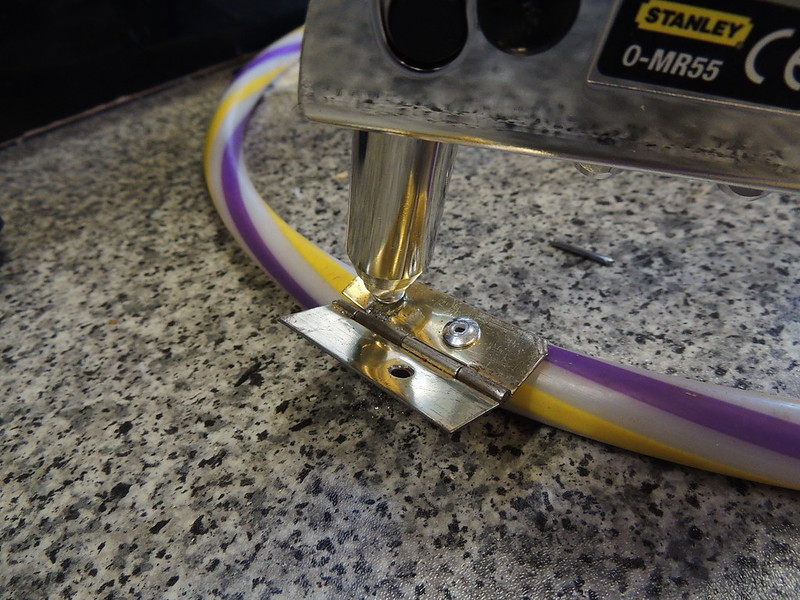
Step 2 - Hinge them at one end

Pop rivets - what a great invention. They work surprisingly well, even with a PVC tube.


Even easier into aluminium curtain rails of course. Here are the two halves suitably hinged...


Step 3 - build up the ovoid shell form

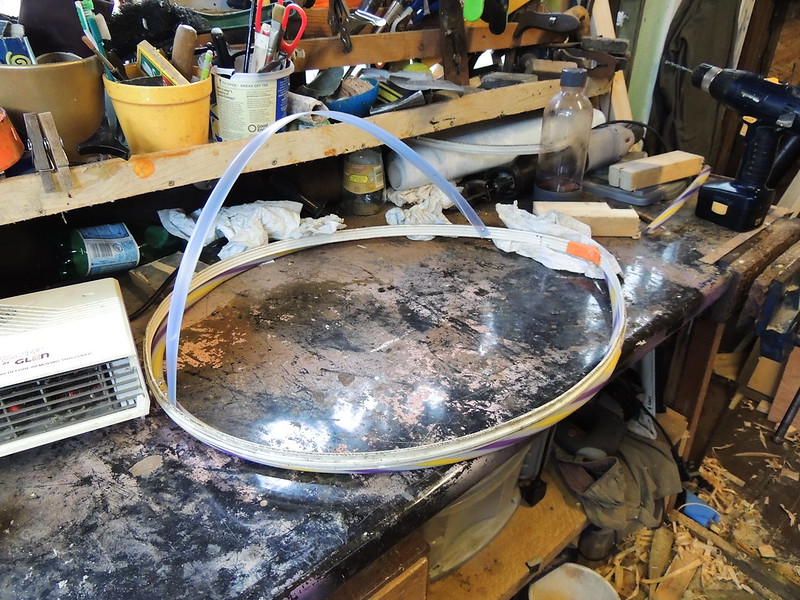
I started with plastic strips, cut from corrugated roofing PVC sheet. This proved too rigidly planar - it only easily bent in one direction and tended to distort the shaping.


Building using this material was also too slow, so I abandonded that...

Luckily I have a semi-coppiced hazel in my garden. This had enough young shoots to cut some whippy sticks.

Ideally, these should have been withies (willow shoots). Willow is much bendier and springy as it has an interlocking grain. This is why it used for cricket bats.
But, I don't have a willow. But, hazel worked.

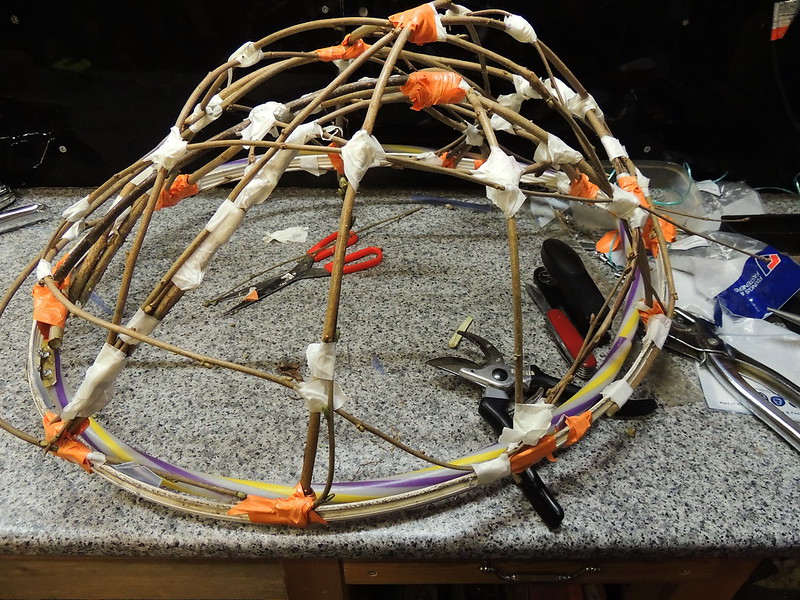
I started with the basic shape using three sticks, with a view to triangulate into a geodesic dome...


This was not clean Buckminster Fuller geodesy though :)

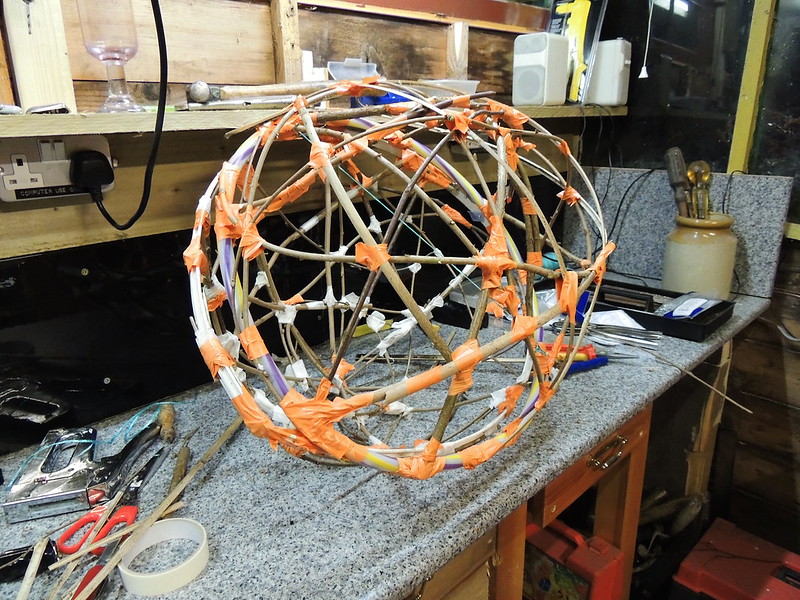
The joints are simply tape bindings. This is a faster and simple technique.  The edge joints and certain key joints required stronger insulation tape but masking tape is good enough for most simple crossover joints.


The joints don't need to be pretty. Just as well really...


Eventually, with some triangulation starting to emerge, the egg halves were built up. This provided a surprisingly strong frame. Triangulated domes? It couldn't go wrong really.


Step 4 - padding the frame

Whilst strong, the skeletal frame was both way too angular and quite hard-edged. It needed to be rounder and softer to handle. As it is quite large, it also needed not to be too smooth and hard. The egg had to be used by the panto performers, so needed to be handleable.

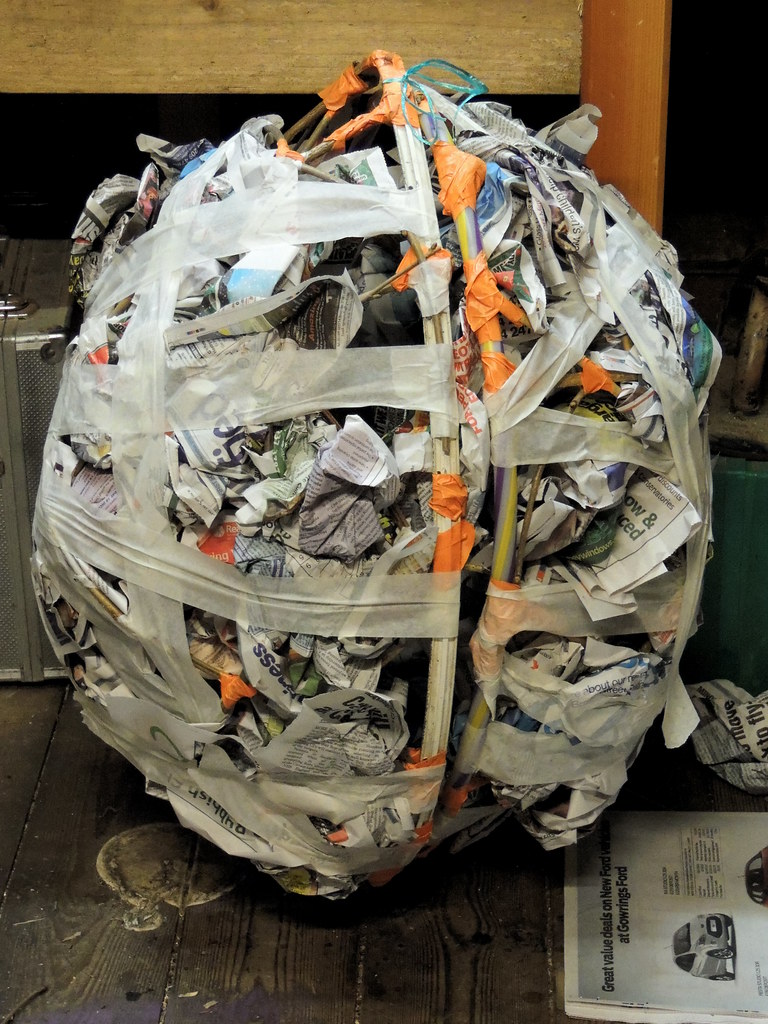
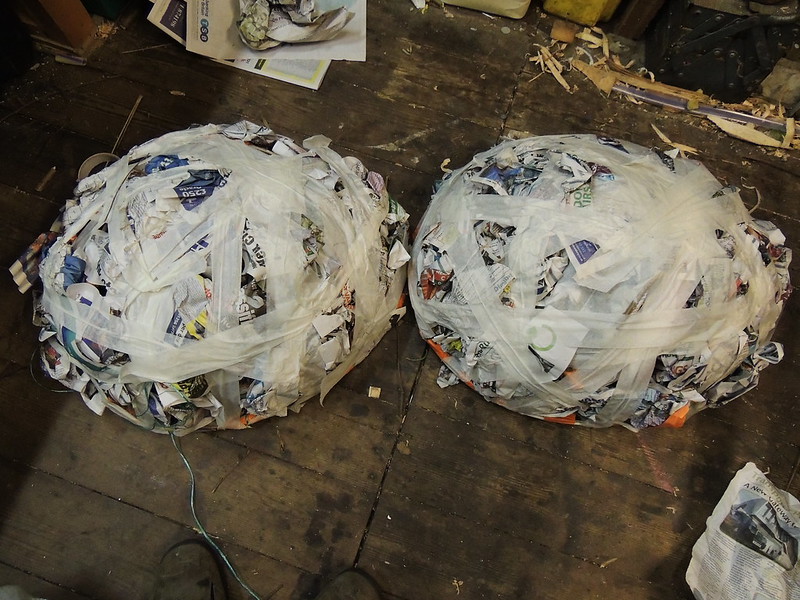
To get a rounder shape, the frame was roughly padded with scrunched newspaper, held into place with masking tape...


Eventually it looked like this


Step 5 - skinning 

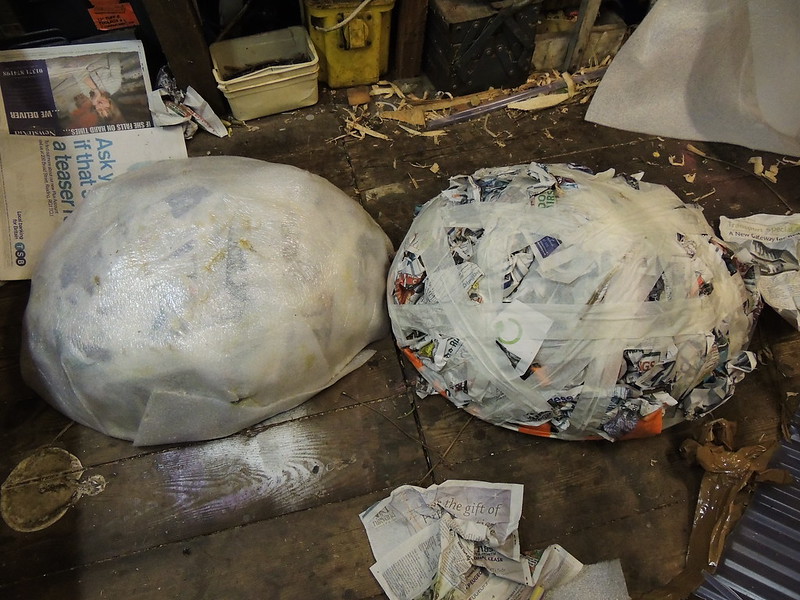
This was OK, but needed a smooth outer coat. Conveniently, I had a load of 3mm foam sheet, used as packaging protection. This was applied with hot glue to stick it on, and stick down seams - where arrows had been cut to shape the foam sheet to the ovoid frame.


The left half here shows some of the jointing. It is much like tailoring. Flat sheets have to have darts cut out and jointed. Obviously, I'm no tailor, so it's rough, but as it was due to be seen from 15 - 100 feet away when in use, this was fine.

Here's the underside...


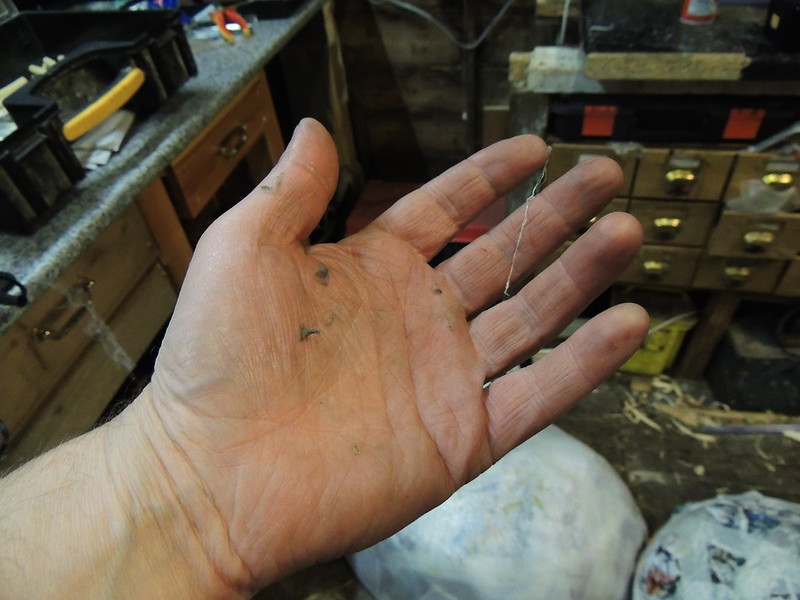
Hot glue guns are awesome, but handmade means burnt hands. Each innocuous blob of glue seen here on my hand represents a burning searing pain-moment. Happily, these were all I got. Land a big blob of glue on the hand and you're in trouble. It burns and it sticks and it insulates, keeping the burn going  - not ideal.


Sunday, 23 November 2014

Fitting out a new work bench

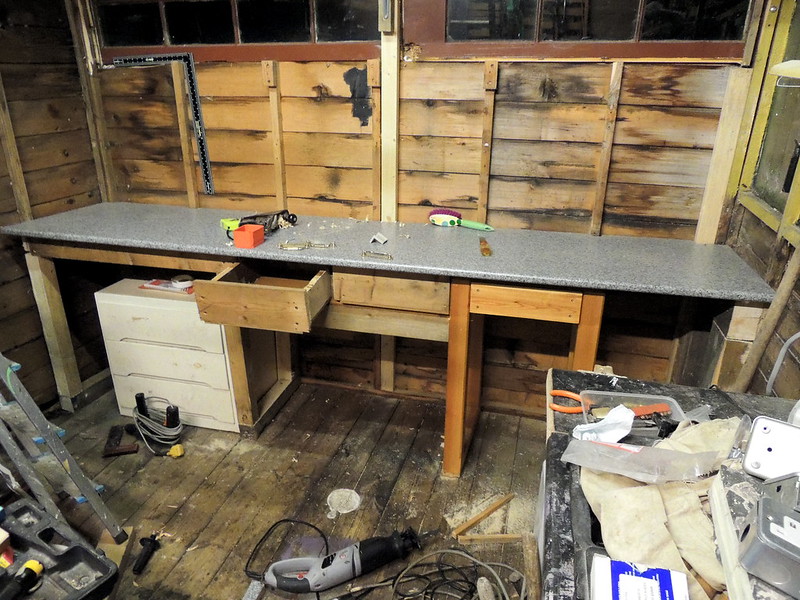
Once you have a nicely expanded shed, you obviously need more workspace. And so, a good 9 foot of extra workbench seemed appropriate...

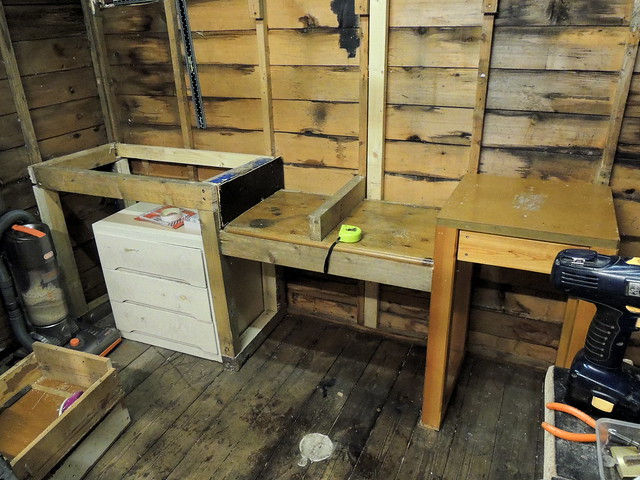
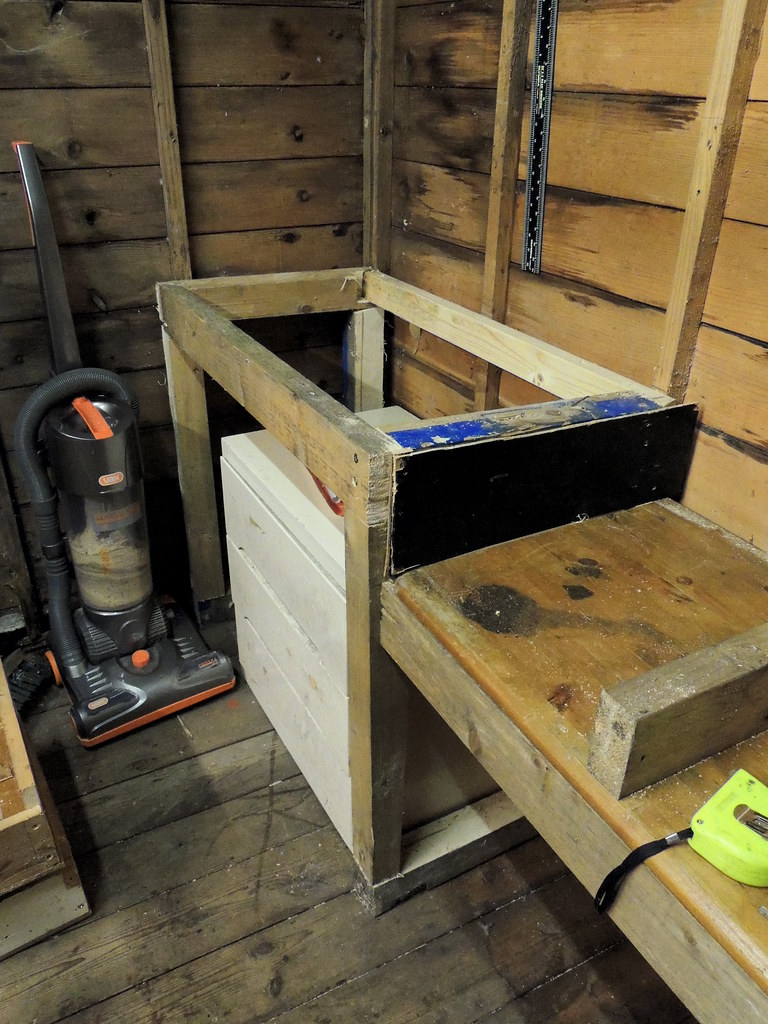
This starts with some pretty sturdy frames (reclaimed timber of course)...


Joints here don't need to be cut. Simply screwed with BIG screws


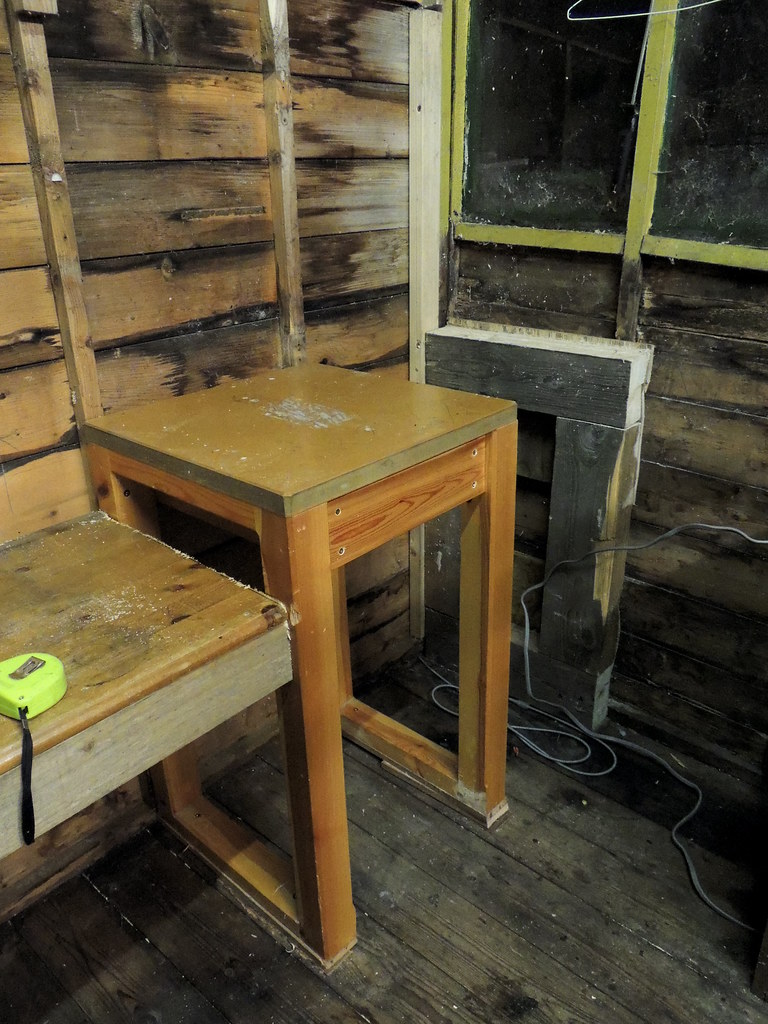
and an existing workbench recycled...


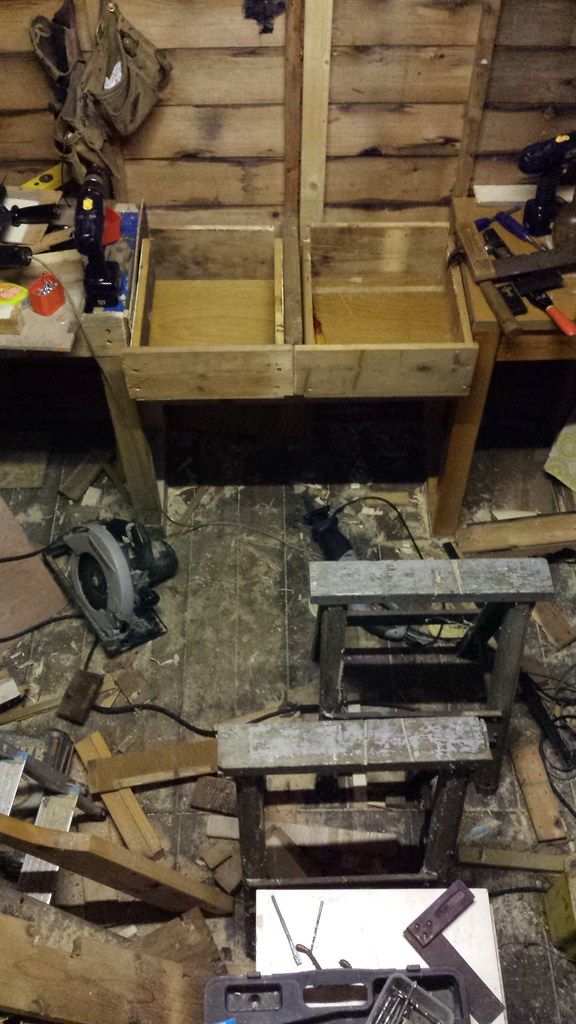
then some gratifying drawer building...


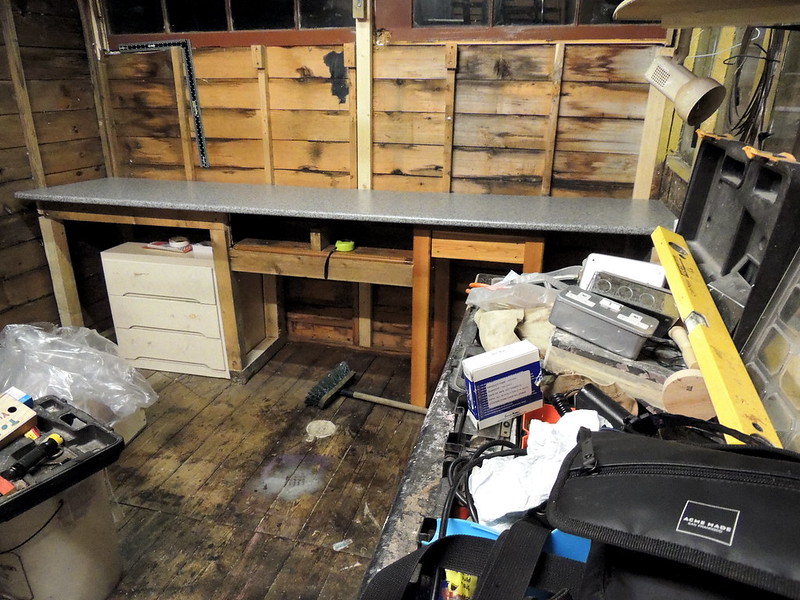
A cheap-end counter top added...


The drawers could then be fine-pruned to fit. This was crudely done with the reciprocating saw (grey thing on floor), then fine-edged with the smoothing plane (just behind the orange box on the counter)...


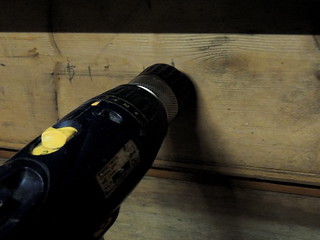
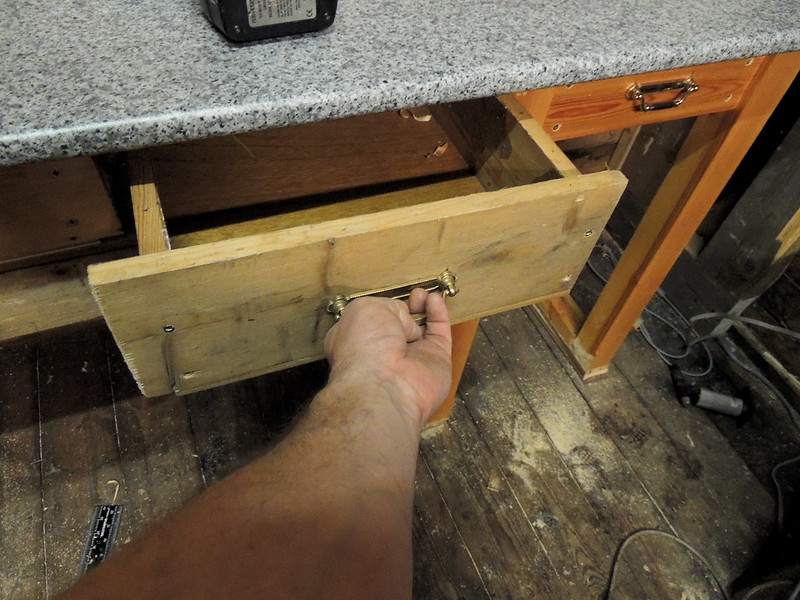
And then some handle-hole drilling.


Screw on some handes. This is particularly satisfying, as I have had these for about 20 years, wondering what to use them for...


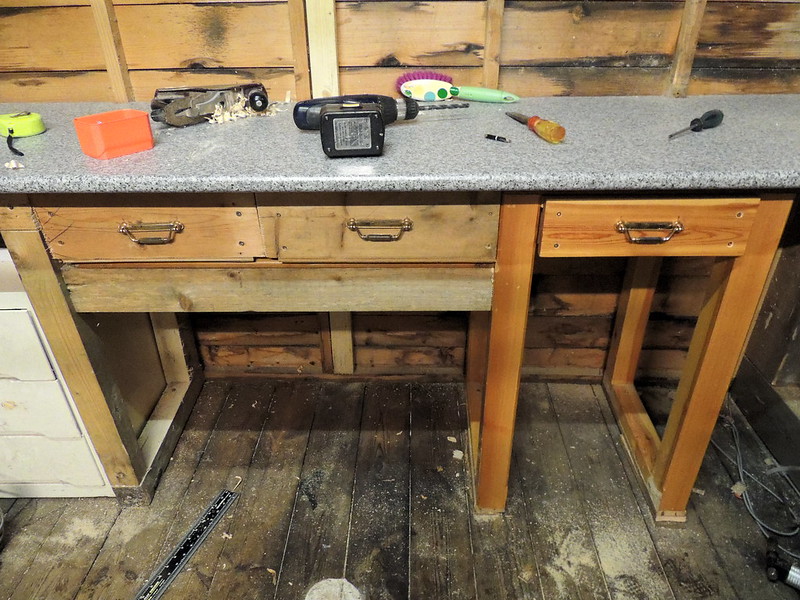
Very nice. The three drawers: Left...


Middle...


And right (this drawer came with the frame...)


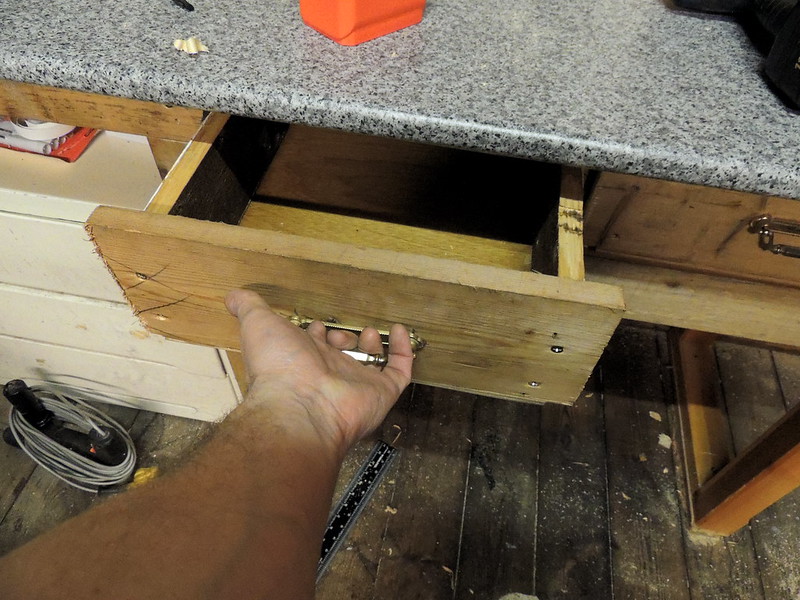
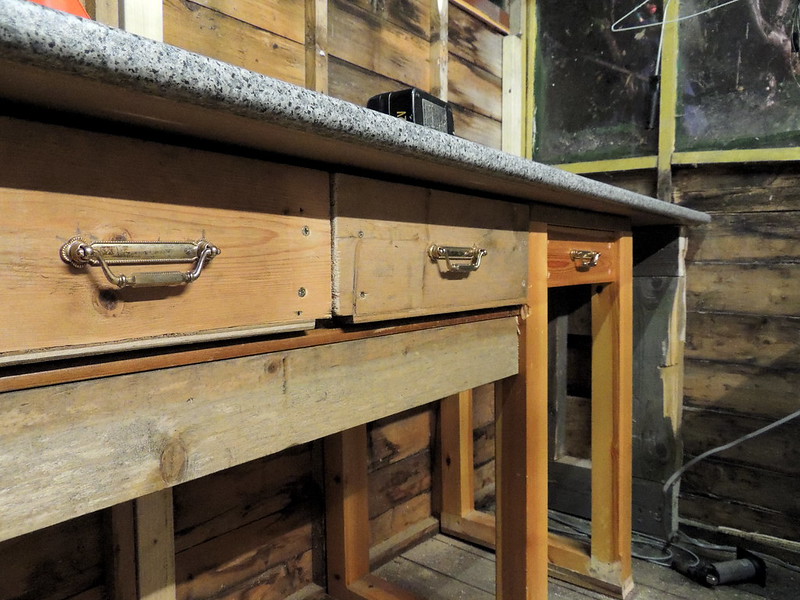
And finally a classy low shot of the three of them...


Tuesday, 16 September 2014

Shed roof extension - part 6 - Building the new end wall

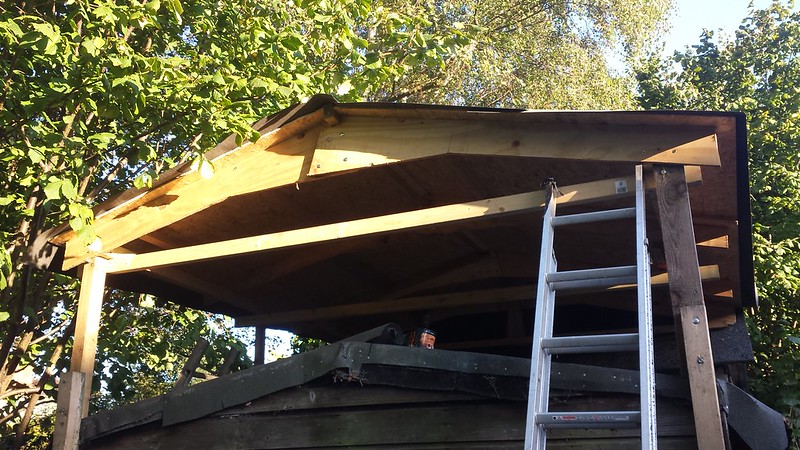
Having recycled the old roof panels into side walls, it was left to build a new end wall. This is North to North West facing so gets some evening light. Here's the gap to be filled
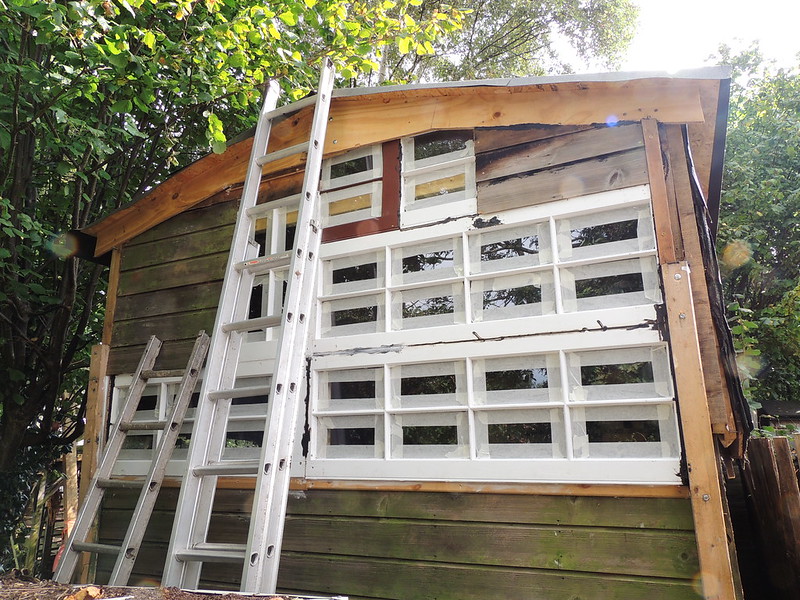

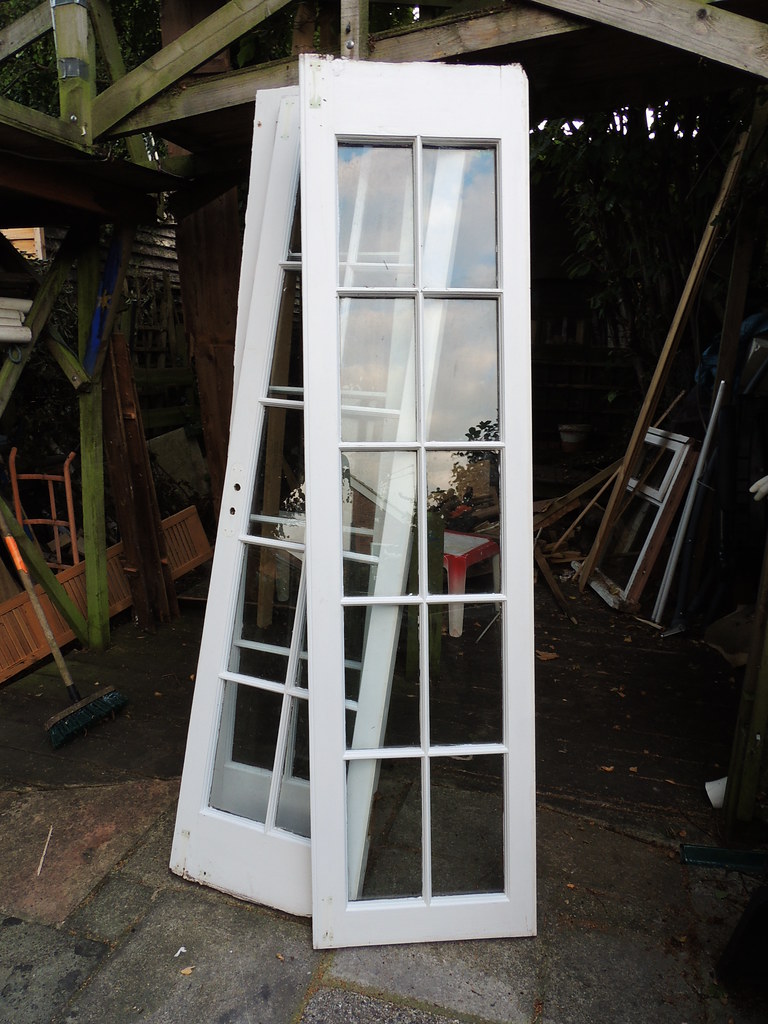
Conveniently, during a recent round of skipping, I had retrieved the following three panel-glazed french doors - how handy!


These could be made to fit into the remaining gap in the end wall of the shed, but first the opening needed to be made. The gap that was formed between new and old rooves was slightly too high, so some boards needed to be removed to lower this. Sawing off parts of your shed is slightly weird, but strangely compelling.


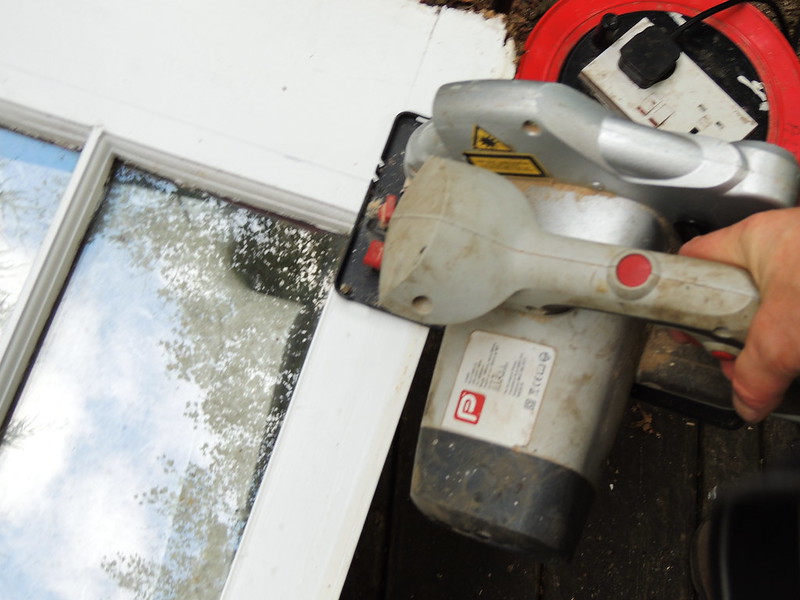
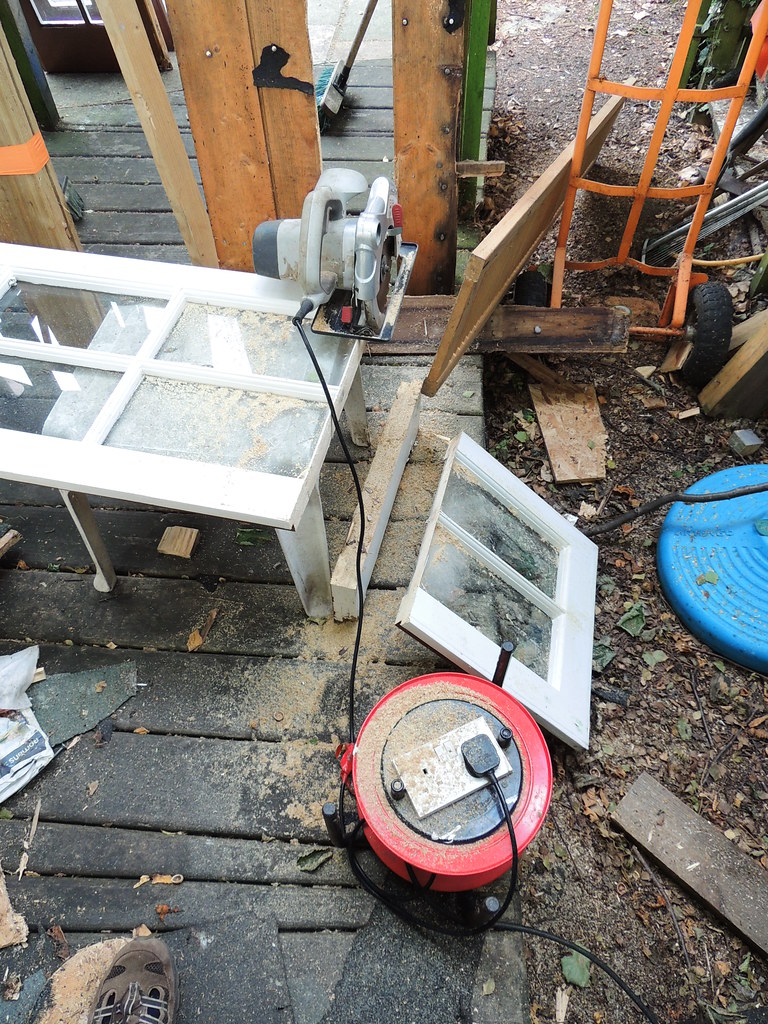
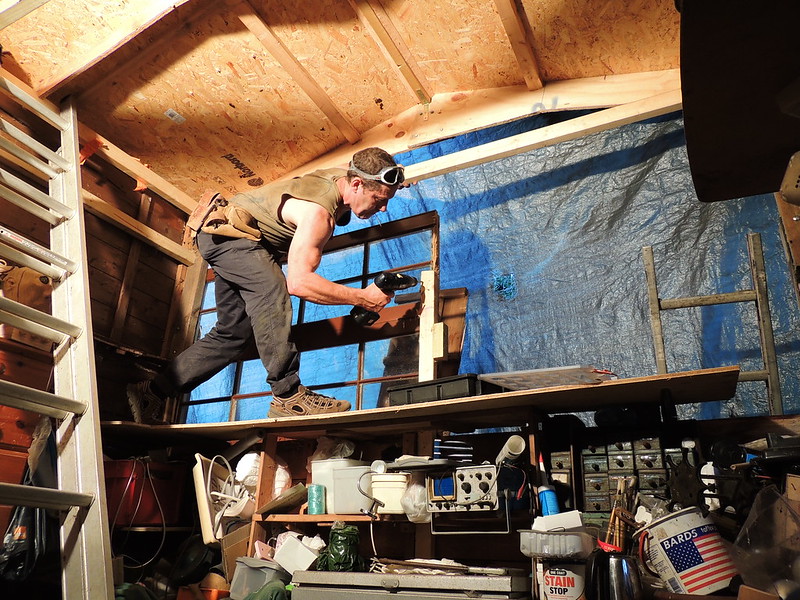
To fit in the open spans between uprights, the french doors needed to be cut into parts. Some care and tightly sealed eye goggles were needed in case the blades hit glass


ta-da!

Here's the first panel in situ


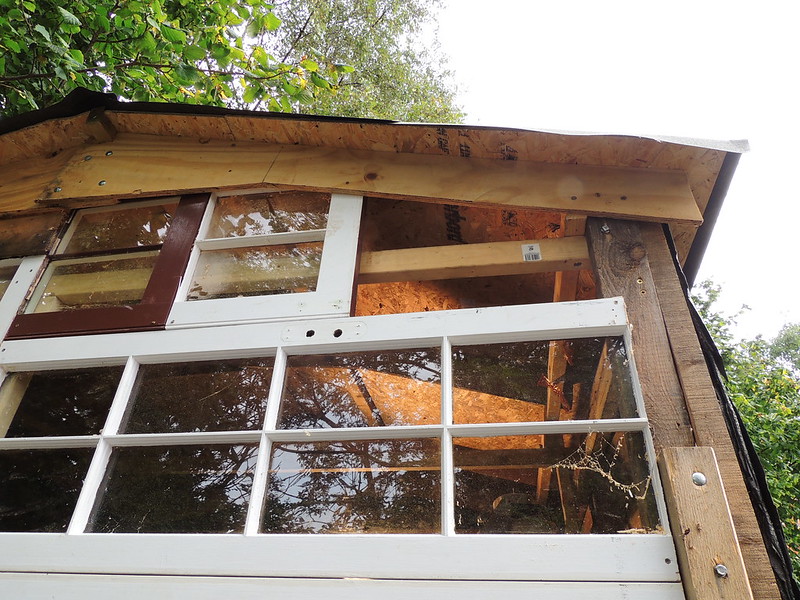
Fitting in the next one and so on. Naturally this involved climbing up old shelving - you get the idea


*INTERLUDE* Here's a frog I found outside whilst positioning a ladder *INTERLUDE*


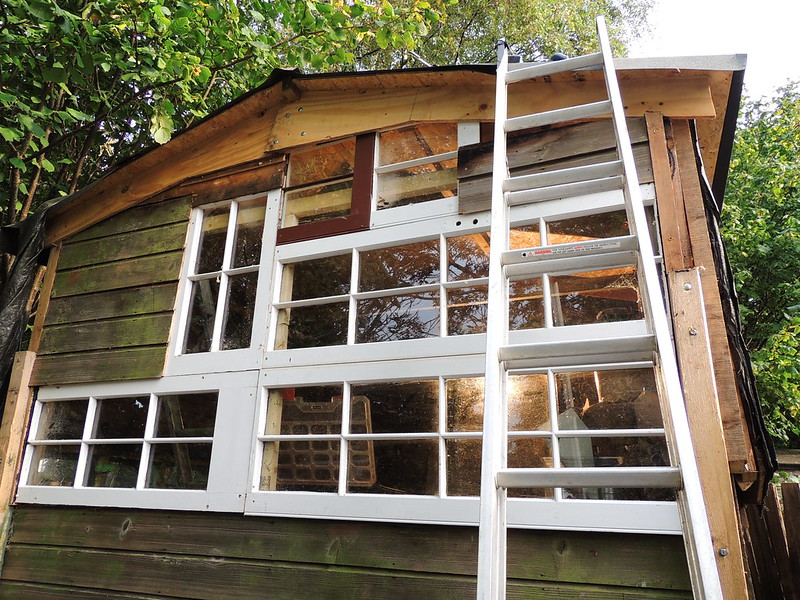
Eventually it looked like this


The gaps left were panelled over with leftovers from the wall section removed earlier...


Once completed, the windows were masked ready for painting


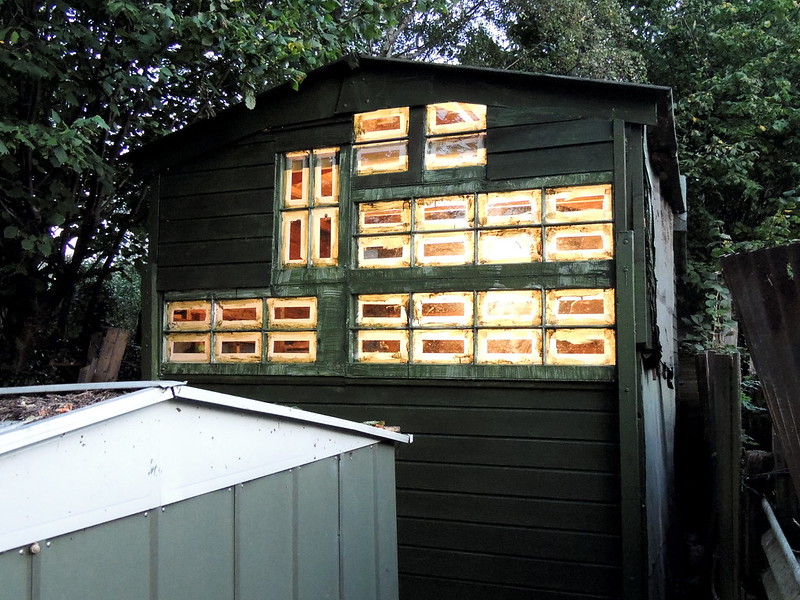
After painting it looked pretty nifty...


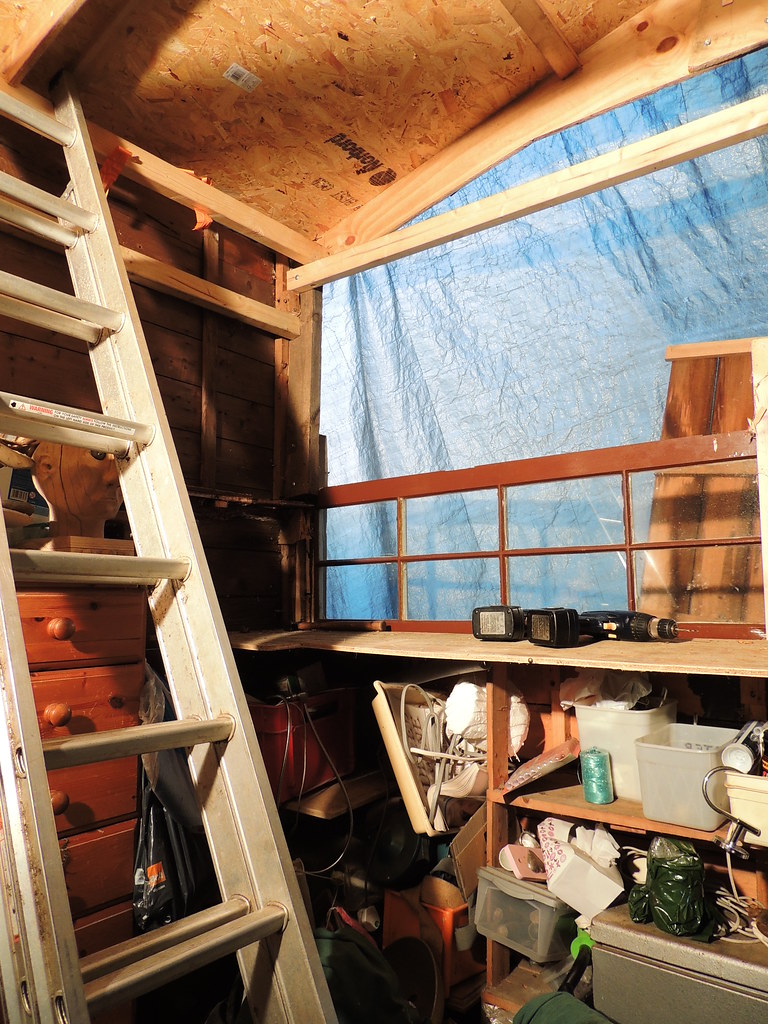
And inside, in the evening, it has a cathedral vibe going on. I might stain the windows!


Saturday, 13 September 2014

Shed roof extension - part 5 - cutting off the old roof

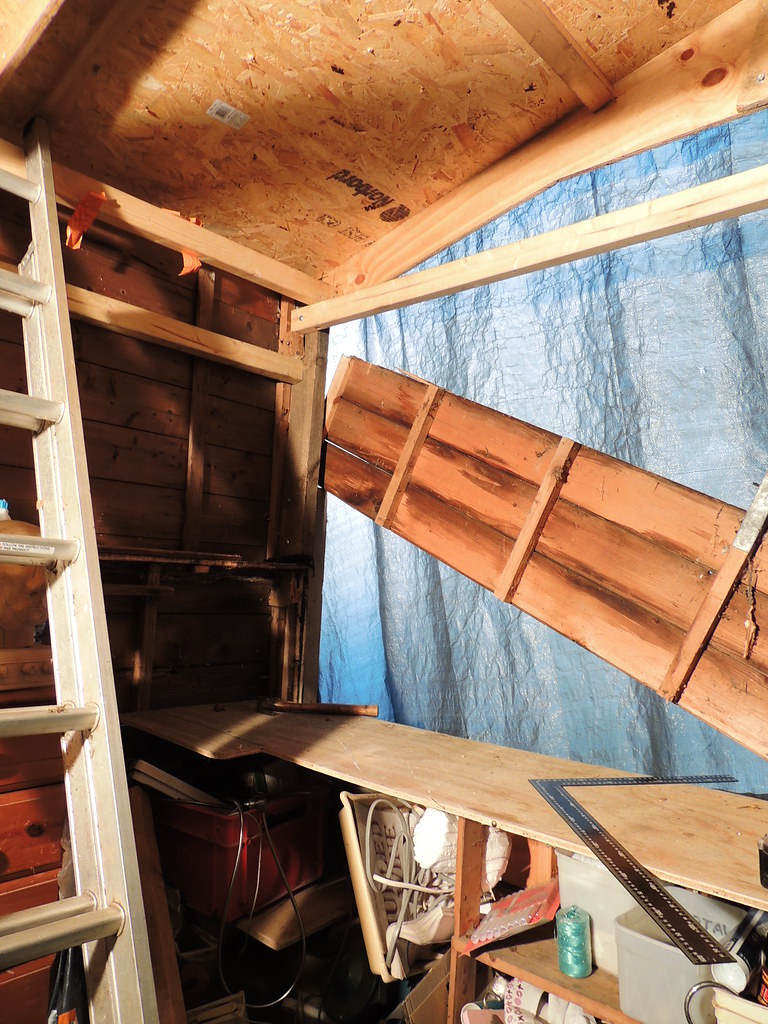
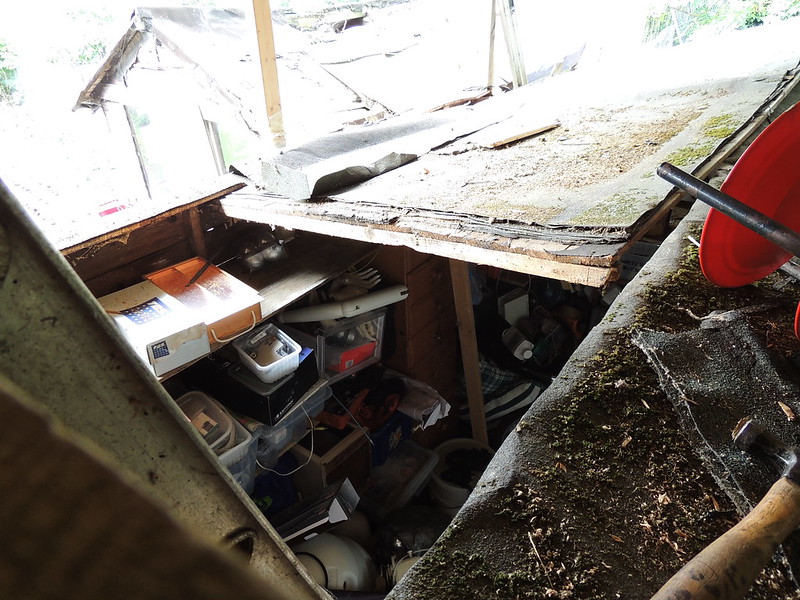
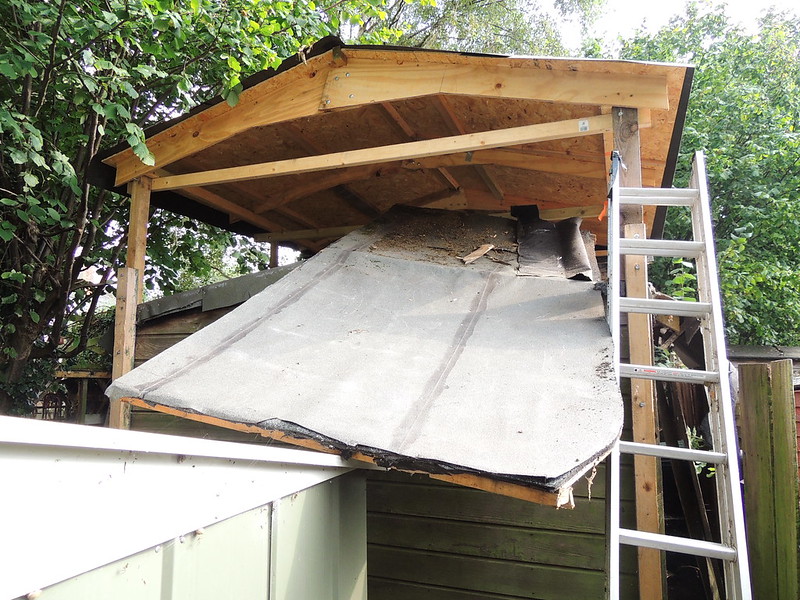
Once the lovely new felt roof was in place, the old could be removed. Some care was needed as the two halves of the old roof were needed to be kept intact. They were what would make up the missing walls between the top of the existing shed and the new roof.

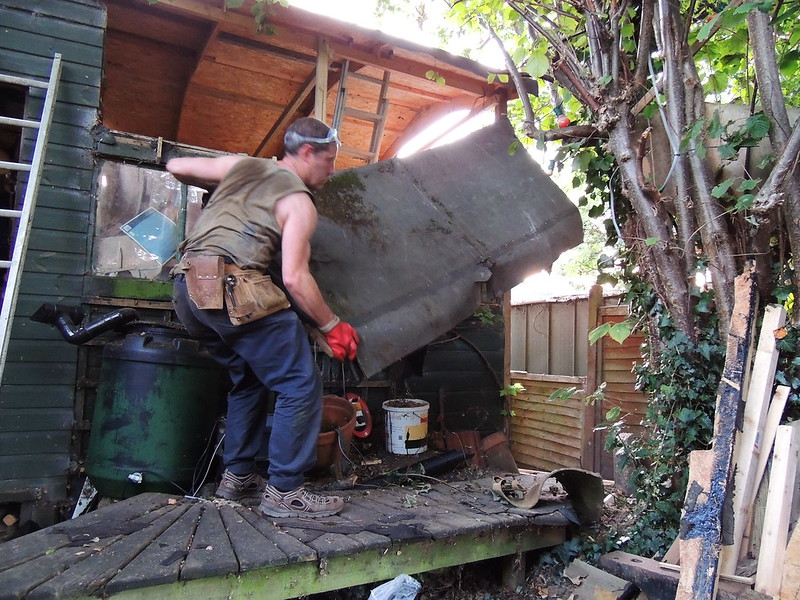
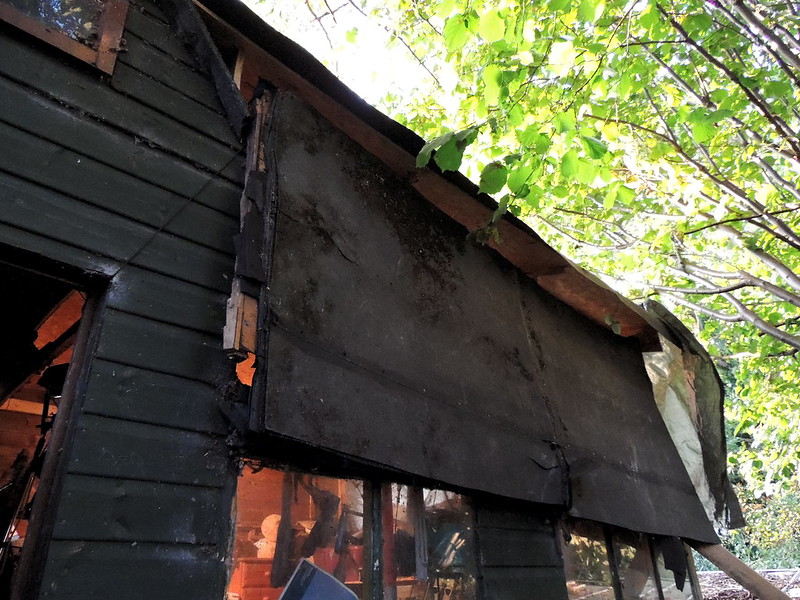
The old roof was lapped planks, with at least 4 layers of felt - pretty waterproof, but also very heavy. Here it has been cut off along the edges and is being slid off as a large panel. It weighs about the same as a person, probably about 80 kilos at least. Some careful sliding and leveraging was required..

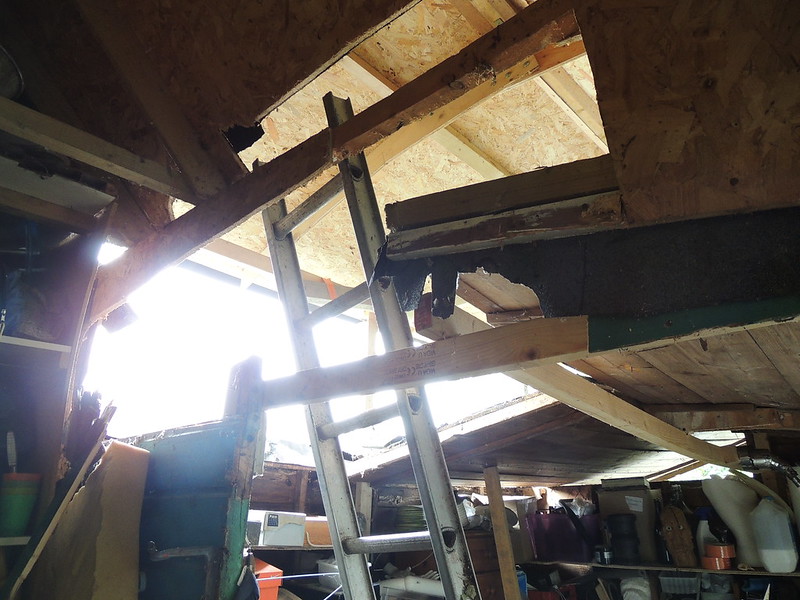
Here is the shed looking up at the new roof through the hole in the old one.


Big panels are a bit of a health hazard. This one especially, as the clout nails that hold the felt on stick out through the wood. If it slides over you, it grates your skin mercilessly.


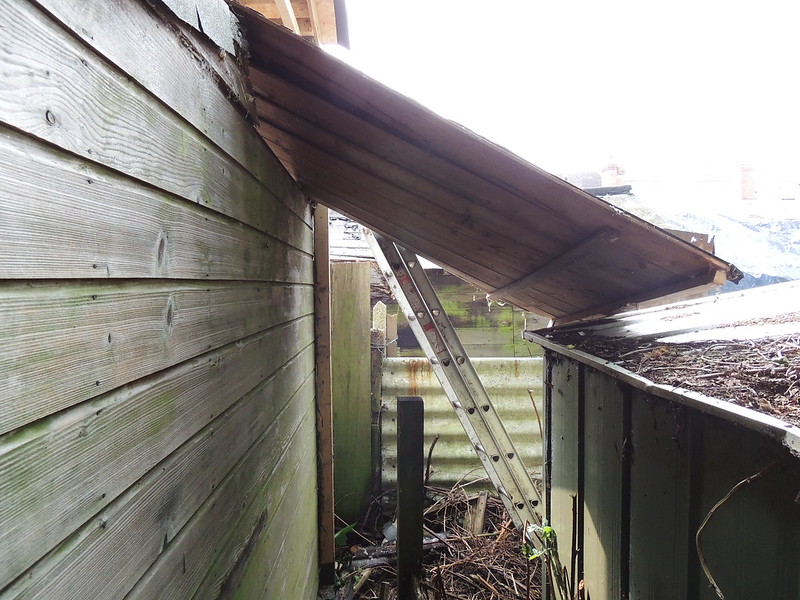
The same panel from the side


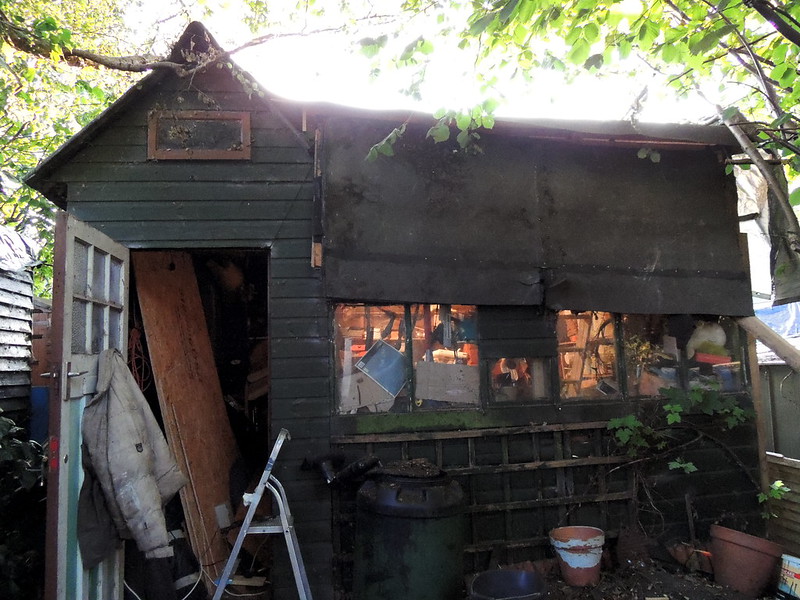
Here is the shed with the wall gap needing to be filled between the top of the old walls and the new roof.


Lifting a heavy panel 6 foot above the ground and fitting it single handed isn't gonna happen without some cunning mechanics... Here the panel has been walked up to positon then secure in the corner to create a lever point.


This was simply nylon twine...


This then makes it a lot easier to lift with the added leverage the string fulcrum gives.

Eventually, after lots of lifting and securing, edging corner by corner, the old roof panel became a new side panel...


thus...