I went for a Gigeresque/Invasion of the Body Snatchers alien vibe.
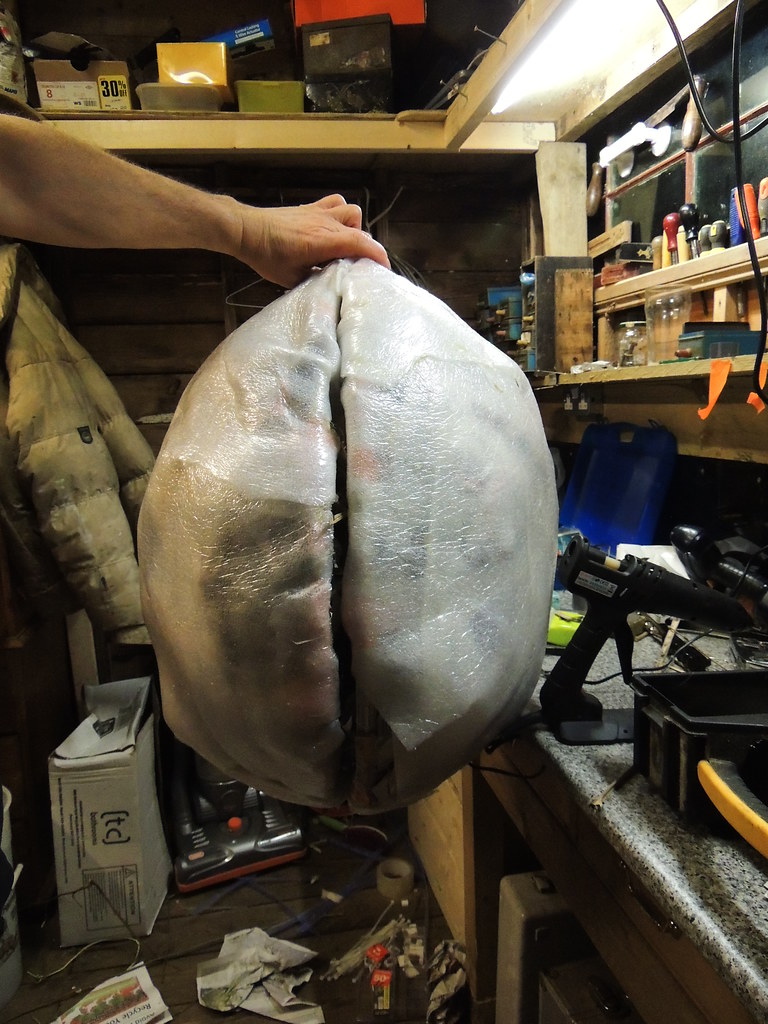
It is hinged and open's up like a pod...
I was quite pleased with this as I only left myself one day (like, the day before the performance!) to work out how to make this from stuff in the shed and garden.
Here's how it came about...
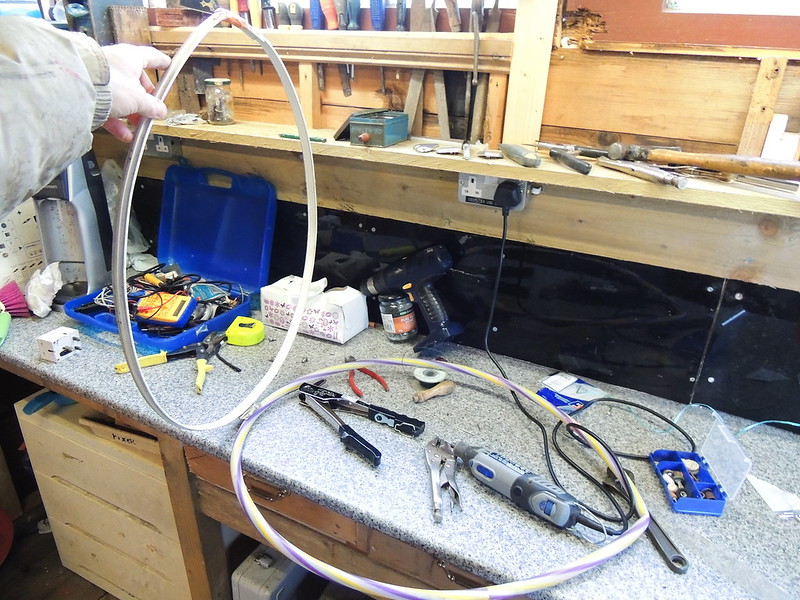
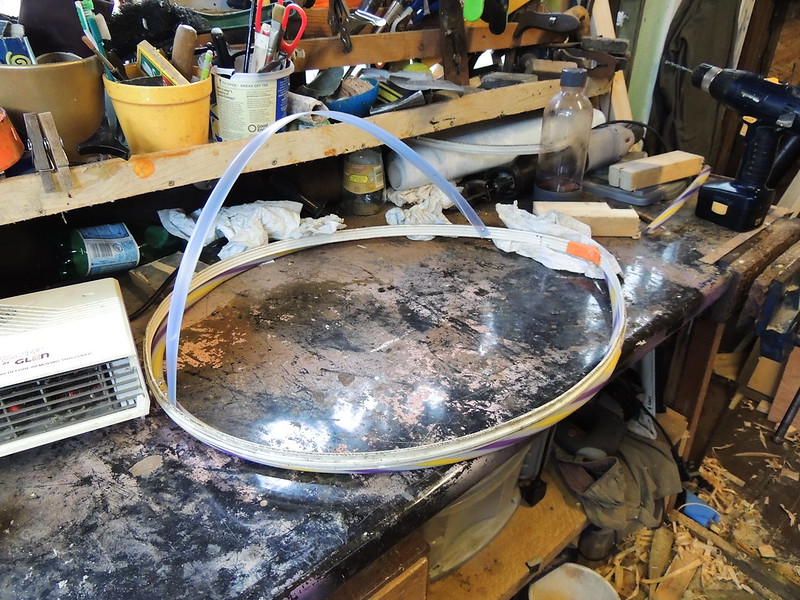
Step 1 - make two matching hoops
Matching in size at least. One is an old bendable curtain rail I've had in the shed for more than 13 years, the other is a hula hoop, found languishing in the garden.
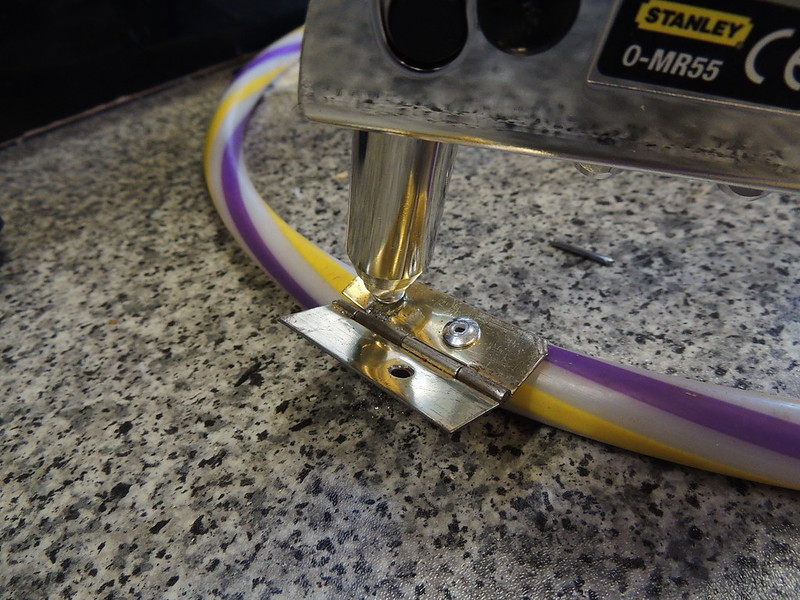
Step 2 - Hinge them at one end
Pop rivets - what a great invention. They work surprisingly well, even with a PVC tube.Even easier into aluminium curtain rails of course. Here are the two halves suitably hinged...
Step 3 - build up the ovoid shell form
I started with plastic strips, cut from corrugated roofing PVC sheet. This proved too rigidly planar - it only easily bent in one direction and tended to distort the shaping.
Luckily I have a semi-coppiced hazel in my garden. This had enough young shoots to cut some whippy sticks.
Ideally, these should have been withies (willow shoots). Willow is much bendier and springy as it has an interlocking grain. This is why it used for cricket bats.
But, I don't have a willow. But, hazel worked.
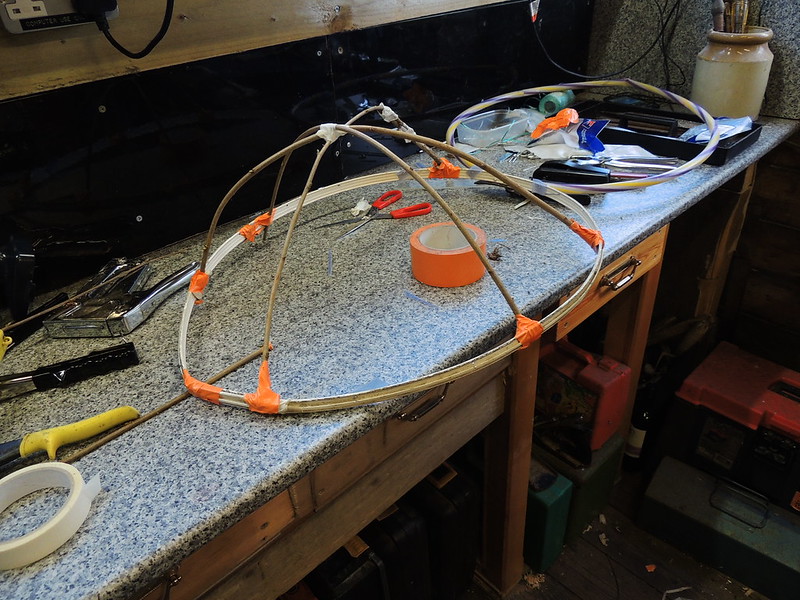
I started with the basic shape using three sticks, with a view to triangulate into a geodesic dome...
This was not clean Buckminster Fuller geodesy though :)
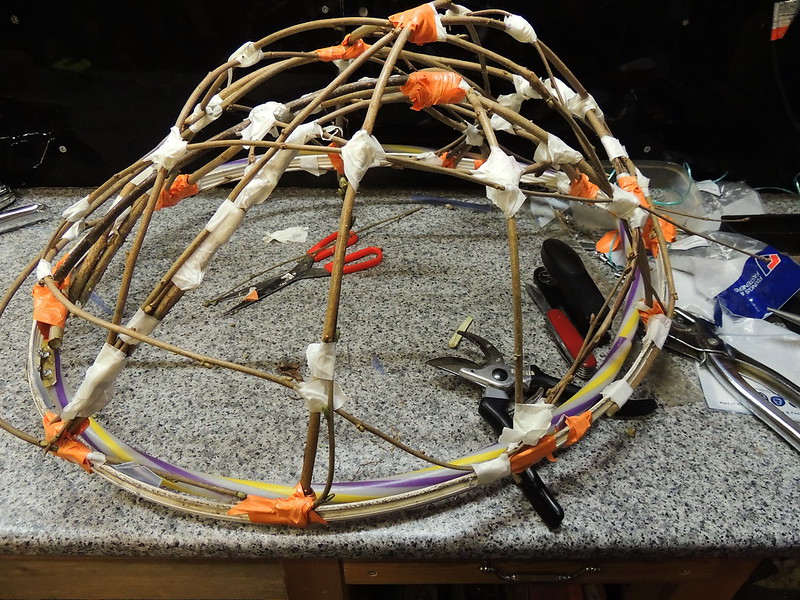
The joints are simply tape bindings. This is a faster and simple technique. The edge joints and certain key joints required stronger insulation tape but masking tape is good enough for most simple crossover joints.
The joints don't need to be pretty. Just as well really...
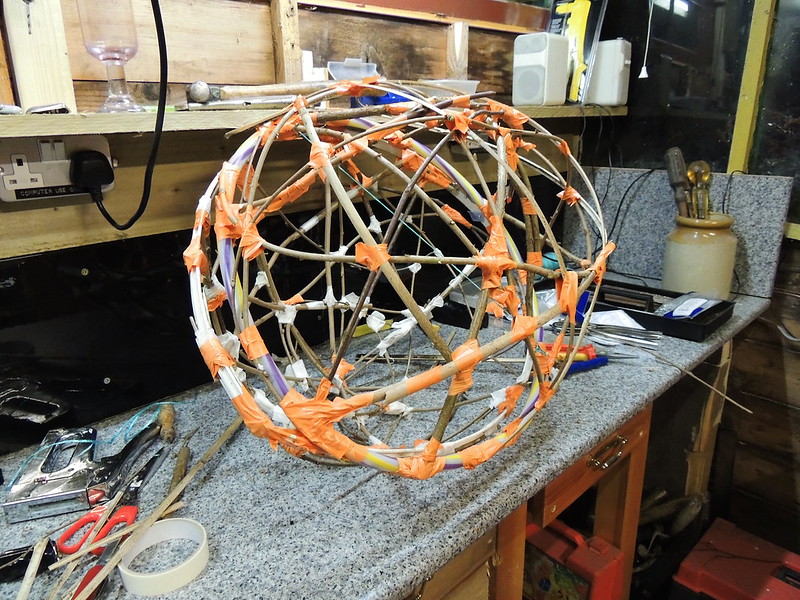
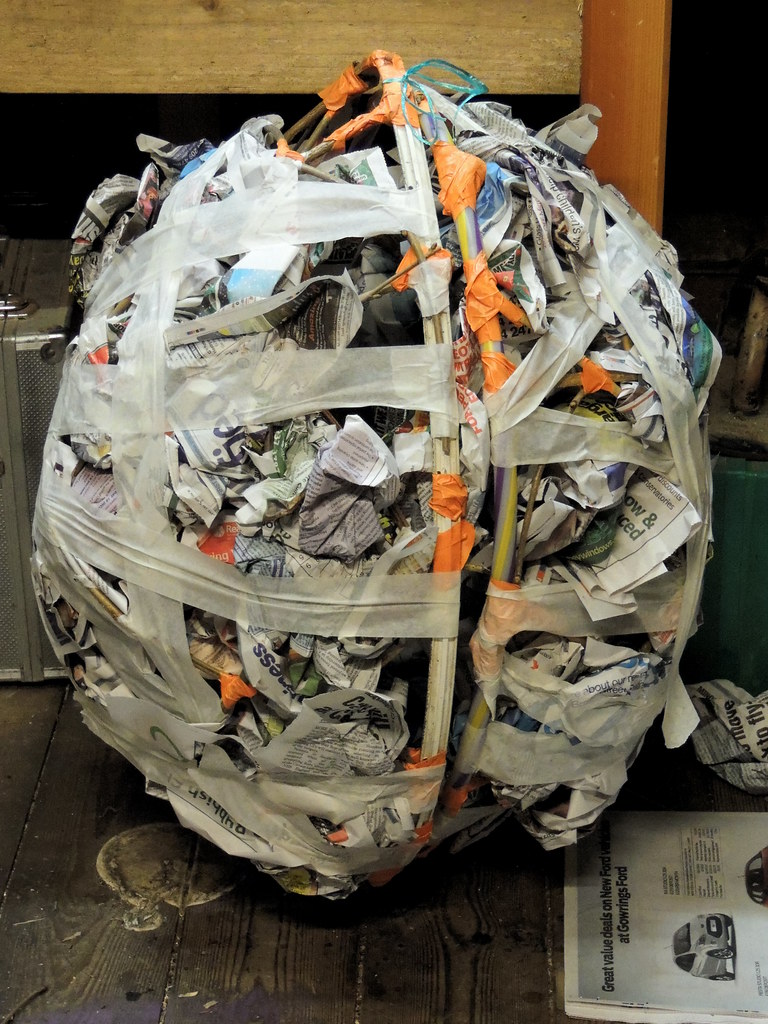
Eventually, with some triangulation starting to emerge, the egg halves were built up. This provided a surprisingly strong frame. Triangulated domes? It couldn't go wrong really.
Step 4 - padding the frame
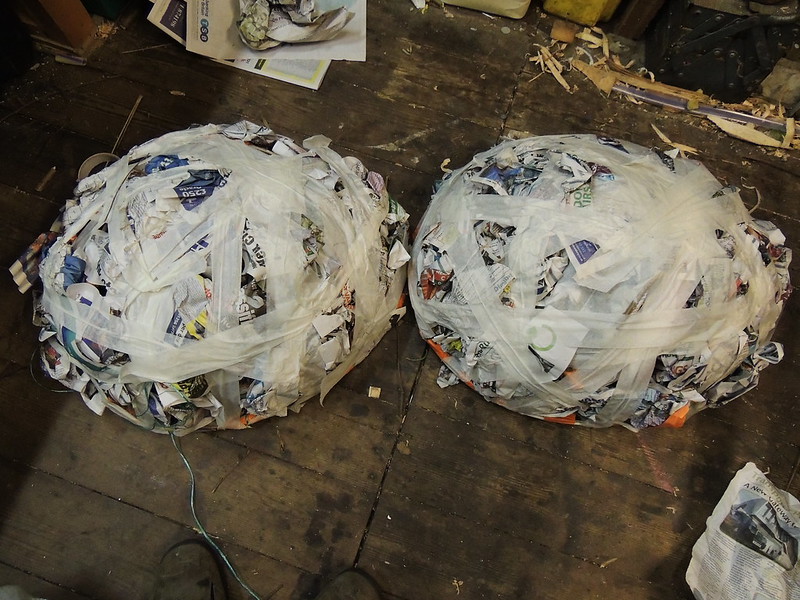
Whilst strong, the skeletal frame was both way too angular and quite hard-edged. It needed to be rounder and softer to handle. As it is quite large, it also needed not to be too smooth and hard. The egg had to be used by the panto performers, so needed to be handleable.To get a rounder shape, the frame was roughly padded with scrunched newspaper, held into place with masking tape...
Eventually it looked like this
Step 5 - skinning
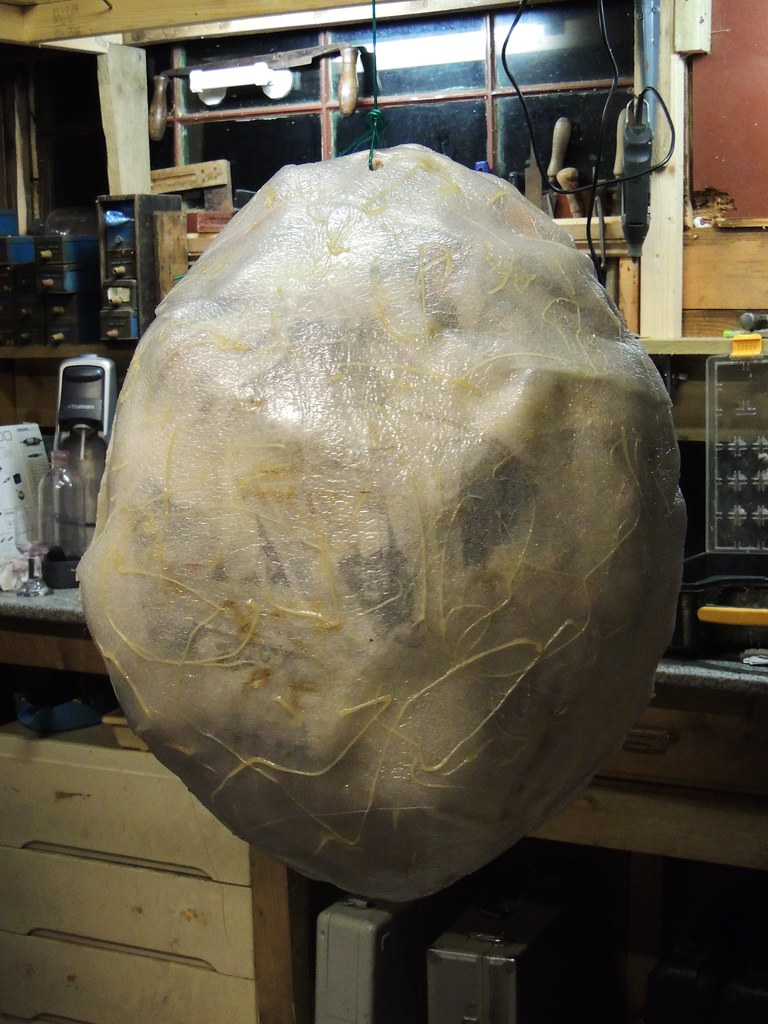
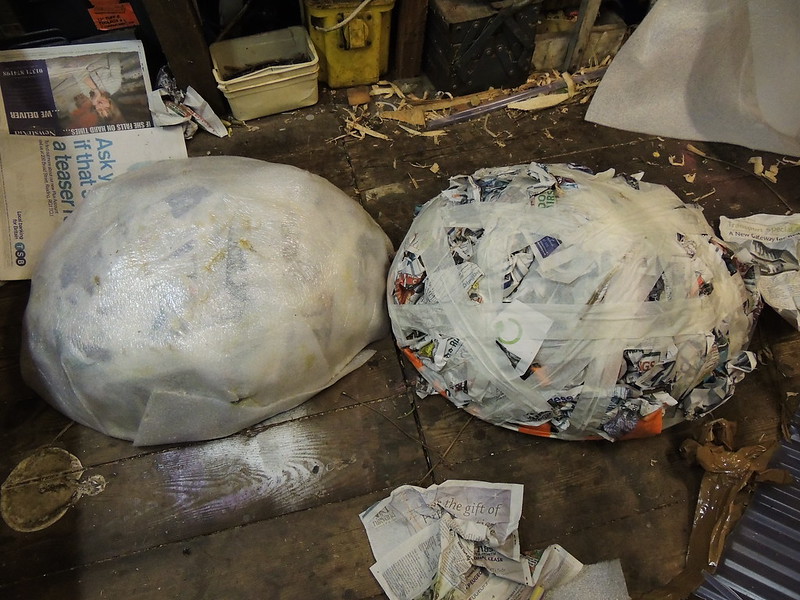
This was OK, but needed a smooth outer coat. Conveniently, I had a load of 3mm foam sheet, used as packaging protection. This was applied with hot glue to stick it on, and stick down seams - where arrows had been cut to shape the foam sheet to the ovoid frame.The left half here shows some of the jointing. It is much like tailoring. Flat sheets have to have darts cut out and jointed. Obviously, I'm no tailor, so it's rough, but as it was due to be seen from 15 - 100 feet away when in use, this was fine.
Here's the underside...
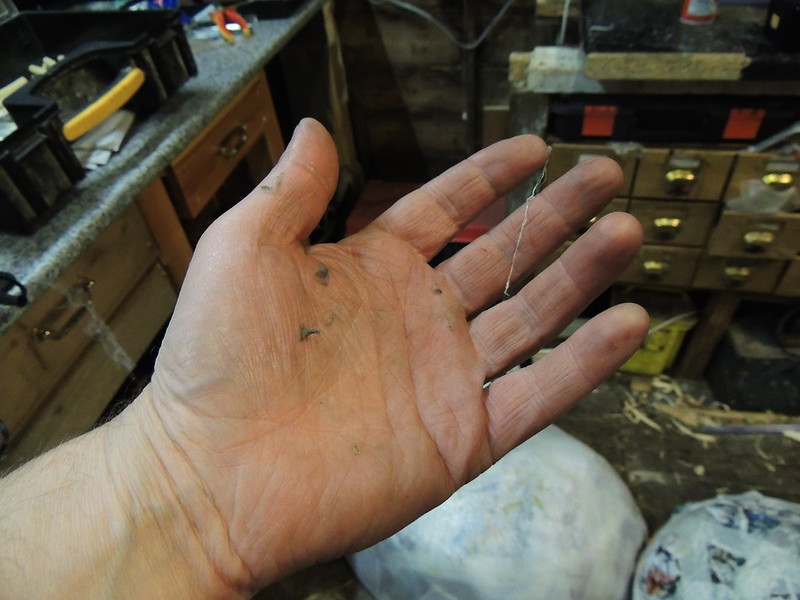
Hot glue guns are awesome, but handmade means burnt hands. Each innocuous blob of glue seen here on my hand represents a burning searing pain-moment. Happily, these were all I got. Land a big blob of glue on the hand and you're in trouble. It burns and it sticks and it insulates, keeping the burn going - not ideal.



No comments:
Post a Comment