Tuesday, 3 April 2012

Making relief-cut wine labels

This shot shows wine labels from the mid 1990s and the equipment used to make them. They are printed onto either gummed or self-adhesive labels from inked printing blocks. The blocks are rubber, mostly erasers, although the large block here (with "Apple" on it) was a rubber fender block from a van or truck.
  Wine label making

Single-block printing

This block has been used twice. Originally it had the words reserve and the date (1997) on it. These were removed when it was used in a following year.
Wine label printing block

These labels were produced from it (not the Elder reserve 96, that was produced by photocopying an original drawing and then hand-colouring it.)

You can see the two variations - with and without the side text.

Wine labels

Multi-block printing

These labels are proofs to check alignment. The green apple" block was printed first, and the black smaller areas printed with a number of smaller blocks. The patterns are either oak leaves, elderflowers, the year (1995) or "Dry".
Wine labels
This is the main printing block. It's about 10cm by 8cm

Wine label printing block

Here it is alongside labels printed on the first level only using it...

  Wine label printing block and labels
...and here are the individual small blocks used to over-print the details. These are between about 10mm long by 8mm wide.
Wine label printing block
Wine label printing block Wine label printing block Wine label printing block

Saturday, 31 March 2012

Prototype metal maggot

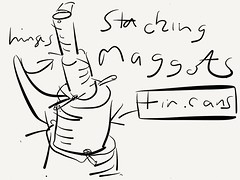
In the shed with a tin can maggot

Friday, 30 March 2012

Hinged metal maggots


Hinged metal maggots
Originally uploaded by rosemarybeetle

Made with Paper

This is a small scale version of an animatronic maggot, based on a human sized one I saw at a festival in Arnhem once. That freaked and groaned impressively as it ground round, powered by a washing machine motor

Tuesday, 27 March 2012

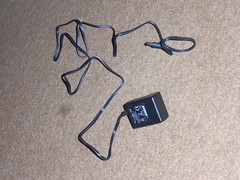
Making an Arduino power supply cable look wooden

Gluing wooden casings onto plugs Wooden power unit for Arduino head
With nice wooden plugs an ugly black plastic lead is not really what anyone wants!

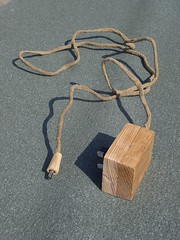
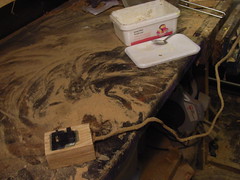
The black lead on the left was revamped into the lead on the right by sawdust coating it using latex as a flexible bonding agent.

Latex and sawdust forms a composite material which is much physically robust than either on their own. The latex provides flexibility and the dust gives bulk and resilience.


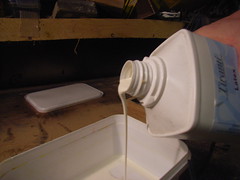
Pouring latex
Liquid latex from an art supply shop was used, without any thickener adding. It uses ammonia as a suspension fluid which does smell rather strongly. Use in a ventilated space!


Dipping cable in latex
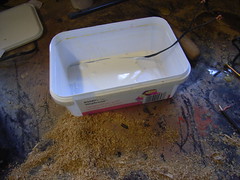
Latex was poured into a shallow container


Sieving sawdust
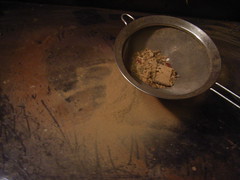
Sawdust was sifted to get a fine powder.


Making a wood-effect power cable
The sawdust was dusted over the wet latex.


Wood-effect power lead
This was left to dry, then the process was repeated.


Animatronic head reading lamp
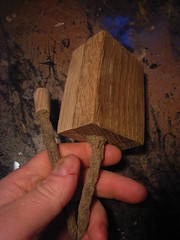
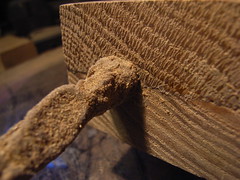
Eventually after three coats it ended up looking rather tasty and root-like!


Animatronic head reading lamp
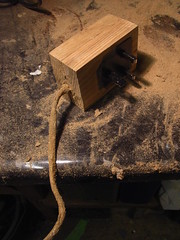
A close-up of the joint with the mains plug.


Animatronic head reading lamp
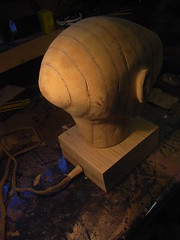
Here is the head complete with swanky new cable.


Thursday, 8 March 2012

Adding wooden plugs to the power unit

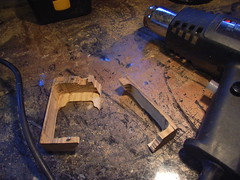
Cracked wooden casingThe casing for the power supply to the wooden head has cracked. This was pulled apart completely on the crack, and glued back at the same time as gluing the casing onto the power unit transformer.


Gluing wooden casing for mains power plug
Here it is being held temporarily in the vice, while a cramp is attached.


Wooden casing for 5V end power plug
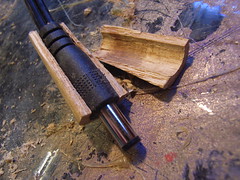
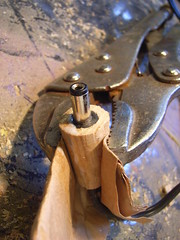
A conical casing for the %v end of the power lead had been turned, which had also cracked. This turned out to be helpful, as it was the easiest way to fit the plug


Cramping wooden casing while gluing

A pair of locking grips was used as a cramp to hold it while the glue set.


Gluing wooden casings onto plugs


Once glued and cramped, they were let to dry


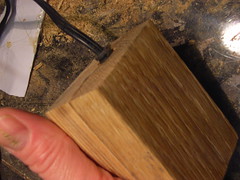
Wooden power plug casingHere is the finished mains end of the plug (face side)


Wooden power plug casing
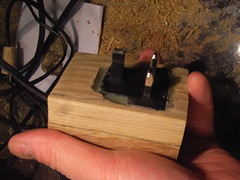
Here is the business end of the finished mains end of the plug.

The transformer is held in place firmly using hot glue


Wooden power plug casing

And finally the finished end of the 5v plug

Saturday, 3 March 2012

Creating a new oak casing for the new power unit

Testing animatronic head with wooden mains plugThe head finally has a working wooden power plug.  The first power unit was burned out by soldering a new lead on before it even got the oak round it!

The second stopped working after it was encased in oak. It was not obviously damaged externally. It is likely it was broken inside by vibrations from the sander, as the plug was in situ, when it was subjected to some serious RPM.


See below for the steps undertaken to create this...

Routing out void to fit plug into wooden casing
A new casing in the vice, being routed out to fit the plug.

Note the guide rail cramped to the bench. This is a guide for the handheld router to keep to a reasonably straight edge


Routing out void to fit plug into wooden casing
A close-up of the inside of the casing, partly routed.
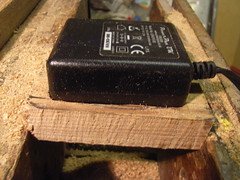


Fitting wooden casing for mains plug
Fitting the plug to test the depth


Wooden casing for mains plug separated
The casing with routing completed, prior to finishing.
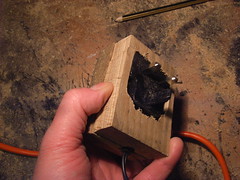


Wooden casing for mains plug
Checking the plug fits with both halves of the casing in place.

As the last unit was killed by vibrations, this one was to be finished without the unit in it though
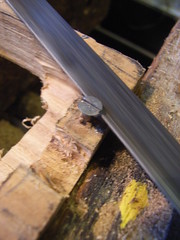


Sawing off screw head to make guide pin
To do this, the two halves of the casing needed to be sanded whilst kept aligned. The plug had done this in the previous attempt, but was not in place in this version.

Tow screws were inserted in one half of the casing to create guide pins to keep the halves aligned whilst sanding.


Wooden casing with guide pin in place
The guide pin after the screw head has been removed. This is to fit into a hole in the other half of the casing. (there are two of these)


Wooden casing showing guide pins
To mark the other half of the casing, the two halves were aligned, then pressure applied in the vice.


Detail of wooden casing showing guide pin impression

This created an indentation, to mark where the alignment hole needed to be drilled.


Wooden casing for mains plug, showing guide pins
The completed halves.


Wooden casing for mains plug, before finishing
The completed casing, ready to be finished


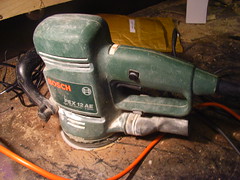
Orbital sander
The orbital sander responsible for destroying the last unit with vibrations.
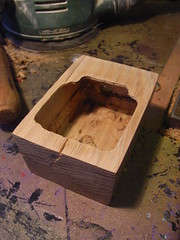


Wooden casing for mains plug after finishing (cracked)
The finished casing after planing and sanding. Unfortunately it cracked when the router bit in a bit too strongly. This cracked was later glued back together


Friday, 2 March 2012

New power supply

Having screwed up three power supplies so far, here is the new one...

5v 2.5A power supply

Here's the previous plug, with delightful casing, but defunct supply!
Wooden power plugWooden power plugWooden power plug


I believe this time it was the vibration from the sander breaking the innards of the supply :(

Wednesday, 29 February 2012

Making a wooden power plug

Having finished the head, it seemed poor to use a plastic plug. What better than a wooden plug?

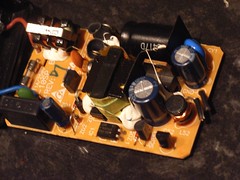
Initially I started trying to take apart the plastic casing of the transformer, which looked like this. Unfortunately, the supply failed, which I believe to be due to fusin printed circuit connections with solder while trying to solder a new lead onto the circuit board. FAIL!
What's inside a 5v power transformer
Having destroyed one supply, another was found in the shed. This was fitted up with an oak casing

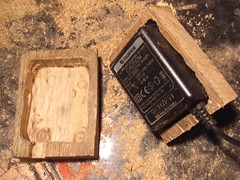
This was made from two short pieces of oak plank, with a cavity taken out with an electric router

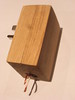
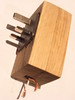
Wooden power supply casing

The two halves together look like this
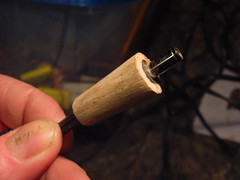
Wooden power supply casing
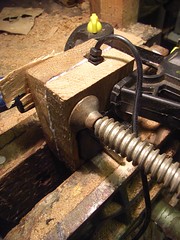
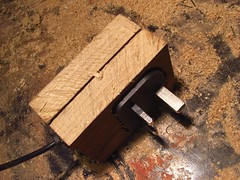
These are not flush.  To do so they needed to be sanded together as one piece. This would only work once glued together. Here theyare in the vice with cramps attached (one traditional iron screw cramp, and one metal/plastic ratchet cramp)
Gluing together wooden power supply casing


Friday, 24 February 2012

Head is finally finished...

Finally the head is just about ready...
Reading lamp head (front)
I amused myself looking up the original drawing....

Reading lamp original design sketch
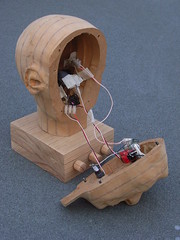
Here's what's inside the face...
Reading lamp with face off
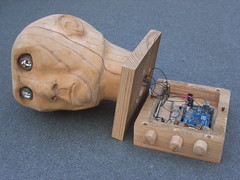
...and the arduino control circuit under the base...
Reading lamp showing arduino casing
All that really remains is to make the power supply...