Showing posts with label moulding. Show all posts

Monday, 17 September 2012

First mouldings from Twitr_janus face mask mould

Various latex experiments with the Twitr_janus face mould...

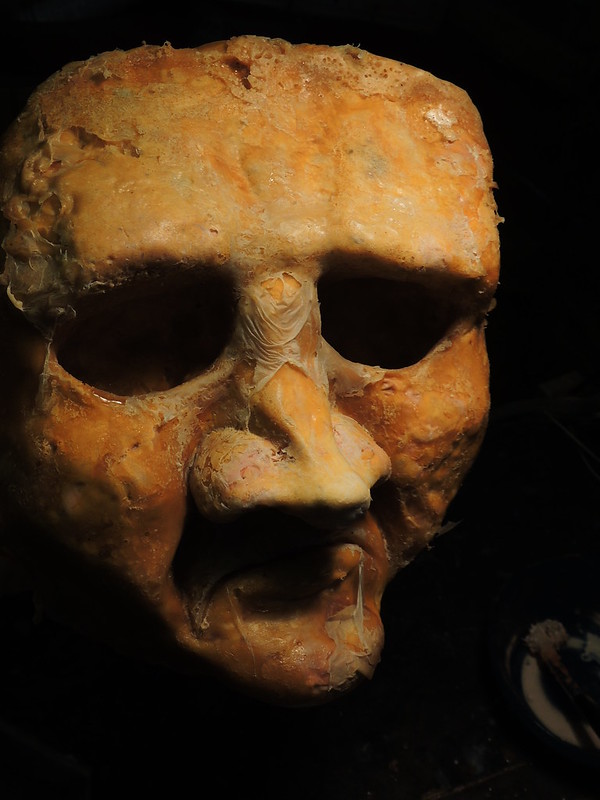
This is the third moulding and is starting to get there looking OK, but the colour is not quite right
Twitr_janus' face mask #3
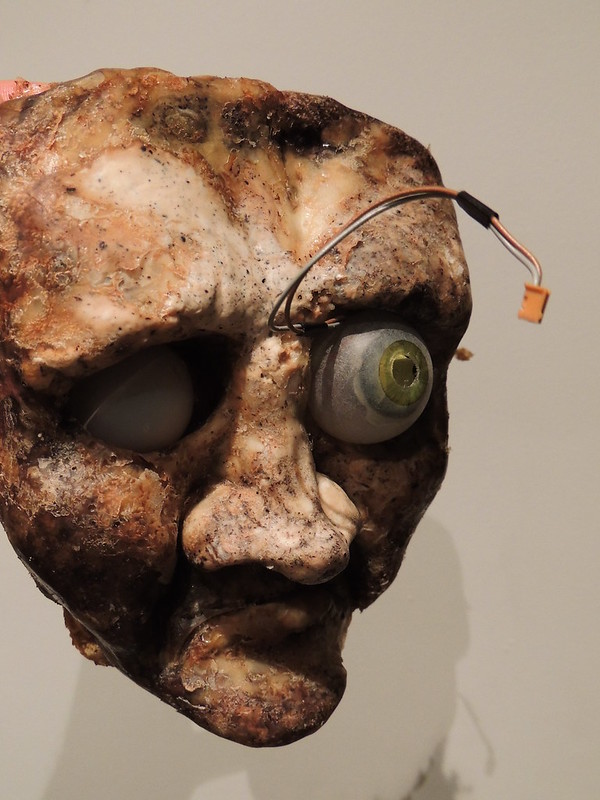
This is the second moulding - nice, especially the sawdust reinforcement
twitr_janus face mask
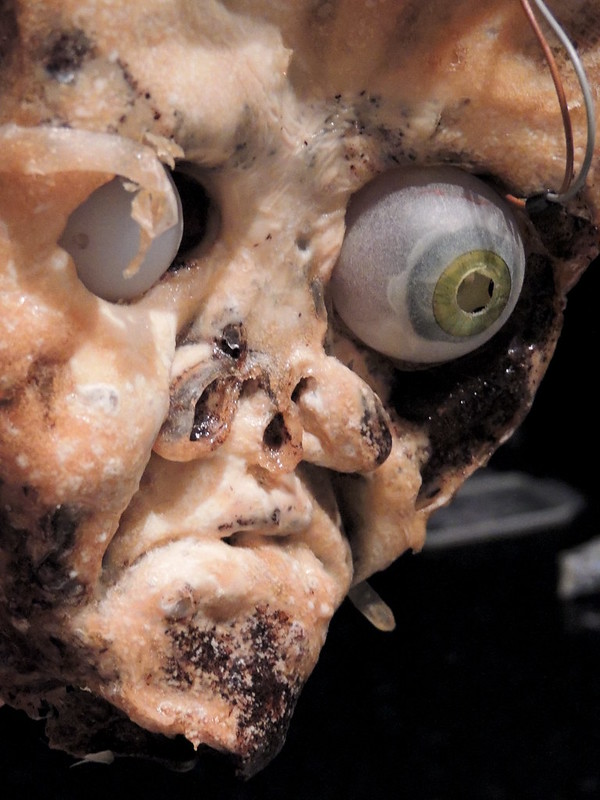
Below was the first attempt. Rather optimistically using latex thickener. Some details were lost, mainly the nose, although the end result was outstanding, but perhaps just outstandingly grotesque. I do like this.
twitr_janus face mask
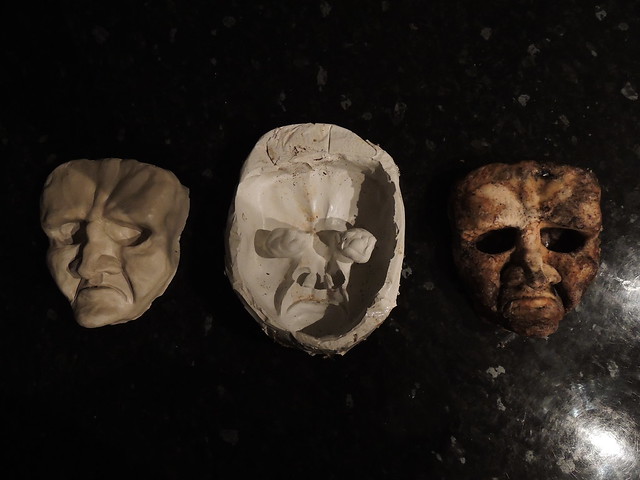
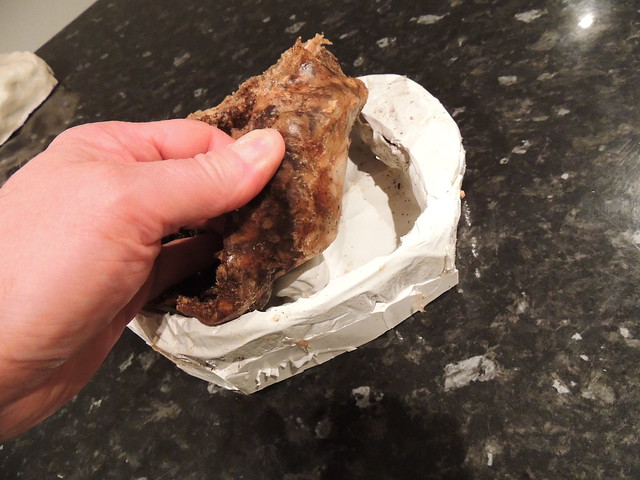
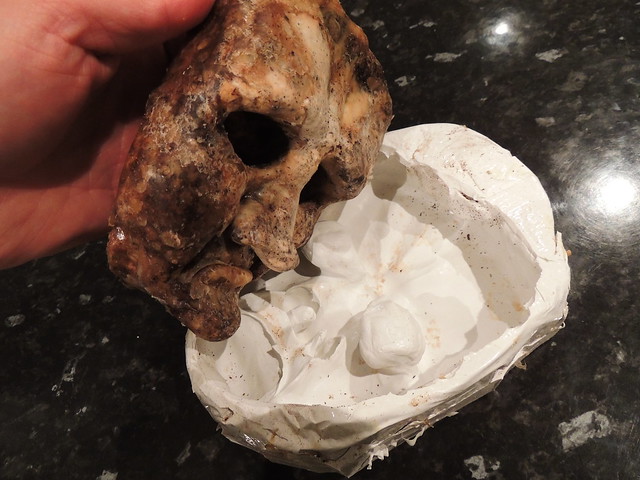
Model, mould, moulding...


twitr_janus face maskRemoving moulding #2twitr_janus face mask
Removing moulding #2 - looking good
twitr_janus face mask
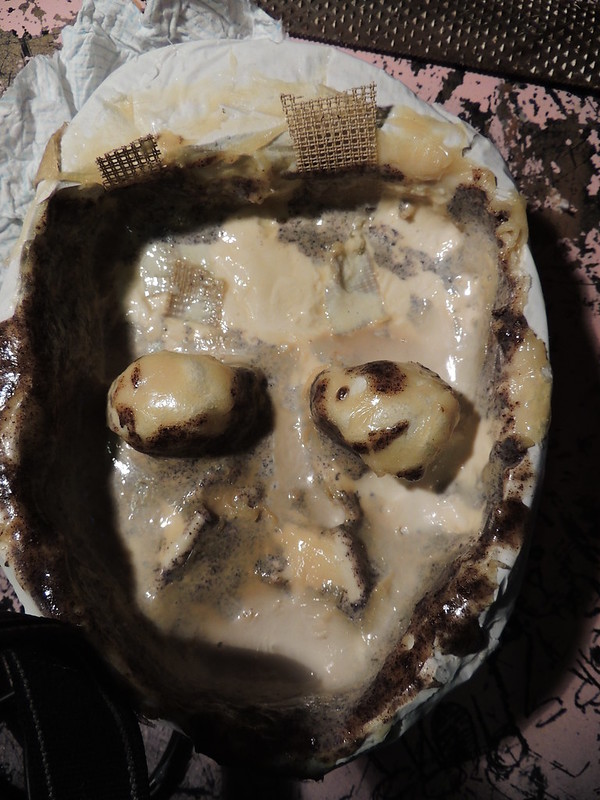
Detail of using nylon cross-stitch mesh to reinforce the latex
Twitr_janus face mask
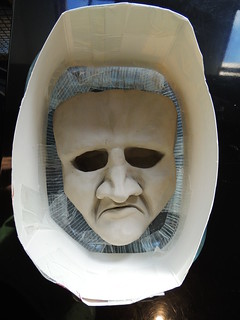
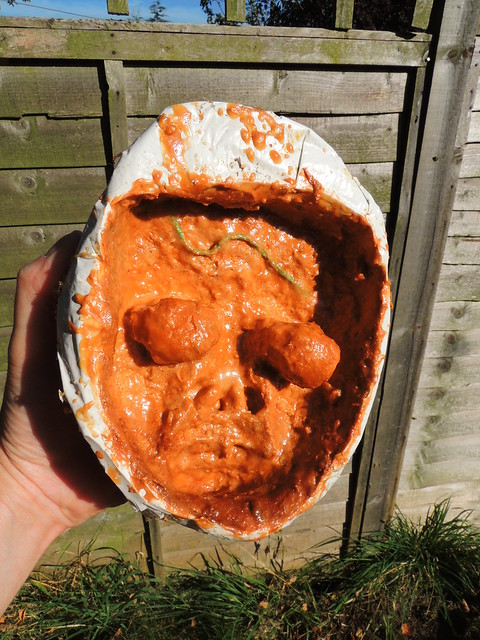
Moulding #3. Has an Essex tan
Latex face mask moulding for Twitr_janus
And finally, a time-lapse video of how a moulding is made. Interval is 30 seconds

Wednesday, 12 September 2012

Making a silicon latex mould for Twitr_janus' face from the clay model

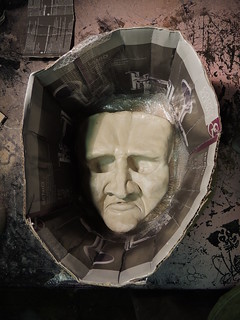
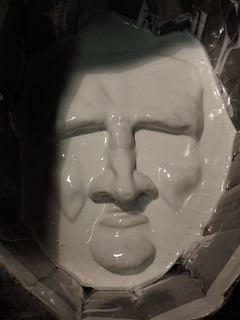
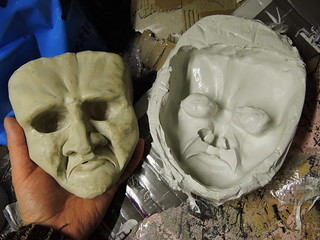
Silicon latex mould of Twitr_janus' face next to the model
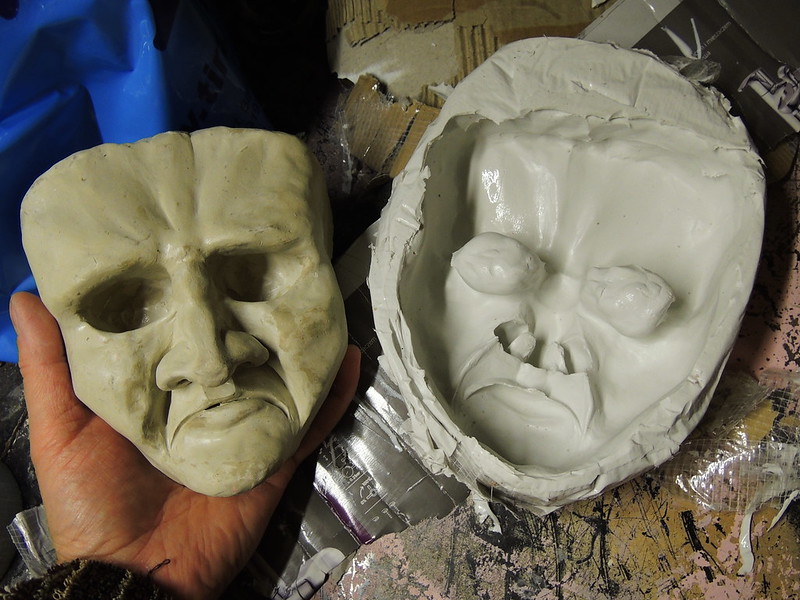
Twitr_janus face mask mouldmaking

Corrugated cardboard is your friend

To make a sturdy mould, cardboard from old boxes and tape are pretty unbeatable.

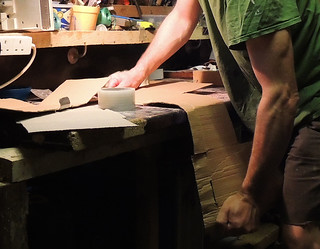
Here, the original clay model was placed on a cardboard sheet and used as a template to create a baseboard for the mould to add walls onto.
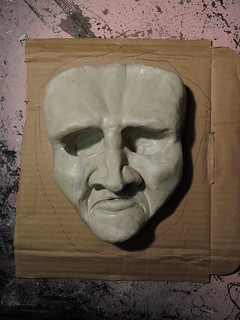
Making a silicon mould step 1 Making a silicon mould step 2


Making the mould walls

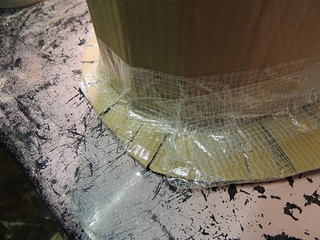
Corrugated cardboard can be made to create a flexible mouldable surface, that is rigid in one plane, and flexible in another. This can be done by pulling it over a corner to break the rigidity. The corrugations need to be in line with the edge you are using.

The effect of this can be seen below (left). Once so treated, the cardboard can be shaped fairly easily to create moulding walls. By making small cuts, along an edge fold, tabs can be made to anchor these walls to the baseboard (below, right)
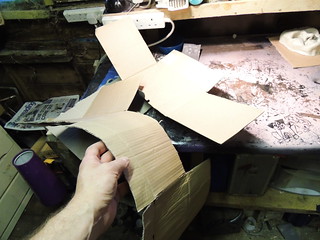
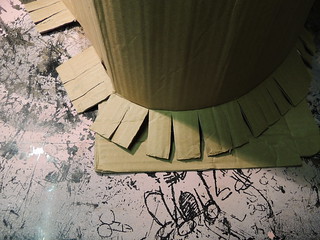
Making a silicon mould step 2 Making a silicon mould step 3


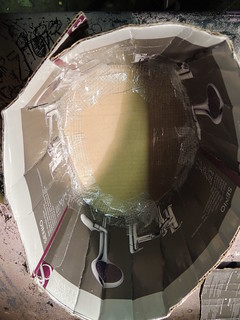
To make the mould, the baseboard and walls were fixed with gaffer tape, inside and out
Making a silicon mould step 5 Making a silicon moul step 4


Making a silicon mould step 6Mouldmaking Twitr_janus face


Making the mould

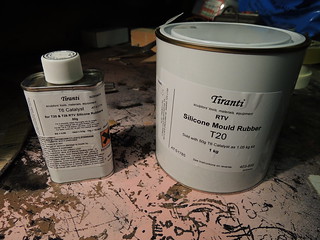
This mould was made with a proprietary silicon moulding agent from the legendary sculpture supplier Alec Tiranti  http://www.tiranti.co.uk/subdivision_product_list.asp?Subcategory=51&Subdivision=174
Be warned, the setting agent is evil. Treat with extreme caution if you like wildlife. It has a rather scary disclaimer, so responsible disposal is a good idea!
Making a silicon mould step 7 Making a silicon mould step 8


If you pour latex straight, you need to make sure you have enough of  it. Here, the latex was built up in three layers to save cost. This allows you to add latex to the parts that protude.

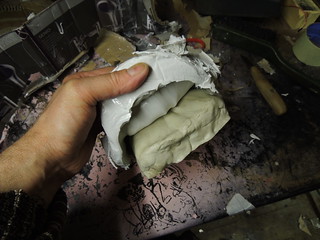
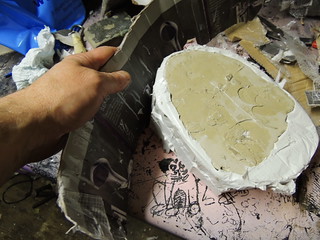
The latex was left for 2 days to set completely. Then the cardboard was cut off and the mould eased off the model.
Twitr_janus face mask mouldmaking Twitr_janus face mask mouldmaking


Twitr_janus face mask mouldmaking Twitr_janus face mask mouldmaking


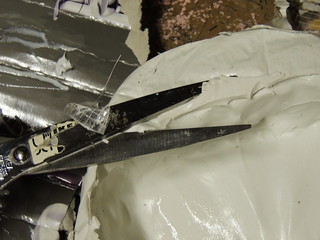
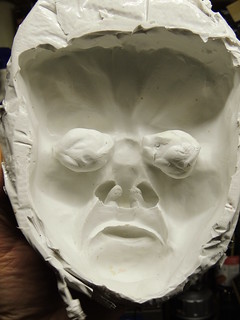
The mould will have rough edges. These were trimmed with scissors to give the final mould - Voila!
Twitr_janus face mask mouldmaking

Monday, 6 August 2012

Turning a Twitter profile picture into a real-life 3d custom figure


Over on Instructables, I have posted the complete how to for making a Twitter avatar image into a 3d figure, using modelling, moulding, casting and hand painting.

Been embargoed for a while, because it was a present for someone leaving work.

I have finally written it up.


www.instructables.com/id/Turning-a-twitter-avatar-into-a-real-life-custom-f/


The full Instructable shows the steps in detail, including:

Modelling in plasticine...

Moulding in silicon latex using simple domestic waste as mould containments...

How to cut out mould sections directly into latex without the need for mould section separators...

Using good old hot-glue as a moulding material...
And finally applying layered finishing with emulsion paint, PVA, marker pen and artists' felt tip pens.