 To recap, here's one of the various concept sketches I had pencilled out some time before. I used this as a mental aide to give me a sense of the plinth-like, sculptural/display-stand vibe it needed.
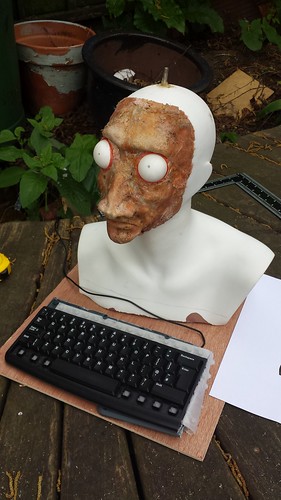
 The first thing to do was to check the size of the parts that had to be stood on the box, and/or fitted into it. This meant sizing up the width based on the width of the shoulders of the automaton, and the width of the sawn-off keyboard.
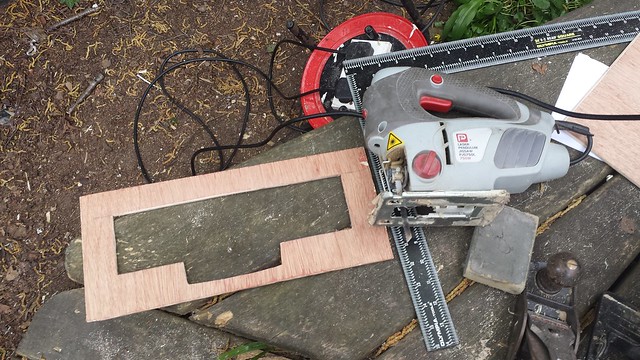
The image below shows a sheet of rather tasty 5.5mm exterior plywood being marked up in rough, simply by placing the parts onto it, positioning by eye and then drawing lines as guides.
The black square was used to keep it accurate and true on the right angles.

From this, a top board was first cut to width and approximate length (below)...

The keyboard was positioned to get the placement right...
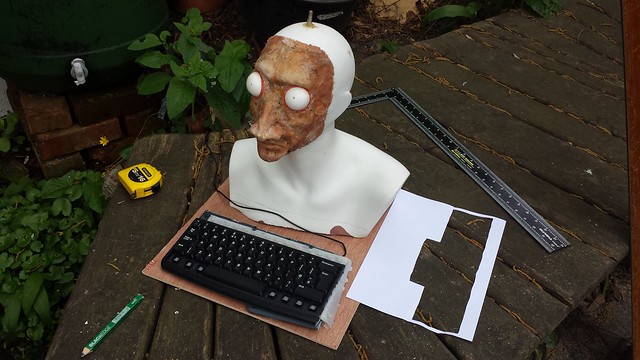
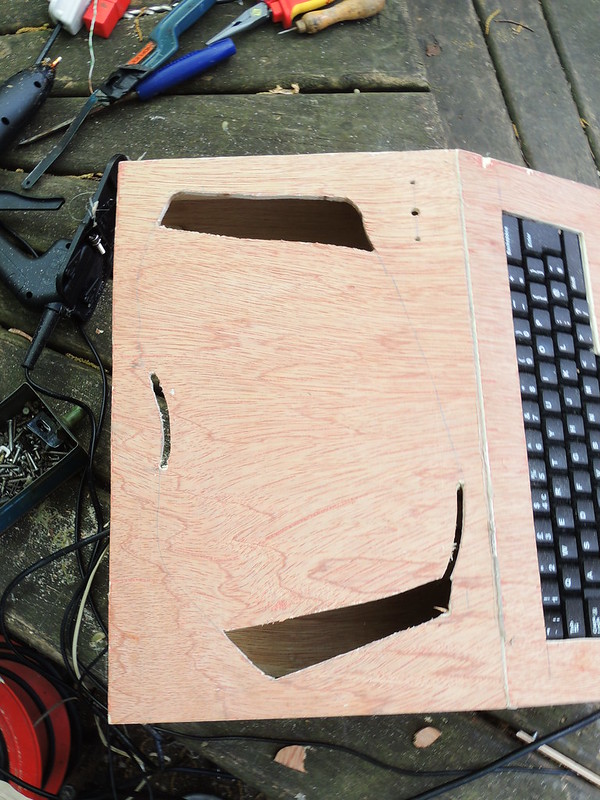
The top board was then cut into two parts (shown below). This is because the keyboard needed to be presented to users with a forward sloping angle...
The section that would be used to mount the keyboard is shown below with the paper template attached with gaffer tape.
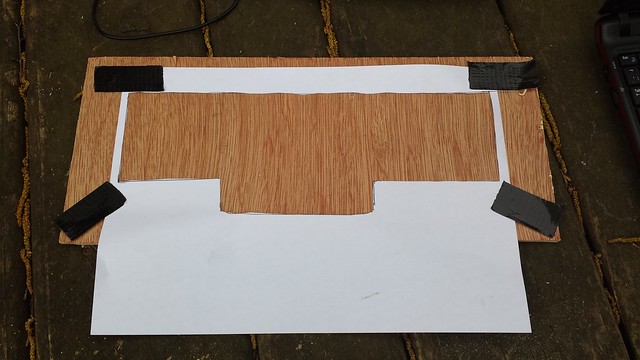
After marking, a jigsaw was used to cut out the keyboard hole, to allow mounting to the underside.
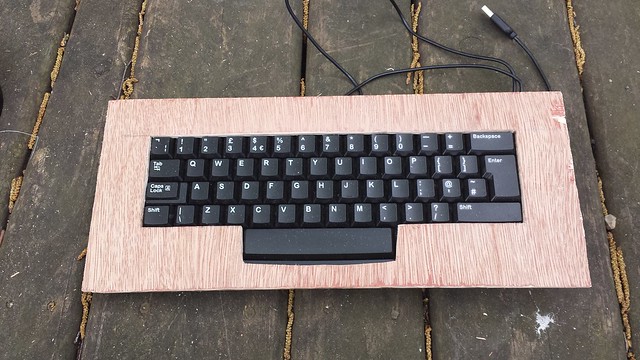
Here is the keyboard, sitting fairly snugly in the board...
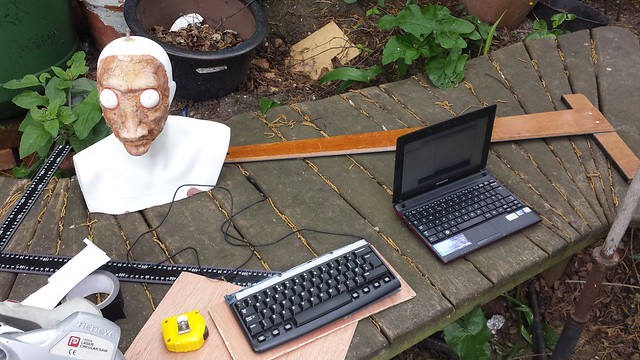
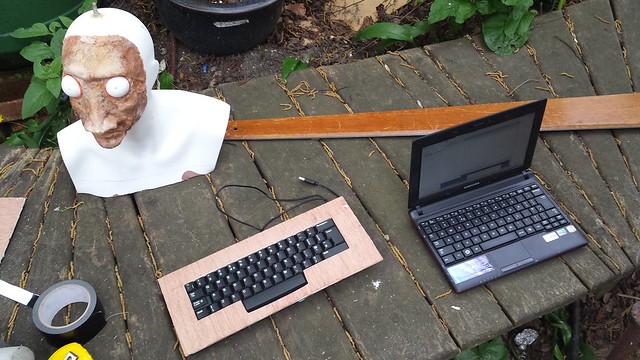
The laptop shown below is a notebook (i.e. the small ones), so you can see the scale more or less...
Jumping ahead a bit, in the shot below you can see the other part of the topboard has been fitted to the forward-sloped keyboard mounting board, with two side boards to make the basic box. It is missing the front, back and base boards. The height was governed by the need to have the laptop open inside the box when running the automaton later.
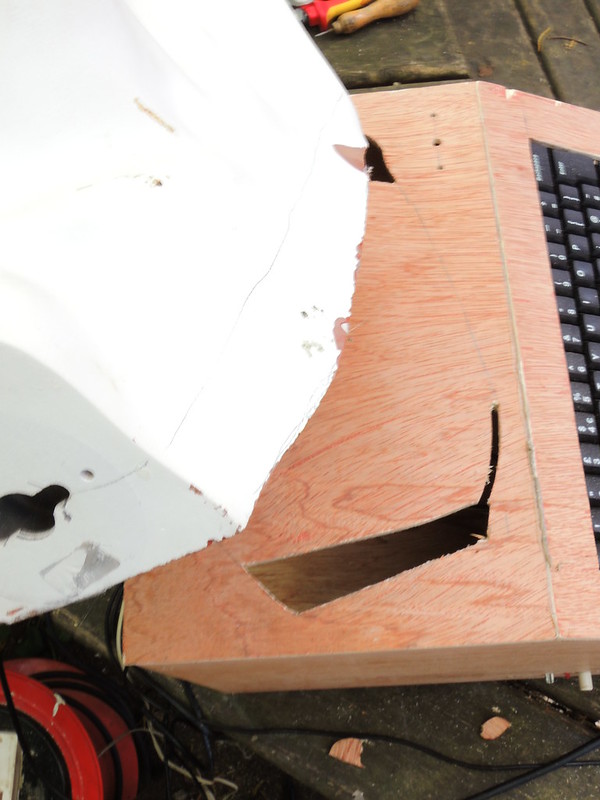
Also shown below, the head is being positioned to mark out some guide holes to locate it into the base box.
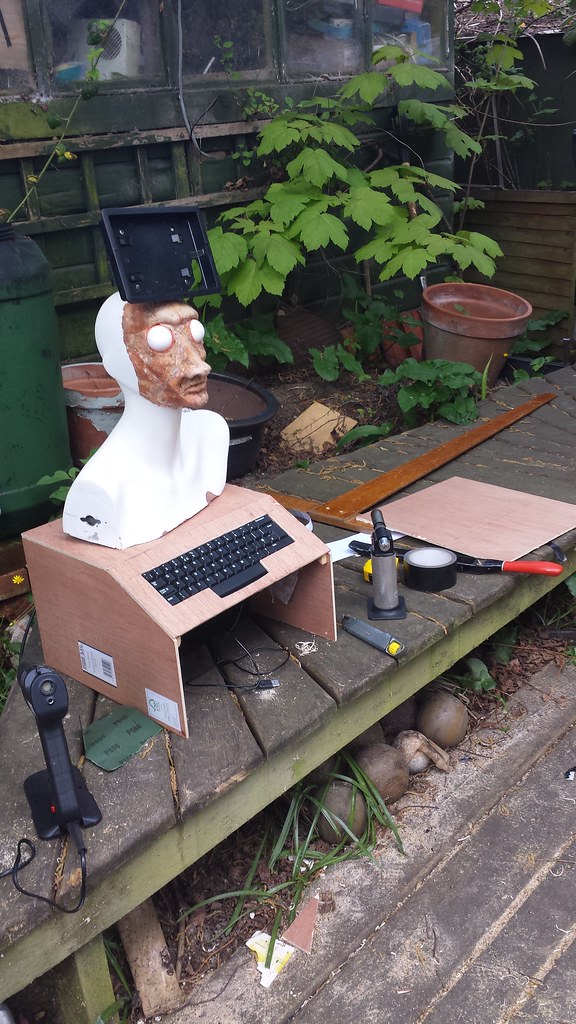
From these markings, holes in the top of the box were cut as positioning holes for the shoulders of the automaton to sit in.
The shoulders being lowered to test the fit (below)...
And the shoulders sitting in place...

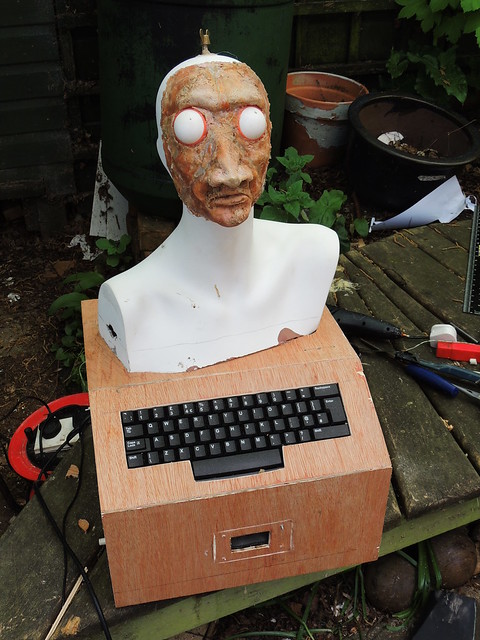
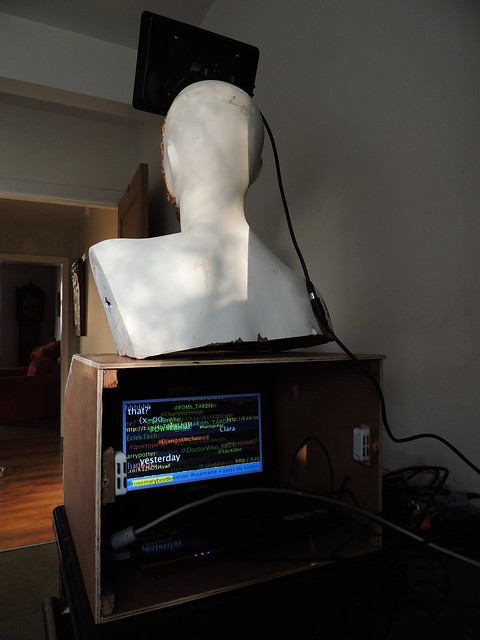
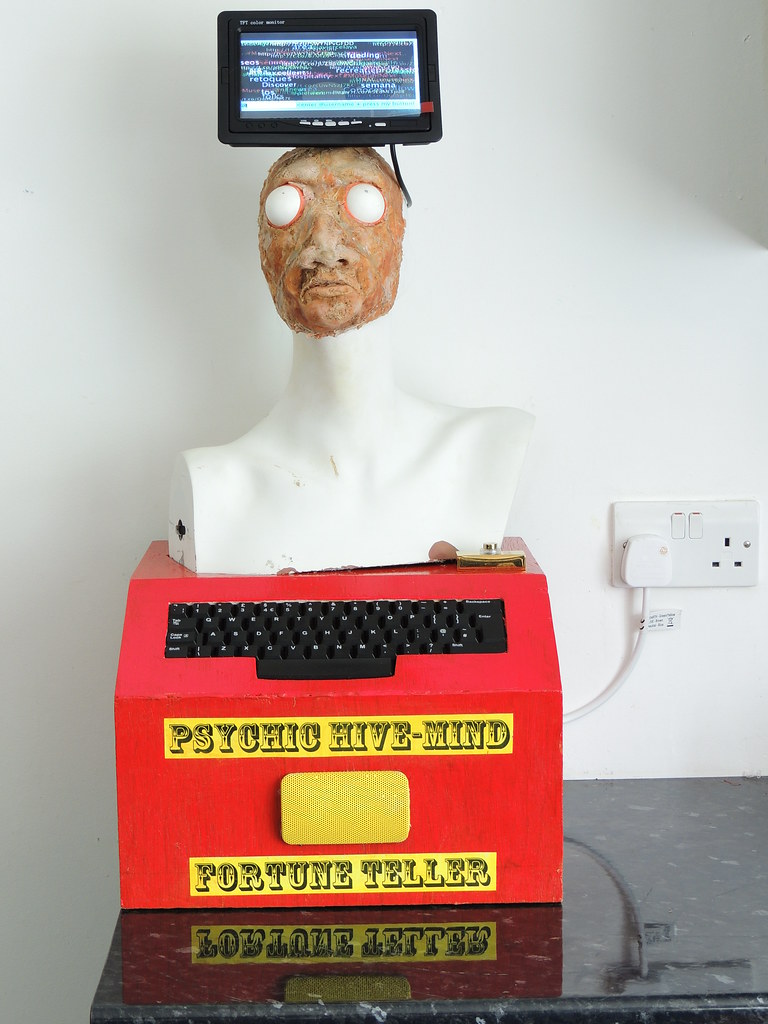
Sitting in place the head looked like this...

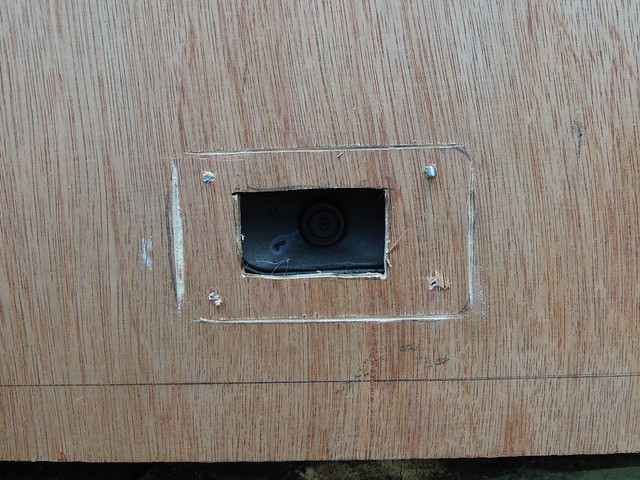
It also needed a loudspeaker. A hole was cut in the center of the vertical front board to fit this. The speaker and its driver amplifier were hacked from a computer audio amplifier. You can see the speaker showing through in the picture below.
The grooves are there to locate the speaker grill. These were cut with hacksaw blade running against a piece of wood to keep them straight along the guide markings.
The shot below shows the speaker from inside the box. The amplifier circuit is in the lower right, mounted onto a wooden housing and secured with screws.

Here's the head again, with the speaker showing. (below)
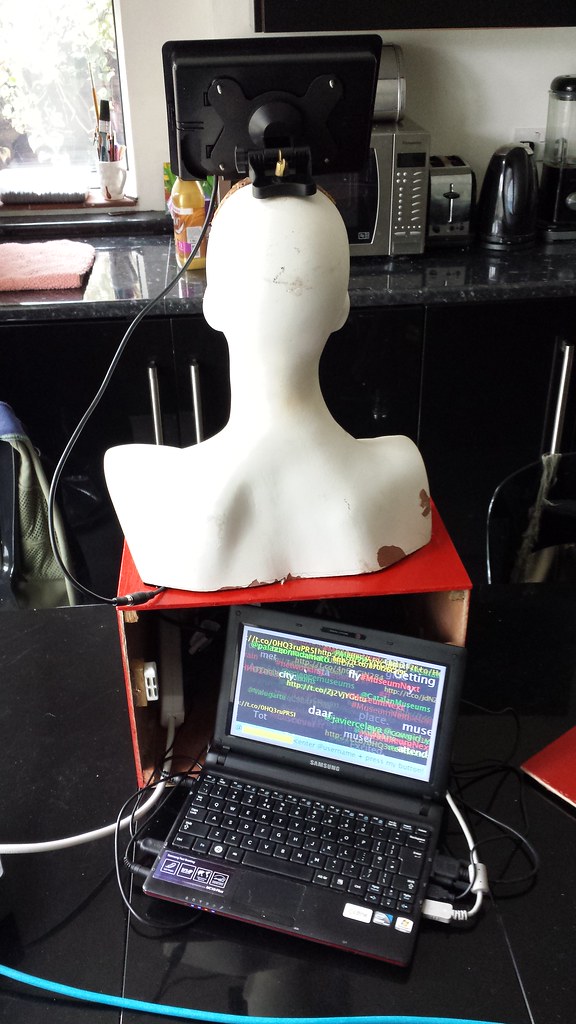
Here's a back view showing the laptop open and running inside the box.
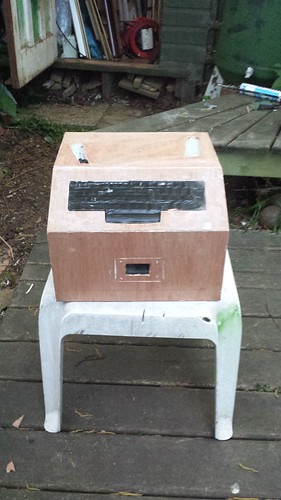
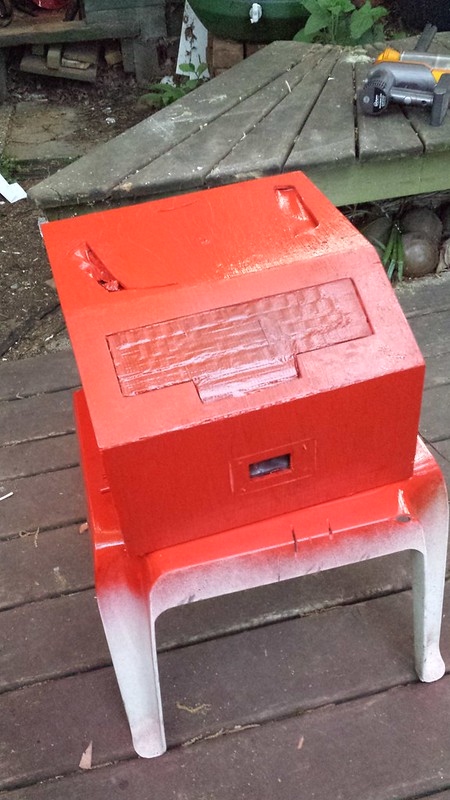
To give it a fairground attraction feel, the box was painted a garish red. The box on the left shows the bare wood with the keyboard and top holes masked off with gaffer tape to stop paint getting in. The right hand shot shows the box after several coats of red paint. This was normal car spray paint. (Acetone based)
To continue the fairground vibe, the label wording was printed out in large letters (about 90pt I think), cut into strips, then dyed yellow with felt tip pens (Promarkers). Some pseudo-fading was applied with layers of brown and green faint transparent pigment Promarkers. You can't really see this in this shot.
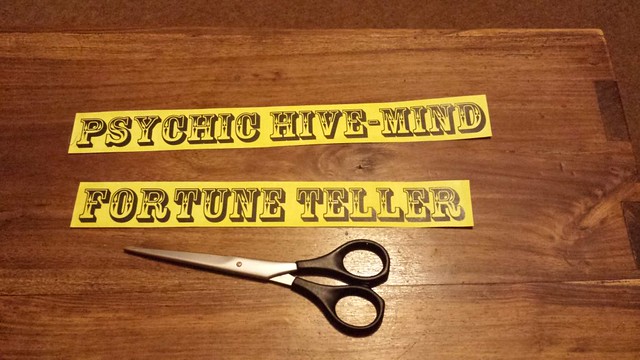
The lettering was glued in place with Bostick (clear fumey general purpose adhesive) and was varnished with 3 separate layers of quick-drying gloss varnish to seal it all.
In the shot below you can see the pseudo-aging more clearly. This was intended to mimic varnish yellowed with age.
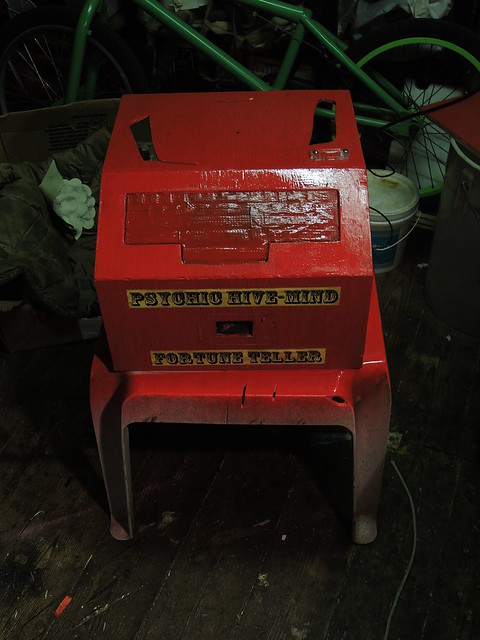
And here (below) is the finished box. The metal foil speaker grid was separately sprayed with yellow paint to match the lettering, then fixed with wire ties holding it in place within the housing grooves that had previously been cut into the box to locate it.
Below is what it looks like from the back with the back board removed. The laptop does fit inside.
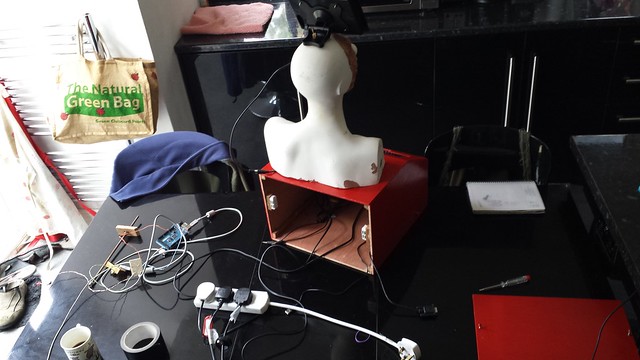
Behind the laptop are the arduino board (manages the putton push actions), the audio amplifier and a video signal convertor. This makes the standard VGA monitor output from the laptop work on the TV-type monitor that sits on the automaton's head. The monitor is a closed circuit TV monitor normally used as a reversing monitor in a car.
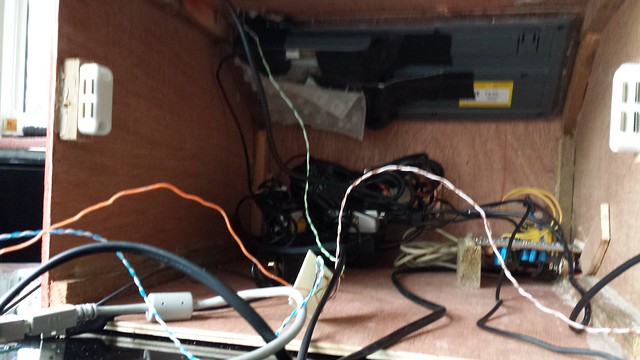
Below is a shot of the various things needed to be crammed inside the box. An important thing to note is that the head is not glued onto the base. It can be taken off and is only secured with a bolt. This retaining bolt is visible below on the far left (left of the arduino board). It's a simple threaded bolt with a wooden block threaded onto it, held loosely in place with nuts.
The reason for not gluing the head onto the box is so it can be taken apart for transport. Here it is shown inside a suitcase, just about to be taken to Amsterdam to demonstrate at the MuseumNext conference. The head is inside the box.

and that is it.
No comments:
Post a Comment