This one is about gate-building
But first, here is a new extension of the fence I made

Very neat. However it's not a fence. It's a place for popping the wheelie bins, so they don't have to sit on the lawn looking ugly and getting in the way of the car etc
Here it is from the front...
I had to build the door from scratch as it needed to be an unusual shape. Here it is before cladding.
It has a door closer, so it stays shut and doesn't bang about when it is windy.
I enjoyed making this - it is a proper jointed door frame.
I made it all made from 4" x 2" rough timber scrounged from skips
It has some hefty mortices...
- power saws and hand saws (tenons)
- auger bits in a power drill and chisels (mortices)
- filing sander (cleaning joints up)
I've missed out most of the useful stuff about cutting the tenons etc (oops), but suffice to say, you need to mark them consistently with the square and the marking gauge. When using the marking gauge the two pins should be applied from the same edge on the face of both mortice and tenon that will eventually face together when joined.
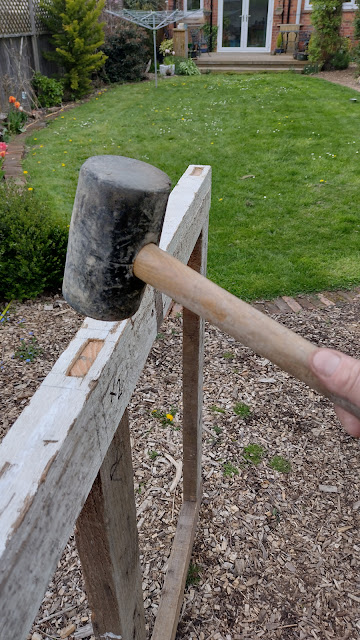
Once all cut, it is worth testing them by a dry-run on construction.
You need to do this to test the joints fit and then trim if needed...
And to see if all bars fan out in a flat plane as intended...
For wood joinery, you should always apply glue to both pieces being joined, so both pieces are in full contact with glue, which then closes any gaps between the snug pieces forming a fully solid joint. This includes the shoulders
Your mortice should be good and sloppy...
With the glue, they should ease together more easily than when dry fitting.
Putting the second rail in place....
After fitting, I used sash clamps to pull the joints firmly together and keep them there while the glue set.


No comments:
Post a Comment