Tuesday 19 August 2014

DIY Google Cardboard VR viewer

Like a hand-crafted Oculus Rift, but WAY crapper, here's a first attempt at creating Google Cardboard with, well, cardboard (and quite a lot of masking tape).


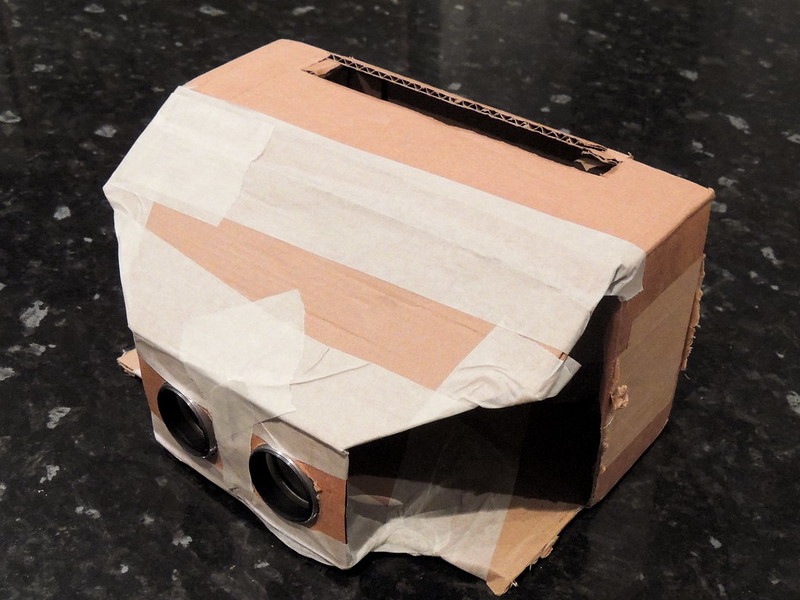
Bizarrely, it just works. Here's the slick casing.

And here is the original. Not too disimilar.


It started with an enjoyable dismantling of some knackered binoculars...


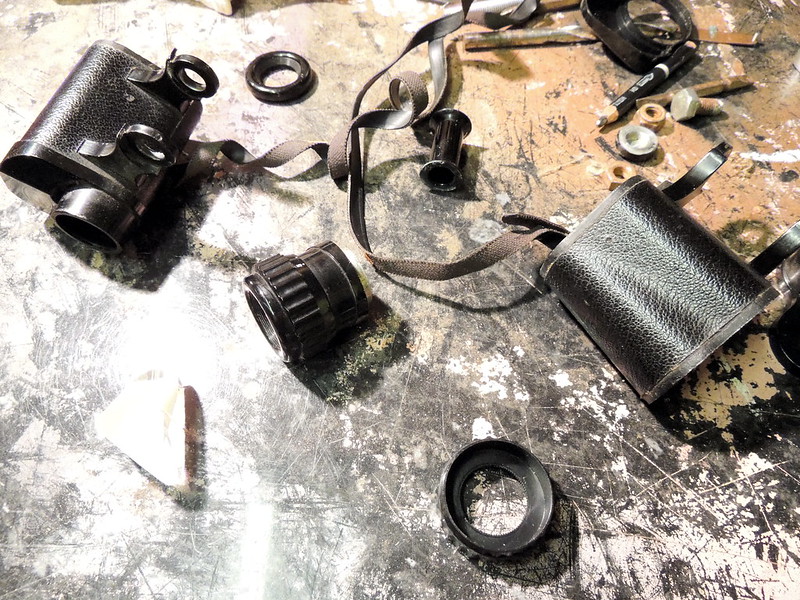
Some nice Bakelite, but mainly some useful lenses...


Like this baby. Lush...


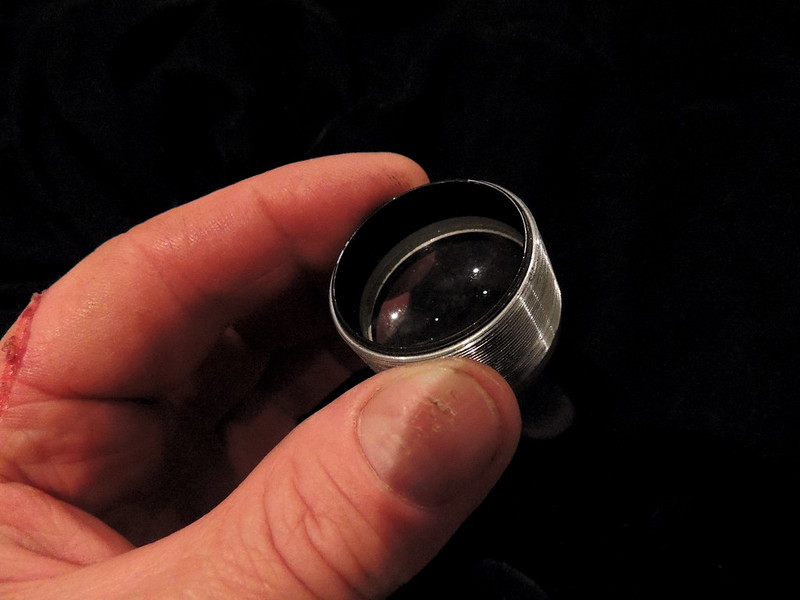
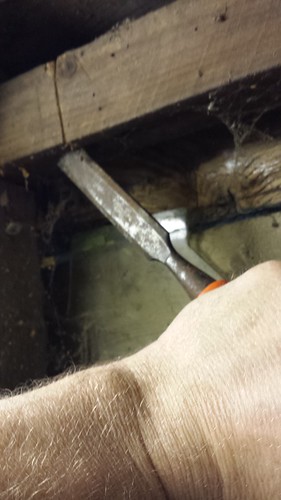
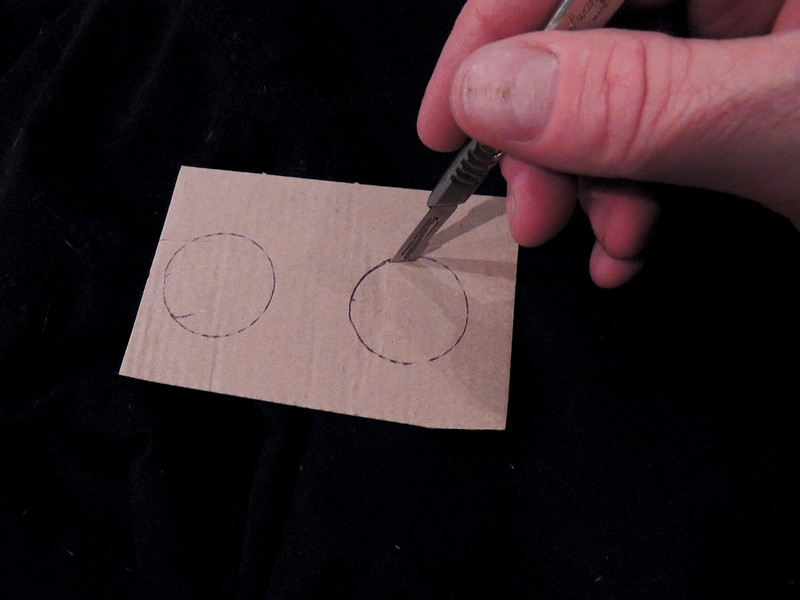
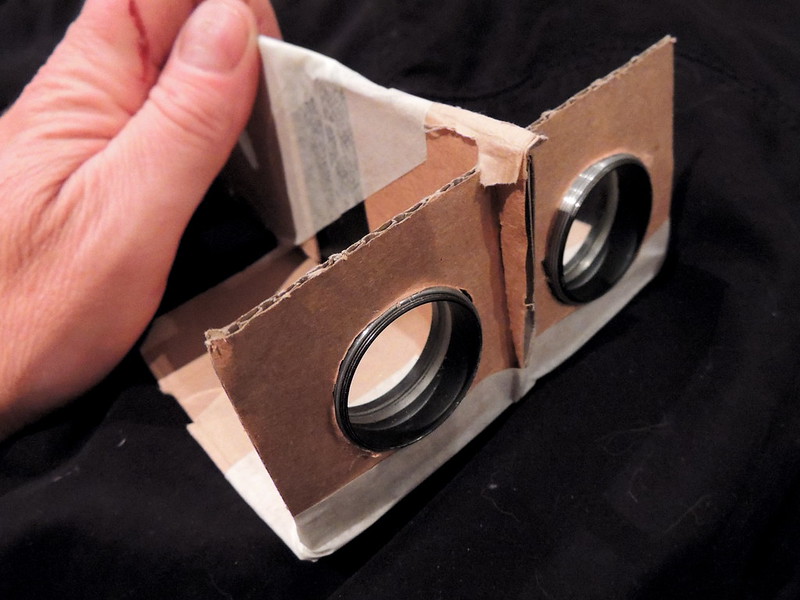
To get started, the lenses were removed. Of course, they have a convenient fine screw thread and come in pairs. This makes them easy to mount on a small mount of cardboard. Cue scalpel...


They screw right in and also are thus adjustable...


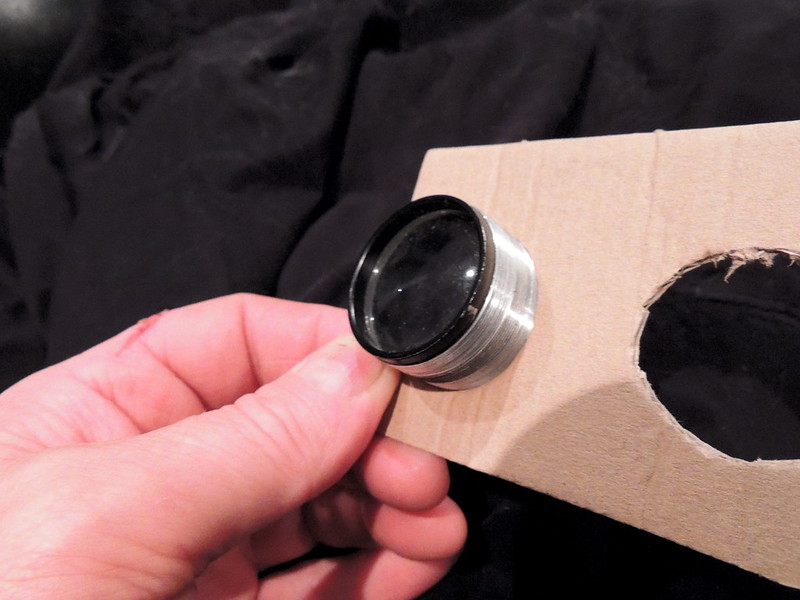
Corrugated cardboard - it is a subtle structure and a beautiful invention. Now with added lenses.


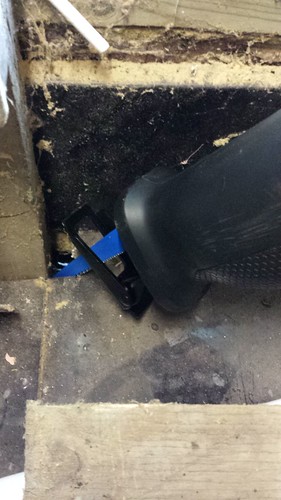
To stop brain cross-talk in the brain because of signals from each eye seeing more than they should, a partition board was added (blinkers, basically)...


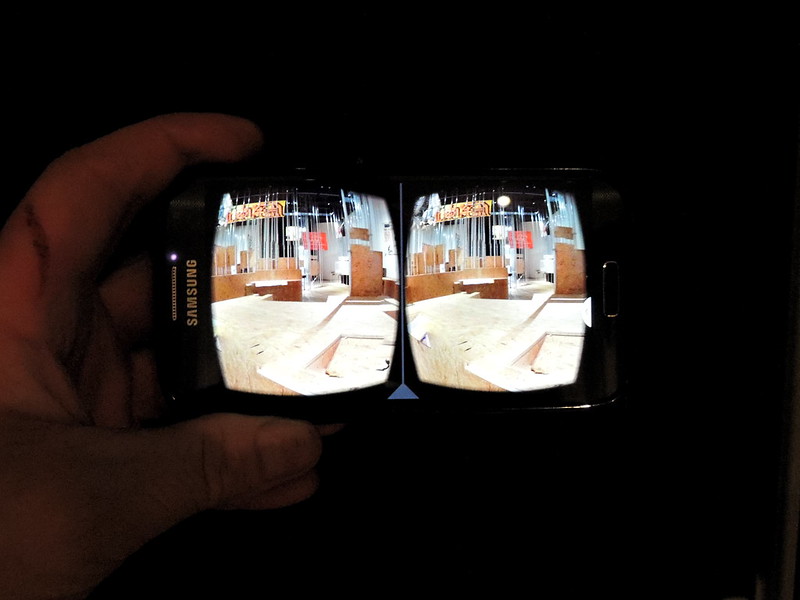
The target for the viewer is a normal (Android) phone with the Google Cardboard app running.


This was place in a box thus...


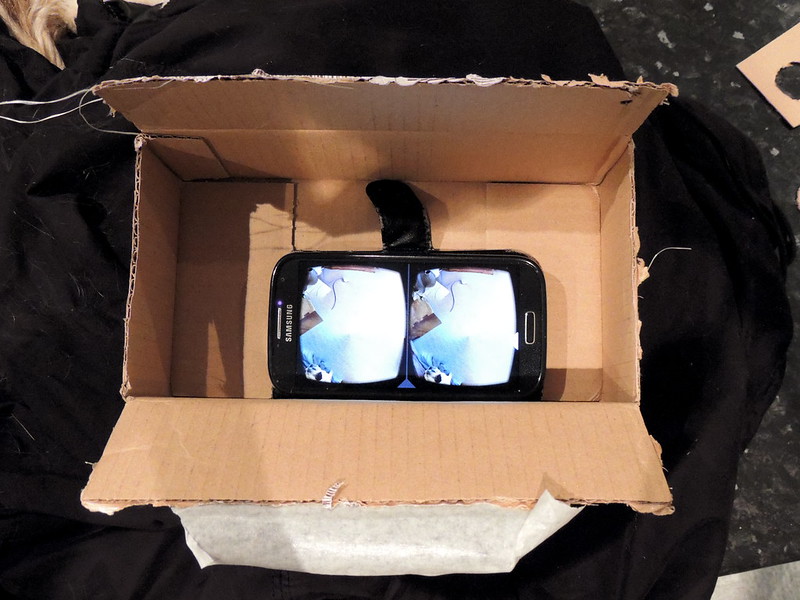
The viewer was added like this. Masking tape - you know it makes sense...


Eventually with a lot of sticking together haphazardly, it ended up looking like this:


With a slick insertion point for the phone:


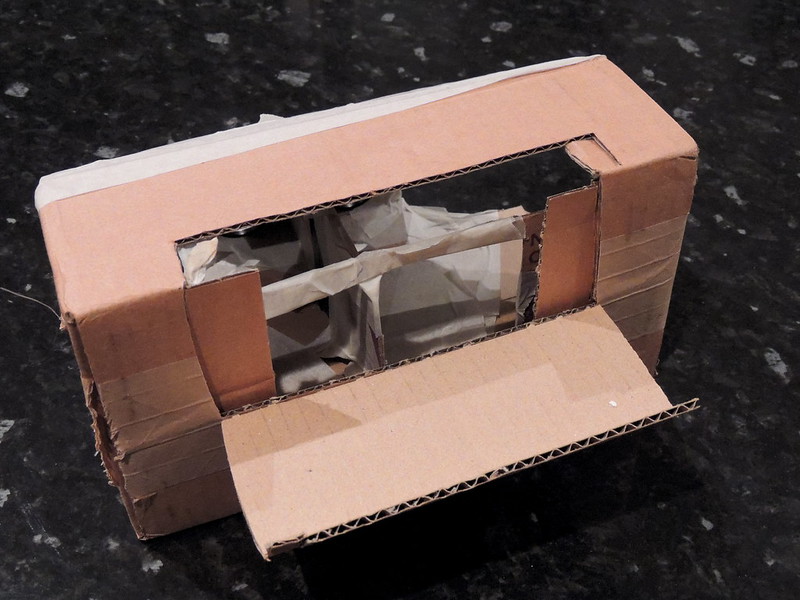
The open sides are to compensate for a lack of controls. The real Google Cardboard has a very neat magnet and washer "system" to control the menus. In this version, touch screen is used, hence the hand-holes.


And that, more or less, is that. Easy peasy.

Sunday 17 August 2014

Shed roof extension - part 3

Lovely bright windy day today. Lots of frame making done. We have rafters...

These are cut from 3/4" ply wood boards, bolted together on the ground, then heaved up onto the roof and fixed in placed on the rails of the basic support frame.

Here is what the frame looked like beforehand. It is supported on six columns that have been dropped down through the roof to ground level and bolted onto the existing shed columns, whilst the existing roof is left still in situ. The old roof has a temporary vertical strut-support internally, to allow me to lumber about on the top without falling through it.


The rafters start off as rectangular boards. These are marked in a 180 degree symmetrical pattern to create two halves of the inverted V-shaped frame...

This is cut with a circular saw...


Until there are two halves


One is reversed, then they are bolted together...


They are pretty strong. Four of them were bolted on, then a ridge beam was added to help stabilise them, to give something to butt the roof boards up against later and to allow things to be suspended from the roof in eventual use...


Saturday 16 August 2014

Shed roof extension - part 2

Things are moving along in my plans to get more space in the shed. A week ago it looked like this, with the four corner posts in place, but no rails or beams

It has progressed. I have now got all 6 uprights in place , needed to support the replacement roof.

To do this meant cutting a hole in the roof and through several shelves and a bit of counter.
Here's a view down through a pillar-hole

Saturday 2 August 2014

Shed roof extension

Having noted a leak in the roof of my shed and a distinct lack of space, I recently concluded that what is needed is a new vertically extended shed roof...

The leaky bit is on the right. The wood pile is made from timber baulks that have been squirrelled under it, and that might come in handy...

Here's what I am thinking...