To overcome this problem, I needed a sturdy, but slim spatula, so I could turn one individual potato if I needed to without disturbing others.
Here it is.
Using a cheap shop-bought plain spatula as a starting point
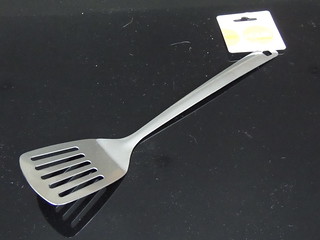
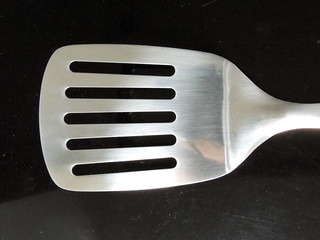
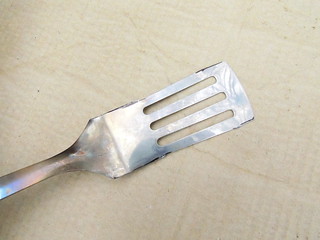
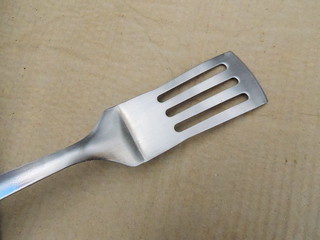
This was made by adapting and enhancing a cheap shop-bought spatula.Below on the left is the original spatula, which had been conveniently manufactured from a single piece of pressed stainless steel. The inconveniently wide blade is shown on the right. It was actually quite sturdy, as the steel handle was quite thick
However, I didn't like the rather uncomfortable plain steel handle, so I wanted to not only make the blade slimmer, but also add a decent wooden handle.
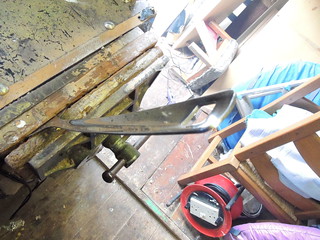
Here you can see the curved profile of the handle. This would need to be flattened out later to create the new handle...
Trimming the spatula blade
The shape of the new blade was marked on the spatula, then long-arm metal snips were used to cut off the excess metal from the edges.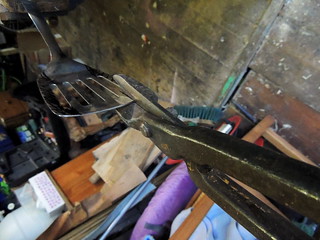
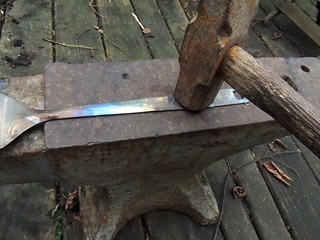
Flattening the curved handle on the anvil
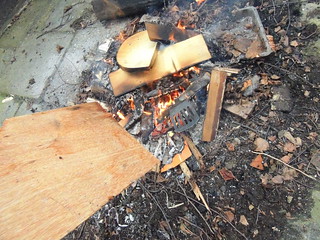
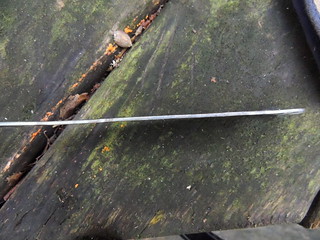
This was of course an excuse to use the anvil and do some rather gratifying (if simple) blacksmithing. The curved-section handle was heated to red heat in a log fire to soften it and hammered flat with the forge hammer. Anvils - they are so awesome!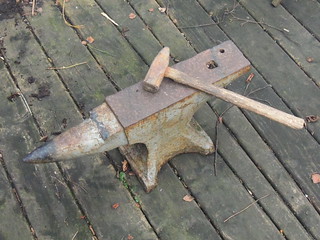
Oak handles
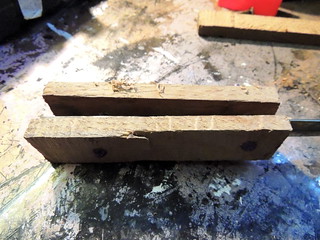
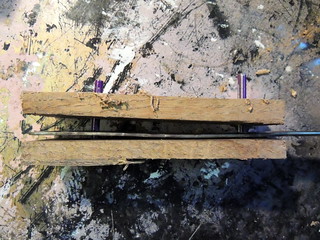
I had some rather nice oak planks lying about, which would make good looking handles. Oak is not a traditional handle wood as it is slightly too brittle in thin pieces, but as a spatula doesn't receive massive shocks like a hammer handle, it was fine. Oak also takes a very hard, smooth finish and ages well with oiling to bring out the grain pattern pleasingly. The handling it would get and the oil it would come into contact with in the kitchen would also help naturally mature the pattern.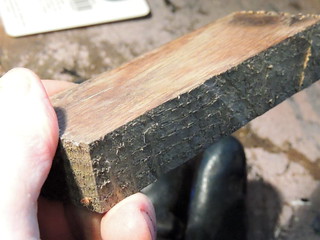
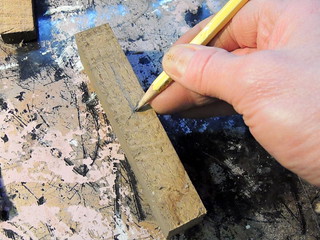
Fine-shaping, filing, and finishing
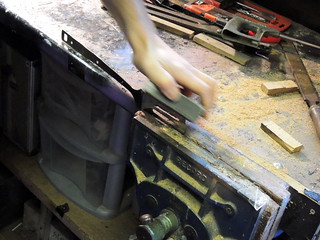
The snips left fairly rough edges and spurs, which needing filing down. The new slim-line blade was roughed down to a smooth shape with a coarse metalworking file, then a fine file used to finish shaping. A sharp bevel was filed onto the front edge of the blade too. Finally, once smoothed the blade was polished with diminishing grades of foam-mounted sandpaper until a fine burnished finish was achieved...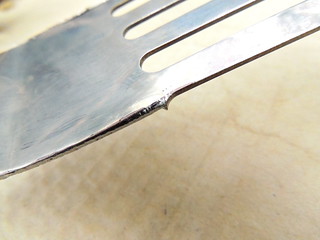
Fitting the rivets
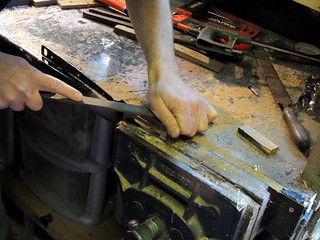
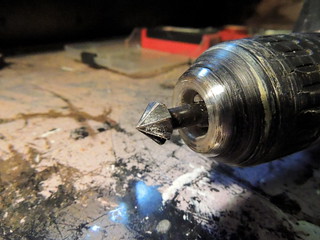
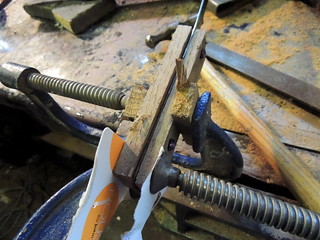
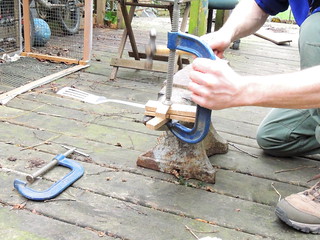
The rivets would need trimming down before the heads were hammered down to close the joint. Before this, the rivet holes were countersunk, to allow the head to be formed. This was done using the delightful countersinking rose bit. Once trimmed, the wooden handle blocks were cramped tightly to the handle tang. The rivets were then hammered closed on the anvil...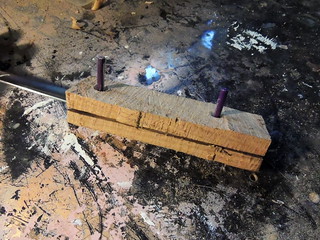
Cutting down the handle block and shaping
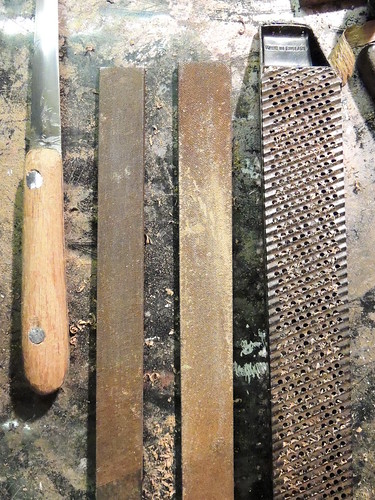
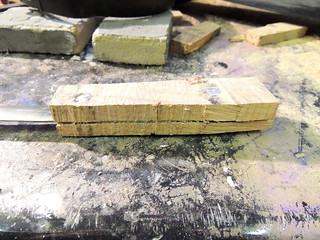
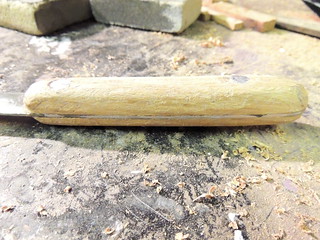
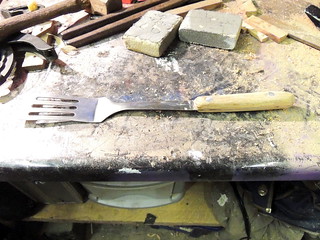
Once firmly attached, the handle was cut down to the rough shape with a saw. It was then rasped and filed to shape with progressively finer files, starting with an ABRA file (a sort of perforated-sheet multi-toothed plane), then coarse and fine metalwork files.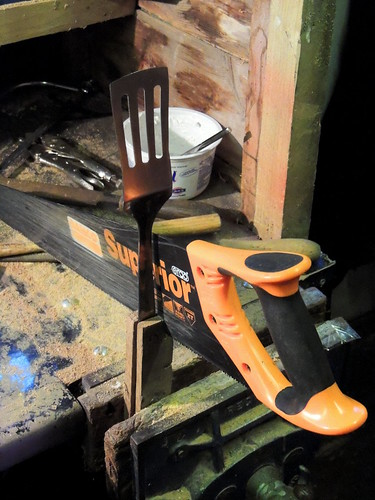

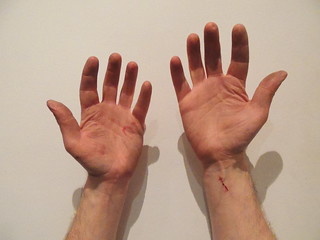
Filed hands
There are inevitably cuts, grazes and knocks on the hands although whilst doing it, you rarely notice until you spot the blood dripping. This heals in an hour or so!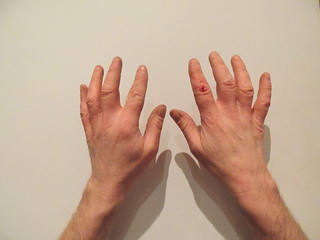
The finished spatula
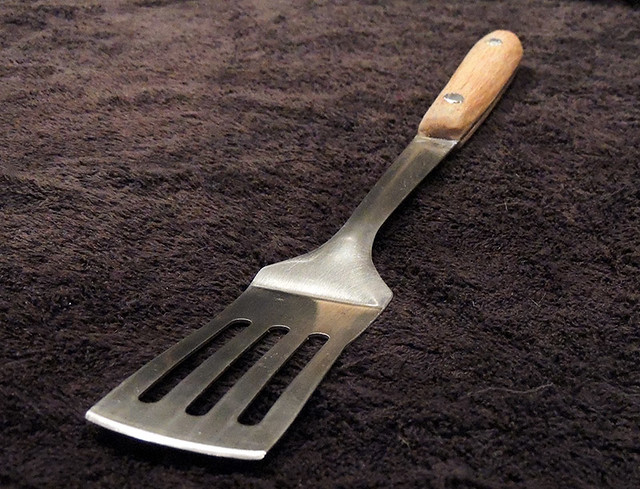
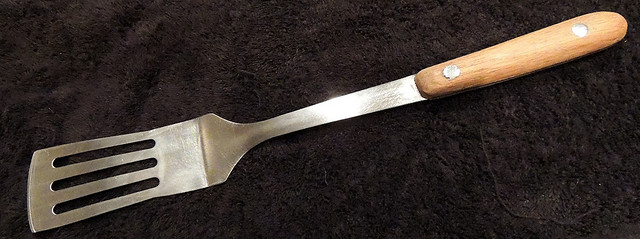
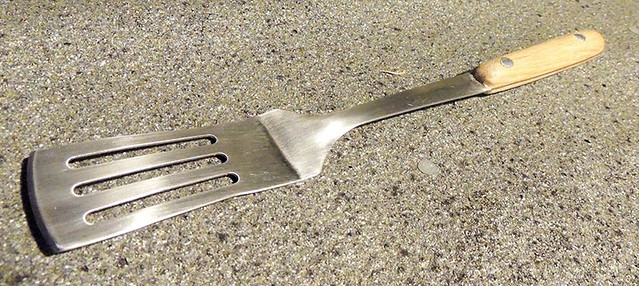
And so, here are some shots of the finished tool. It has seen action in two roasts so far and is exactly what I was after. Thick and strong, so it doesn't bend, but with a pan scrapingly sharp blade front to dislodge well stuck-on potatoes, and with a blade slim enough to flip individual potatoes - job done!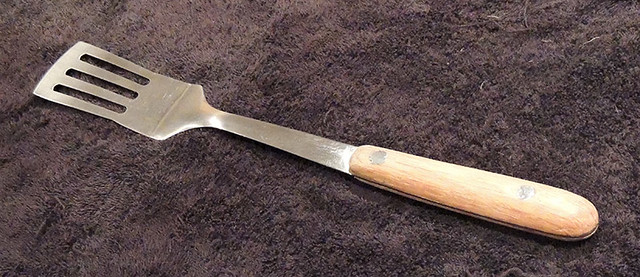

No comments:
Post a Comment