Sunday, 31 March 2013

Fortune Teller Hive

OK, a new project to be playing with - Fortune Teller Hive!

Creepy automata and enjoying being spooked in a crowd.


Fortune Teller Hive is a plot to make a physical fortune telling automaton that you find at fairgrounds, but mash it up with online digital social interaction to create a more colective experience, and generally play about with some concepts of persona and social buzz.

Here's an example of on the epic 'Zoltar' machines
They usually come in large glass case at fairgrounds. You put your money in and it reads your fortune. There's an enjoyably creepy magic about such automata. Like puppets and ventriloquists' dolls they are all just a bit Frankenstein - inanimate people-like objects with life breathed into them.

One aspect of the enjoyment of such creepy things is that they are seldomly experienced alone. Most occur in public areas. I am interested in the emotional aura that occurs in such places that comes specifically from there being groups of people experiencing it at the same time.

In fairs, cinemas,  circuses, theatres, amusement arcades and on theme park rides, the thrill is not just from the slightly risky or creepy nature of the exeriences, it is heightened by sharing it with other people and a social sensing of other people's excitement.

The shared collective excitment is different than that if one experienced something alone - the gestalt consciousness, if you like. This changes the emotional sense of the surroundings. It is other than what it would feel like on one's own. If the attraction is working well, when a crowd uses it, the crowd tends to increase excitement and risk-taking as the presence offers a sense of safety in numbers. Having said that, it is possible to feel swayed by collective disappointment too, if the experience is not working!

Why an automaton?


Anyway, as much as I love making creepy shit, I am not that interested in perfoming with it to an audience. I love puppet-making, for example, I but can't be bothered to perform with them. This has led me to think I should make more stand-alone interactive things, rather than props for a performer.

The most obvious things are automata.

So what has all this got to do with social media?


I didn't want it to be a passive thing though. I wanted to explore how people might contribute to the experience, so that it was changed when people engaged with it. This led me to the idea (eventually) of a fortune teller who's brain is empty of thought unless used. That is, the only way that it could tell fortunes was if it had thoughts induced in its mind as a result of lots of people engaging with it simultaneously.

The obvious advantage of this crowd-sourced model is that the Fortune Teller would offer a different style and character of fortune reading, depending on the people who ere engaging with it at any one time.

And this is really what effective social media do. They provide a standard platform for engagement that enables a large range of very different collective gestalt experiences to be created, from one single platform. The medium is creating a means to build social experiences, based on the active participation of individuals.

What can we learn from Twitter hashtags?

Twitter hashtags are a great example of a simple mechanism enabling a huge range of different shared social digital experiences. The sense of conversation that anyone has when posting using any one hashtag is driven by the way all the people using that tag do so.


WTF?

OK, this is getting weird now.  The bottom line is what Fortune Teller Hive is hoping to achieve is to create a physical automaton, that is connected digitally to multiple people, using some sort of social media, to create the content of its thoughts and therefore the nature of its readings.  I'm not going to build social media, so the starting point is to use the dev tools of openly available social media, starting with Twitter..

But mainly it should be ceepy!
Here's a new twitter account for making this happen...
Saturday, 30 March 2013

Making chipotle from chillis smoked over a bonfire

Ever since visiting Atlanta, I've loved anything with chipotle in it.
So I thought I'd make some (it was always gonna happen!)

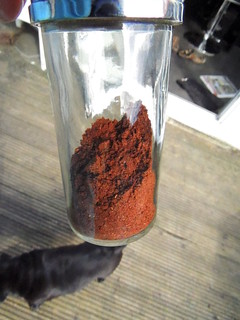
Home made smokey hot chipotleChipotle (and Betty pug)


The thought had been rolling round the brain for ages. And perchance, one day as I was passing a market grocer, conveniently he charmed me into buying a big bag of glossy red chilli beauties, with his rakish grocery ways!

Drying the chillis

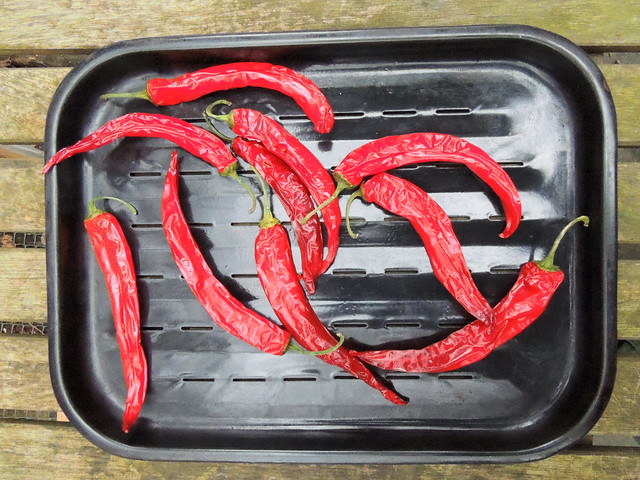
Here are the beauties. The first thing to do was dry them out.
They were plump when I bought them, but here they have shrunk as they have been air dried on top of a boiler for about 10 hours. DSCN3438


Smoking the chillis

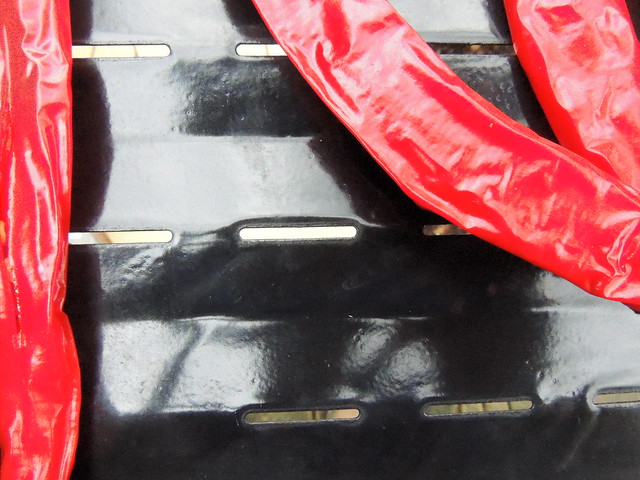
I chose a tray with holes in to allow for the smoking stage. Here is a close-up DSCN3439
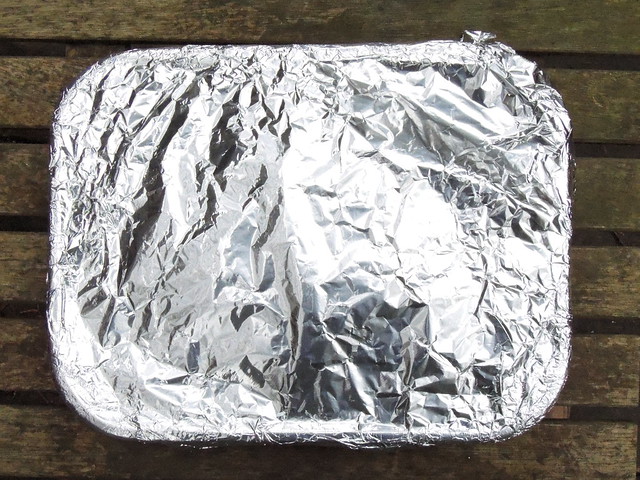
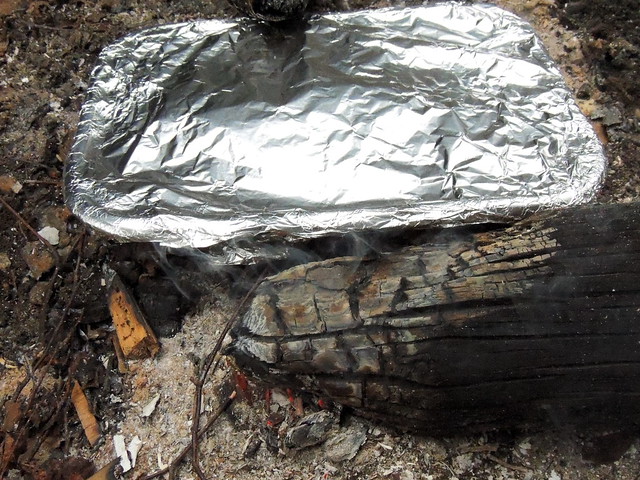
This was covered loosely in foil to keep in smoke later.
DSCN3441

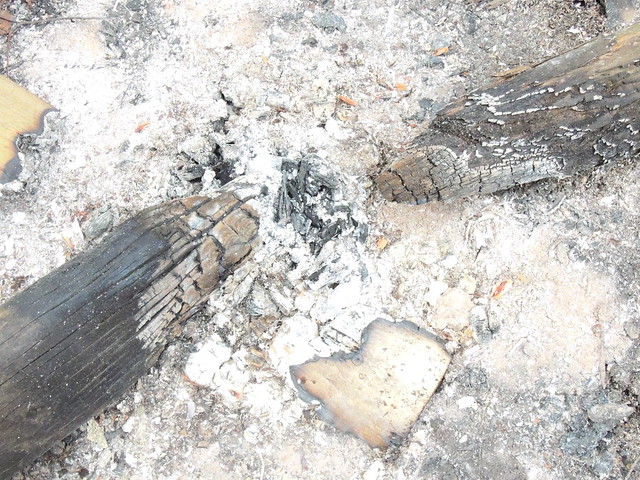
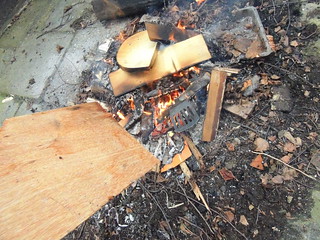
Here's the fire. It was the same one I had been using for blacksmithing, to anneal (heat soften) the handle of a spatula.
DSCN3442

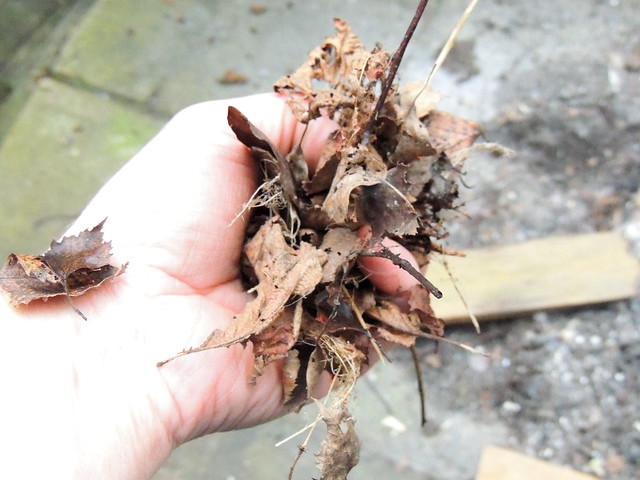
Adding semi-green leaves to the fire created a lot of smoke. Of course, these have to be not from any sort of poisonous tree, just to be on the safe side (though probably very low risk). These are birch leaves from the lovely silver birch in the garden
DSCN3444
Photos of smoke always come out rather underwhelmingly and this one is no exception. The foil covered tray of chillis
DSCN3445

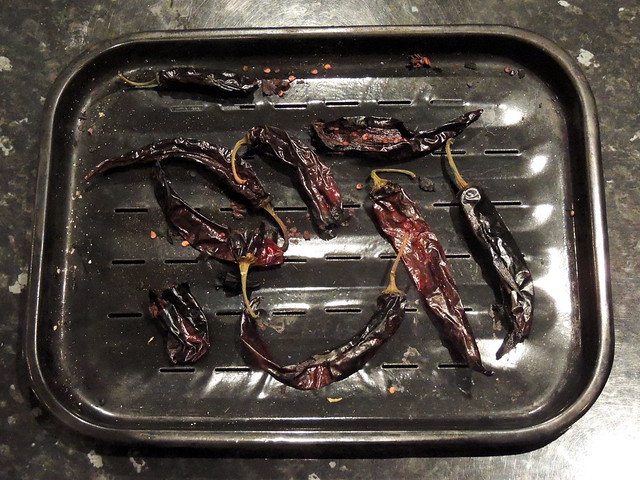
Of course even well died down fires give off quite a lot of intense heat and chillis are high in sugar, so burn real easy. The finished chillis here were just on the right side of charred. Any more and they'd have been bitter. These were air dried again after smoking to dry off any moisture from the wet leaves' smoke.
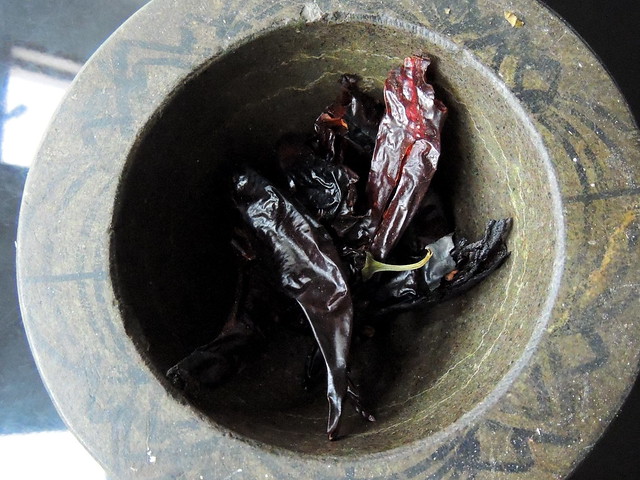
Smoked chillis

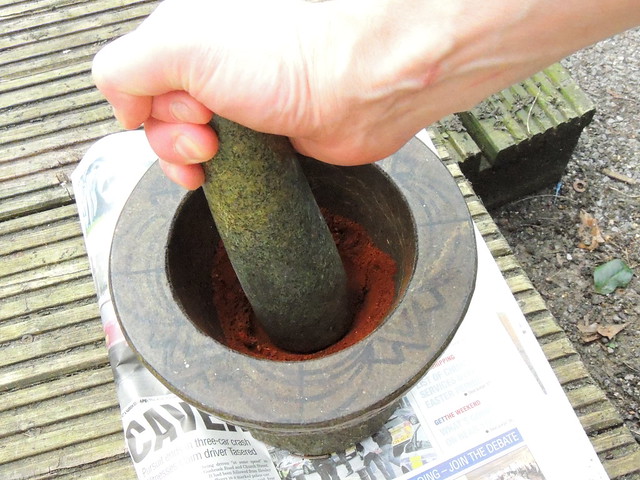
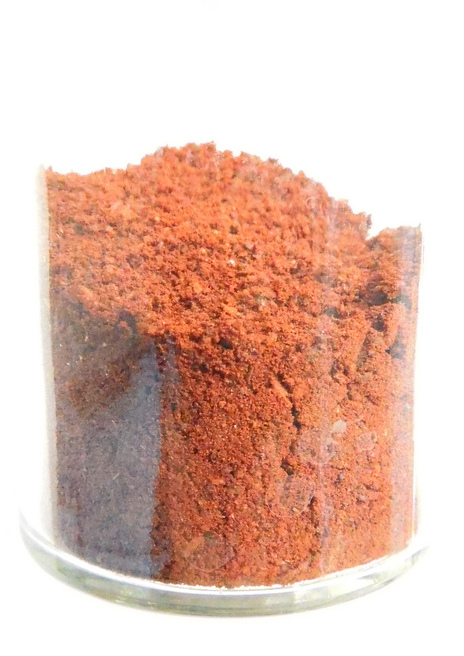
The chillis were very brittle after this process. They were popped into my heaviest mortar and pounded to oblivion with the granite mortar.
Smoked chillis ready to grind

A thoroughly enjoyable exercise. it takes quite a while to get all the seeds crushed to dust. Good for the arms. The smell was really good too - smokey, almost tomatoey pungency. Lovely! Grinding chipotle

ta-da!

Monday, 11 March 2013

Pimp my spatula!

Here's a superslim spatula I made to overcome the problem of dealing with turning roasted potatoes within a roasting pan. I find that a regular-sized spatula blade is too wide, and either catches on the meat joint, flicking juice everywhere, or accidentally slices through potatoes adjacent to the ones being turned.

To overcome this problem, I needed a sturdy, but slim spatula, so I could turn one individual potato if I needed to without disturbing others.

Here it is.

Slim spatula

Using a cheap shop-bought plain spatula as a starting point

This was made by adapting and enhancing a cheap shop-bought spatula.
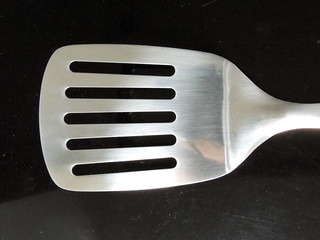
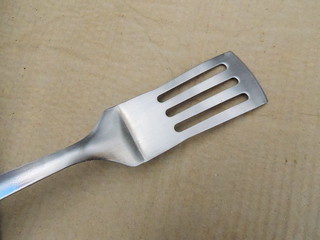
Below on the left is the original spatula, which had been conveniently manufactured from a single piece of pressed stainless steel. The inconveniently wide blade is shown on the right. It was actually quite sturdy, as the steel handle was quite thick
Spatula Spatula blade


Curved spatula shaft


However, I didn't like the rather uncomfortable plain steel handle, so I wanted to not only make the blade slimmer, but also add a decent wooden handle.

Here you can see the curved profile of the handle. This would need to be flattened out later to create the new handle...


Trimming the spatula blade

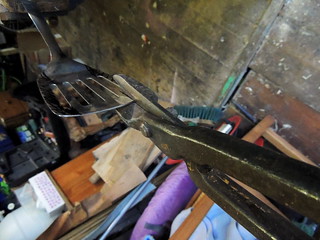
The shape of the new blade was marked on the spatula, then long-arm metal snips were used to cut off the excess metal from the edges.

Reshaping spatula blade Trimmed spatula blade


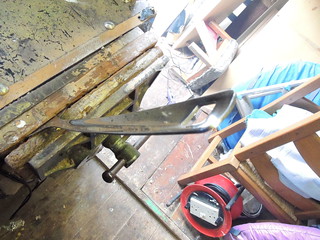
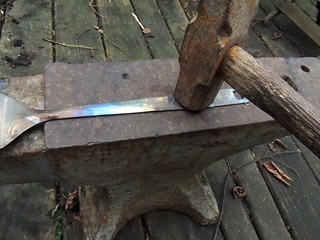
Flattening the curved handle on the anvil

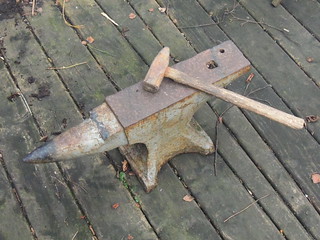
This was of course an excuse to use the anvil and do some rather gratifying (if simple) blacksmithing. The curved-section handle was heated to red heat in a log fire to soften it and hammered flat with the forge hammer. Anvils - they are so awesome!
Hammer and anvil Forging spatula shaft


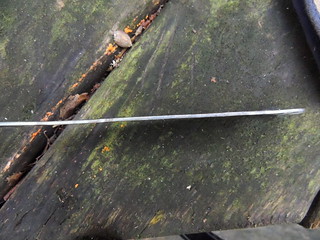
Re-forged flattened spatula shaft Re-forged flattened spatula shaft


Oak handles

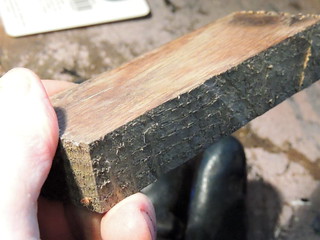
I had some rather nice oak planks lying about, which would make good looking handles. Oak is not a traditional handle wood as it is slightly too brittle in thin pieces, but as a spatula doesn't receive massive shocks like a hammer handle, it was fine. Oak also takes a very hard, smooth finish and ages well with oiling to bring out the grain pattern pleasingly. The handling it would get and the oil it would come into contact with in the kitchen would also help naturally mature the pattern.

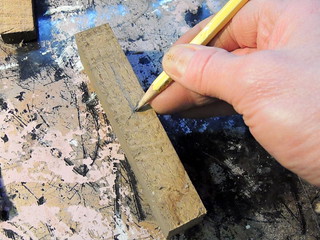
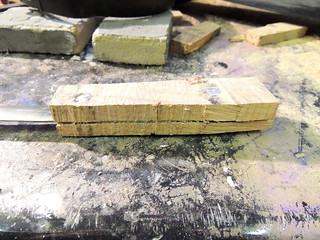
Cutting out spatula handle blocks Cutting out spatula handle blocks
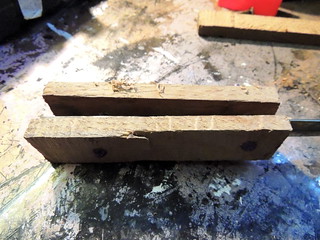
Spatula handle blocks Spatula handle blocks


Fine-shaping, filing, and finishing

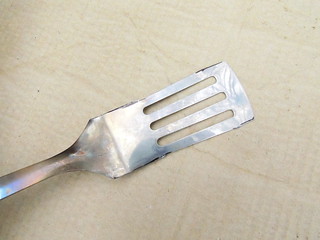
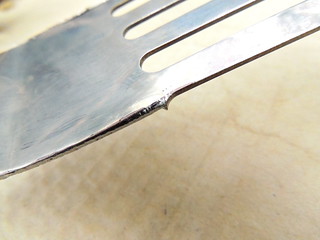
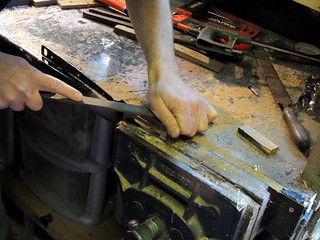
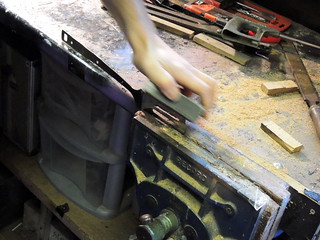
The snips left fairly rough edges and spurs, which needing filing down. The new slim-line blade was roughed down to a smooth shape with a coarse metalworking file, then a fine file used to finish shaping. A sharp bevel was filed onto the front edge of the blade too. Finally, once smoothed the blade was polished with diminishing grades of foam-mounted sandpaper until a fine burnished finish was achieved...
Trimmed spatula blade Smoothing down slimline spatula blade Final smoothing slimline spatula blade Final slimline spatula form


Fitting the rivets

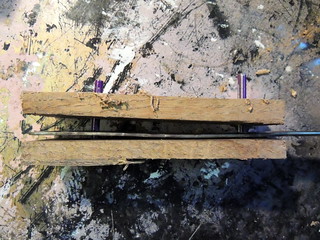
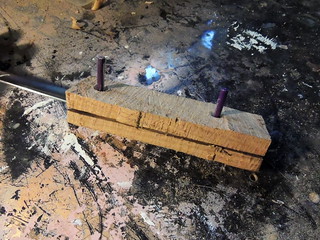
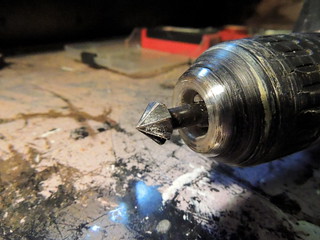
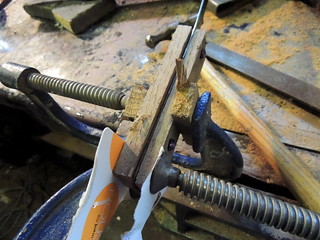
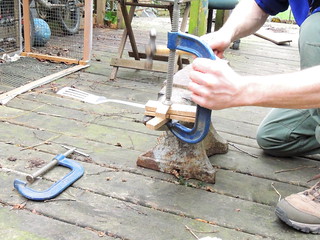
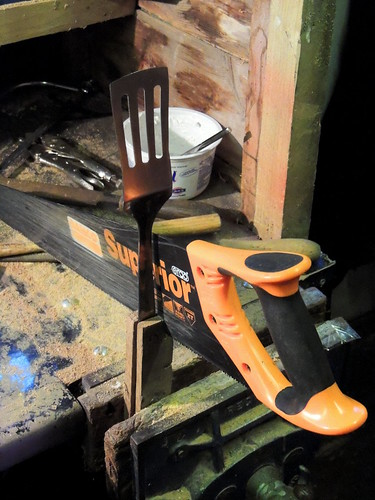
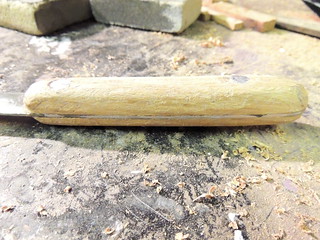
The rivets would need trimming down before the heads were hammered down to close the joint. Before this, the rivet holes were countersunk, to allow the head to be formed. This was done using the delightful countersinking rose bit. Once trimmed, the wooden handle blocks were cramped tightly to the handle tang. The rivets were then hammered closed on the anvil...
Spatula handle blocks Countersinking rose


Cramping the spatula handle blocks Rivetting the spatula handle blocks


Cutting down the handle block and shaping

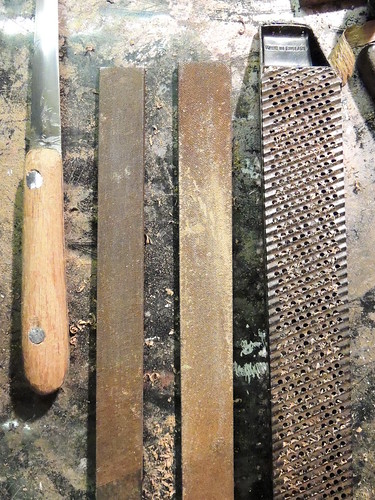
Once firmly attached, the handle was cut down to the rough shape with a saw. It was then rasped and filed to shape with progressively finer files, starting with an ABRA file (a sort of perforated-sheet multi-toothed plane), then coarse and fine metalwork files.
Roughing out spatula handle block Spatula handle and files

Spatula handle block Spatula handle roughed out form

Forming a spatula handle Slimline spatula with handle attached

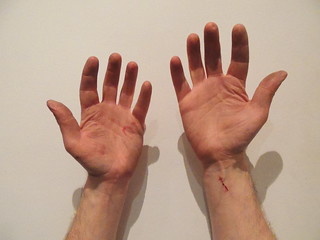
Filed hands

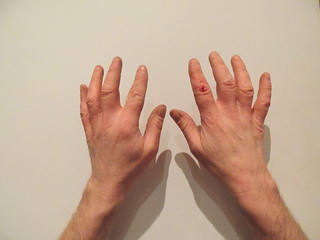
There are inevitably cuts, grazes and knocks on the hands although whilst doing it, you rarely notice until you spot the blood dripping. This heals in an hour or so!
Bleeding hands Bleeding hands


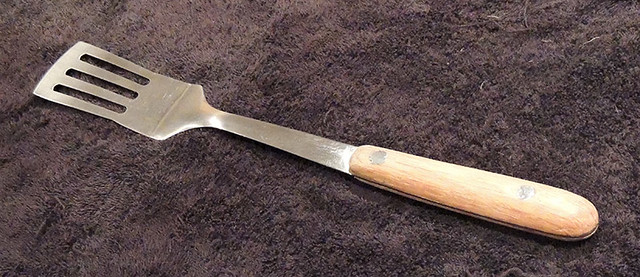
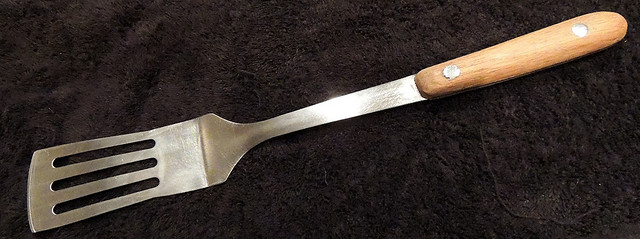
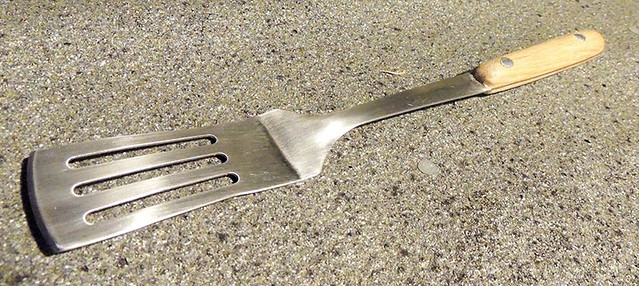
The finished spatula

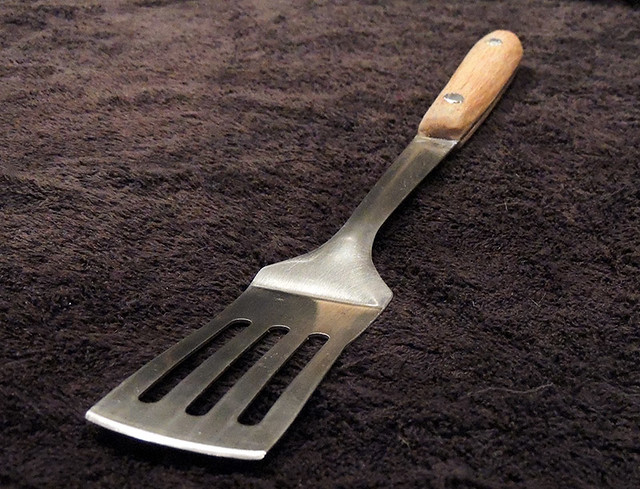
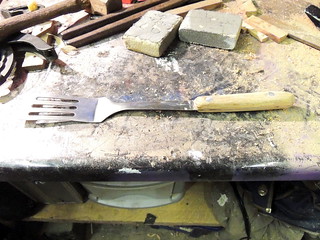
And so, here are some shots of the finished tool. It has seen action in two roasts so far and is exactly what I was after. Thick and strong, so it doesn't bend, but with a pan scrapingly sharp blade front to dislodge well stuck-on potatoes, and with a blade slim enough to flip individual potatoes - job done! Slim spatula
Slim spatula
Slim spatula
Slim spatula