This beautiful hunk of wood is our new mantelpiece, hewn from an old oak railway sleeper.
It's a fabulous pice of timber. Really heavy and solid with a beautiful varying grain and rich colour.
Very pleased with this.

Those light lines are the distinctive medullary rays, typical of oak.

Mmm... rich...

...and stripey...

With lovely stress cracks from some historic shrinking.

Beautiful.

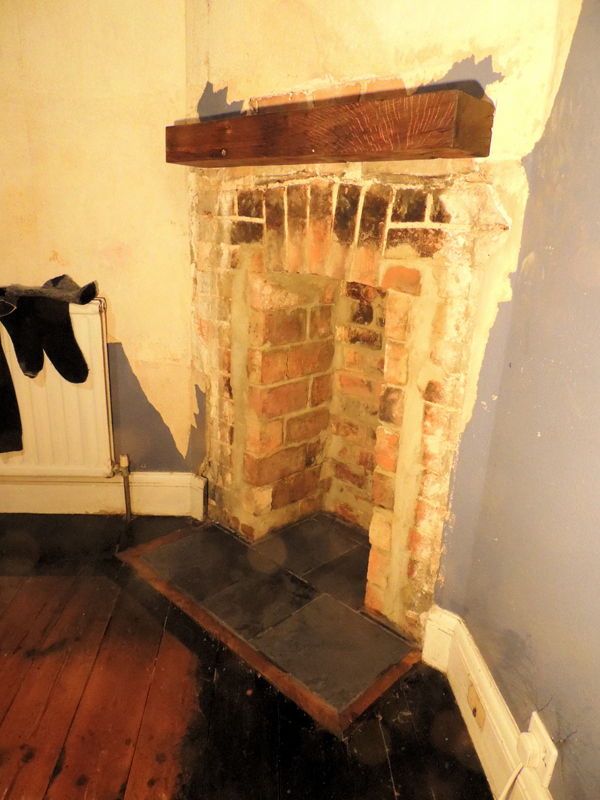
I made this to fit atop one of our fireplaces, which I'm doing up. I have also rebuilt the brickwork for the firebox (simply the rectangular chamber that the grate and stuff sit in)
This had a sprawling mess of diagonally positioned jagged broken bricks along both edges behind the old facade I took out. Later on, the wals will get replastered, leaving just one course of bricks visible.


Build
Railways sleepers

I bought this from a neaby reclamation centre and they conveniently popped it onto my roof with a forklift truck.
Back at home, getting it off the roofrack on my own was slightly more tricky. It's 8 foot long, and 10" by 6" in profile and wet. This probably weighed beween 120 and 150 kilos. Getting on fo rtwice my own body weight.
Still that's why you shoul pay attention in physics to the bits about leverage and centres of mass. After some cunning manouevres and struggles, I got it off the car and onto some trestles.

Majestic.

This would crush anything it fell on. It is immensely heavy. Look out pets.

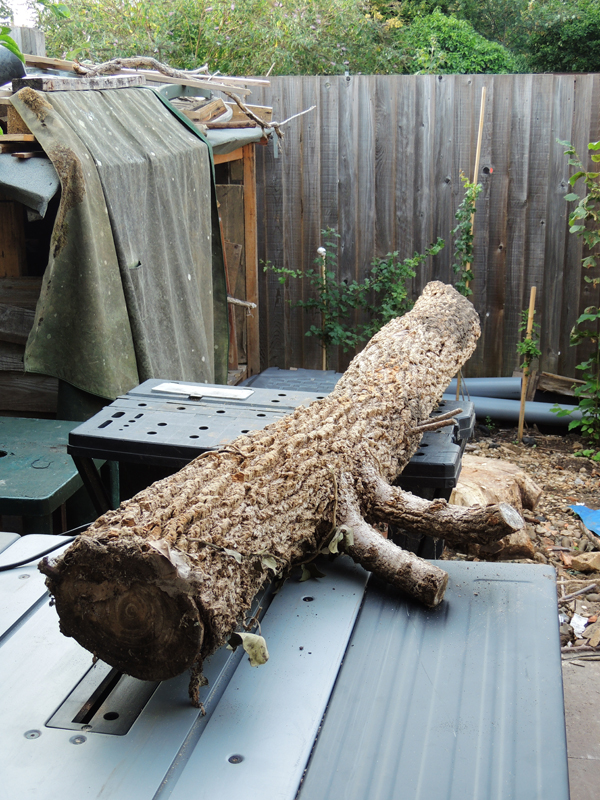
The pitting is from where it has been pressed into the supporting gravel by the even more immense weight of trains running over the rails attached on the other side.

First up, I sawed off a piece, of the right length (90cm in fact).

It was 6" thick (15cm). The saw cuts to 55mm...

...so I had to cut all the way round.

Then cut through the central bit by hand.

Thud.

Despite cracks, this is really solid.

Next, I ripped it down to the correct width on the table saw.

The beam, cut to size.

After checking for any nails, I then put it through the Beast, my evilly powerful planer-thicknesser. Get you arm in that and it'll claw it right in and skin it to the bone.
But on the other hand, it can take 8" super tough and thick oak planks and plane them down to a glass-like finish.

This was repeated on each edge.

What a machine... It really is awesomely powerful.


Antiquing
Next was making the freshly cut beam look a bit more worn and antique.The wood itself was aleady quite old. Hard to say how old, but it is likely that the sleeper had not been in use for 20 years, and before that may have been in use for several more decades. It also would have come from a pretty mature tree in the first place.
The wood itself had a fair amount of character from all the cracks, pits and holes made in it over time.
But I had cut a new beam out of the sleeper, so it had fresh faces and crisp edges, I wanted to make the these look older and naturally worn.
First up, I hacked in a few rounded edges with the adz. This simulates the wear you see on old stair steps, etc.

I also wanted to scar and distress the surfaces a bit to make the mantel look like a bem that had been in use for ages, and had suffered the normal inevitable wear. For this I used heated nails to score and burn pitting into the timber.
Mole grips ae the perfetc way to hold nails. They lock on.

Then out with the trusty blowtorch - the awesome Rothenburger Superfire 2.

A quick blast from that...

... got the mails red hot in no time.

I applied the hot nail with a combination of pressing it in and sluring it across the wood. This makes pits and scars, and also darkens the wood


For this, I used a vinegar and iron wash using steel wool. This creates an iron salt solution. The tannins in oak react with the iron in the solution and go black.
Here I have just added the steel wool. After a few hours, it darkens.

Some time later, it has changed into a darker blackish colour.

I applied this with a bit of old cotton rag from a retired tea towel.
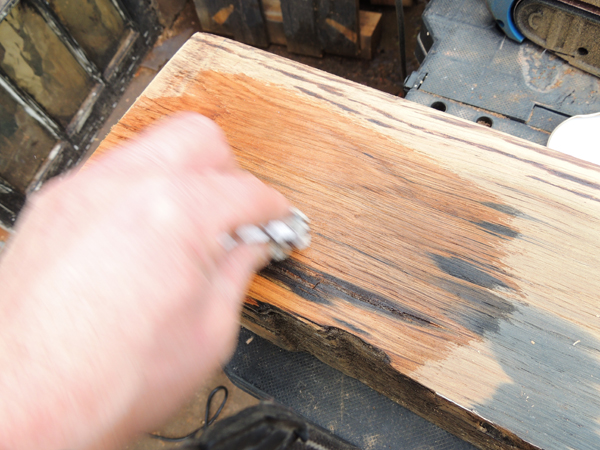
What this does is highlight the existing dark patches and stains the pores darker. When you sand it back later, the pores and cracks stay dark, but the main wood surface lightens. This increases the contrast and brings the pattern out of the grain.


After all the hacking, denting and colouring, I sanded all the edges and faces back to get them really smooth. This included rounding all the corners and edges.
Sanding also lightens the main colour. The pores and cracks are affected less and stay darker.

Once all the surfaces were treated ad sanded back, all that was left to do was apply the final oil finish. The classic oil for this is boiled linseed oil. I've had this bottle for decades. I used to use it for oil painting. Linseed oil dries to a patina (hence why it is used in oil painting). It produces a beautiful orange-russetty colour.

Slap it on...

Work it in...

The difference in colour is obvious...

The oil tends to make the fibres in the grain raise up very slightly as they expand more than the lignum between them. To get a super smooth finish, I polished this back with fine steel wool. This levels off the surface again.

With all such projects, the way to judge if the smoothing has worked is to feel it. You just need to glide your hand over the wood and you can easily find any snaggy edges, blemishes and so on.
Ultimately, you want people who touch the finished mantel to get pleasure from touching it. The only way to do this is to do what they do, and get your hands all over it.


The finished mantel. Looks and feels lovely.