Here is my lovely new shed. It's actually phase 1 and will be extended later, but one thing at a time...
This is roughly 3.0 metres x 3.6 metres in plan area.
This was built pretty fast using the "scrounge chucked-out doors and bolt them together" method - crude, and effective.

All shed builds have to start with a plot. This is it.
It was raw and wet to start with...

And full of lovely creatures like froggy here...

...and toadies like this beauty...

First off, I started by finding the level. First tip - don't use the fence as a guide. That was not remotely level!

To find a common level, I started by marking an intended ground level on a peg hammered into the ground.

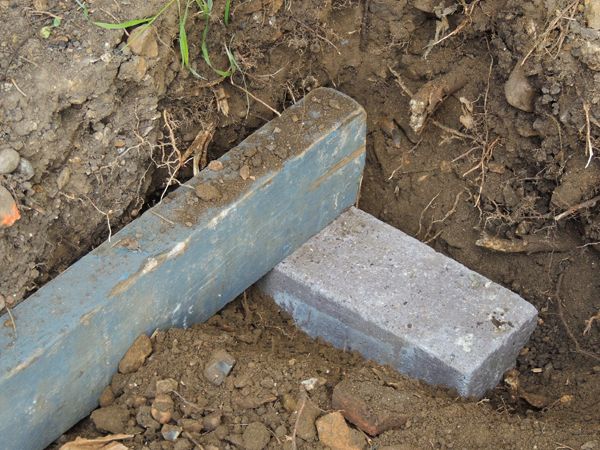
Then worked out from the lowest point. The shed was built on a wooden foundation frame, supported atop of bricks. This helps spread the weight and also keeps the wood off the floor, preventing creeping damp seeping in from the earth.
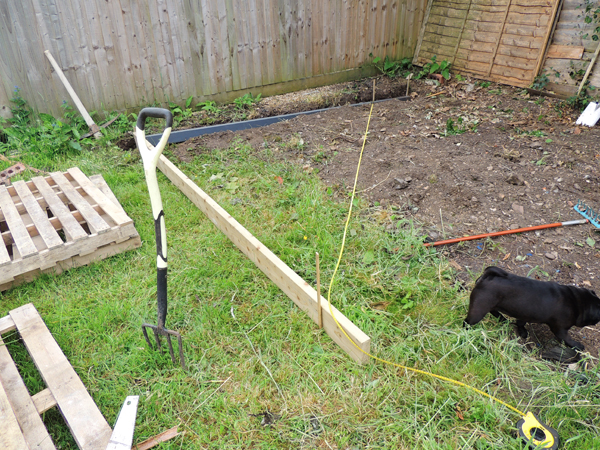
The ground was quite uneven with about a foot difference in ground height, so it required a fair amount of levelling to get the ground flat. the yellow line is a tape measure used to measure out the correct length for a square frame, using Pythagoras's theorem (square on the hypotenuse, etc...)
Betty pug idled about not contributing anything except cuteness.
Here an offspring is figuring out how to use a pickaxe. It was needed to break the soil up. It was full of super-hard flints.

The main floor supporting foundations were built up from standard 1.2 metre x 1 metre pallets, screwed onto the outer frames. The pallets are also resting on bricks to keep them off the damp ground.

Although pallets are standardised, there is more than one standard size, so when you are using whatever you can scavenge, you need to adjust them to fit together. The killer tool in this photo is the bright blue foam kneeling pad. These save a lot of pain when kneeling in the dirt screwing pallets together.

Interlude - getting doors...
Having got the footings built using scrounged pallets and wood, it was time to build the walls. These were prefabbed using internal doors.
These are readily available because people are always refurbishing houses and this often involves swapping out either new fashionable doors for old unfashionable ones, or fashionably old doors for unfashionably new ones.
These are readily available because people are always refurbishing houses and this often involves swapping out either new fashionable doors for old unfashionable ones, or fashionably old doors for unfashionably new ones.
Whatever the quirks of current taste, the upshot it that doors are easy to get hold of. They are also generally pretty strong and more or less the same size, so they are great for building up a strong wall super fast.
Here are some that a builder wanted shot of. He left them out for me to collect...


Back at the shed build, popping up walls took minutes. I started with one corner, with two doors attached by the original hinges. This makes manoeuvring two doors pretty easy for one person.

Using more hinges, I built up the front wall. Generally, it is best to make each corner first, because corners are very stable, then just bolt on more doors to build a wall spanning the gap between the corners.

and repeat...

Pretty soon, the building frame was built. A few hours is all this took.

Next, I built a housing frame to contain a door to make an entrance for the shed.

...then I built up the height of the shed frame with timber.

Once the uprights were added, I added raked rafters to support the roof panels

This all took less than a day to get a functioning frame up. This allowed me to store things in the shed by making a temporary roof from tarpaulin.

Later on, I built up the rest of the roof frame, including these huge acrylic skylights, so I can look out at the lovely trees and get lots of natural light in the shed.

I added high-level triangular lights at one end, from the same acrylic.
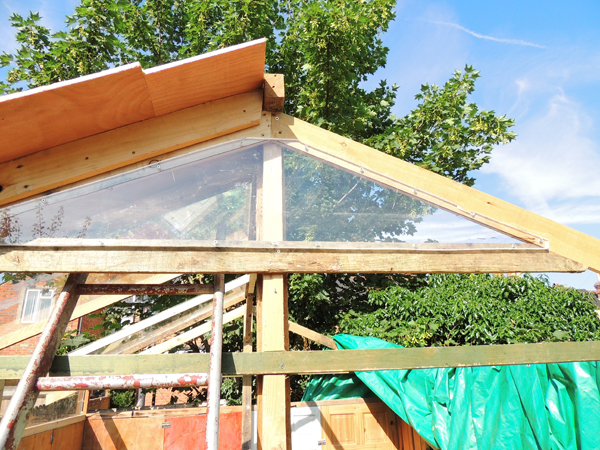
...and built in a window frame at eye-level to look out of. This was filled with the same acrylic sheet


Prettification.
While doors are great building components, they don't necessarily look great, especially as you very rarely get hold of matching doors, when scrounging them off people as freebies. So, I splashed out on some cheapish featherboard to make a much more aesthetic fascia. This was the main cash outlay for the whole shed.

Plonking a bench in front made it even nicer. This is a bit later and the shed now has a locking door

Here it is, fully functioning. The side has not been feather-boarded, because it will be extended eventually. That is another story though.

Inside
This is the view from inside the shed. Lovely trees everywhere

The view at twilight

And looking inside, this view shows the bench-top and a head-height suspended storage shelf.


